Well the end is now in sight though there remains a lot of work still to do.
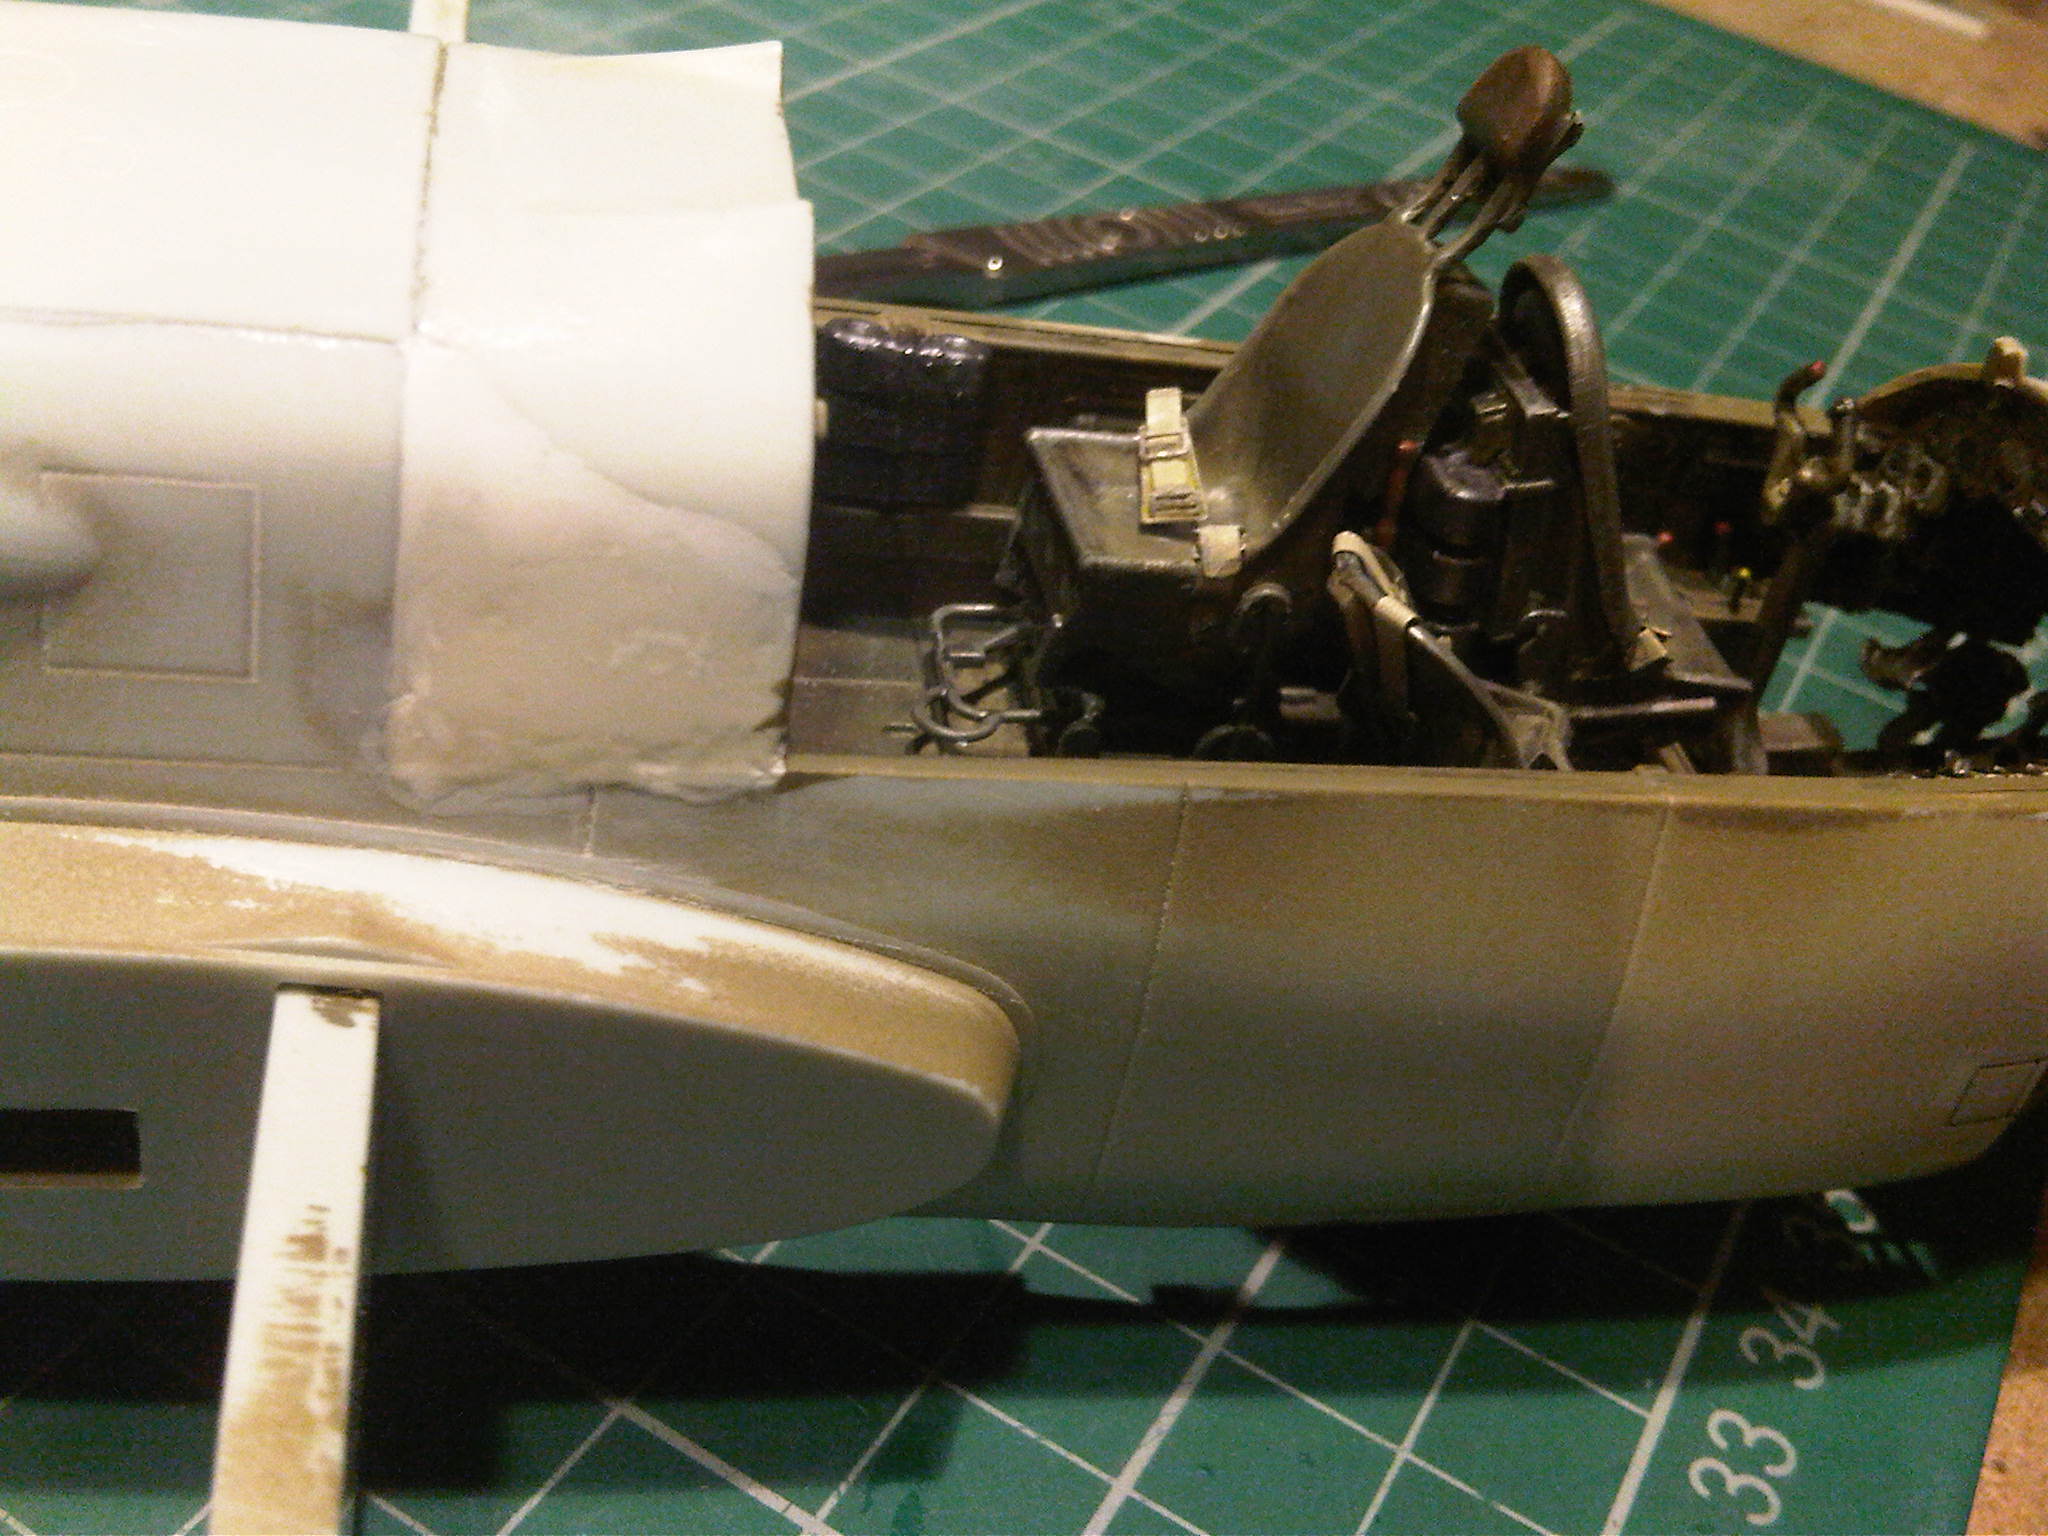
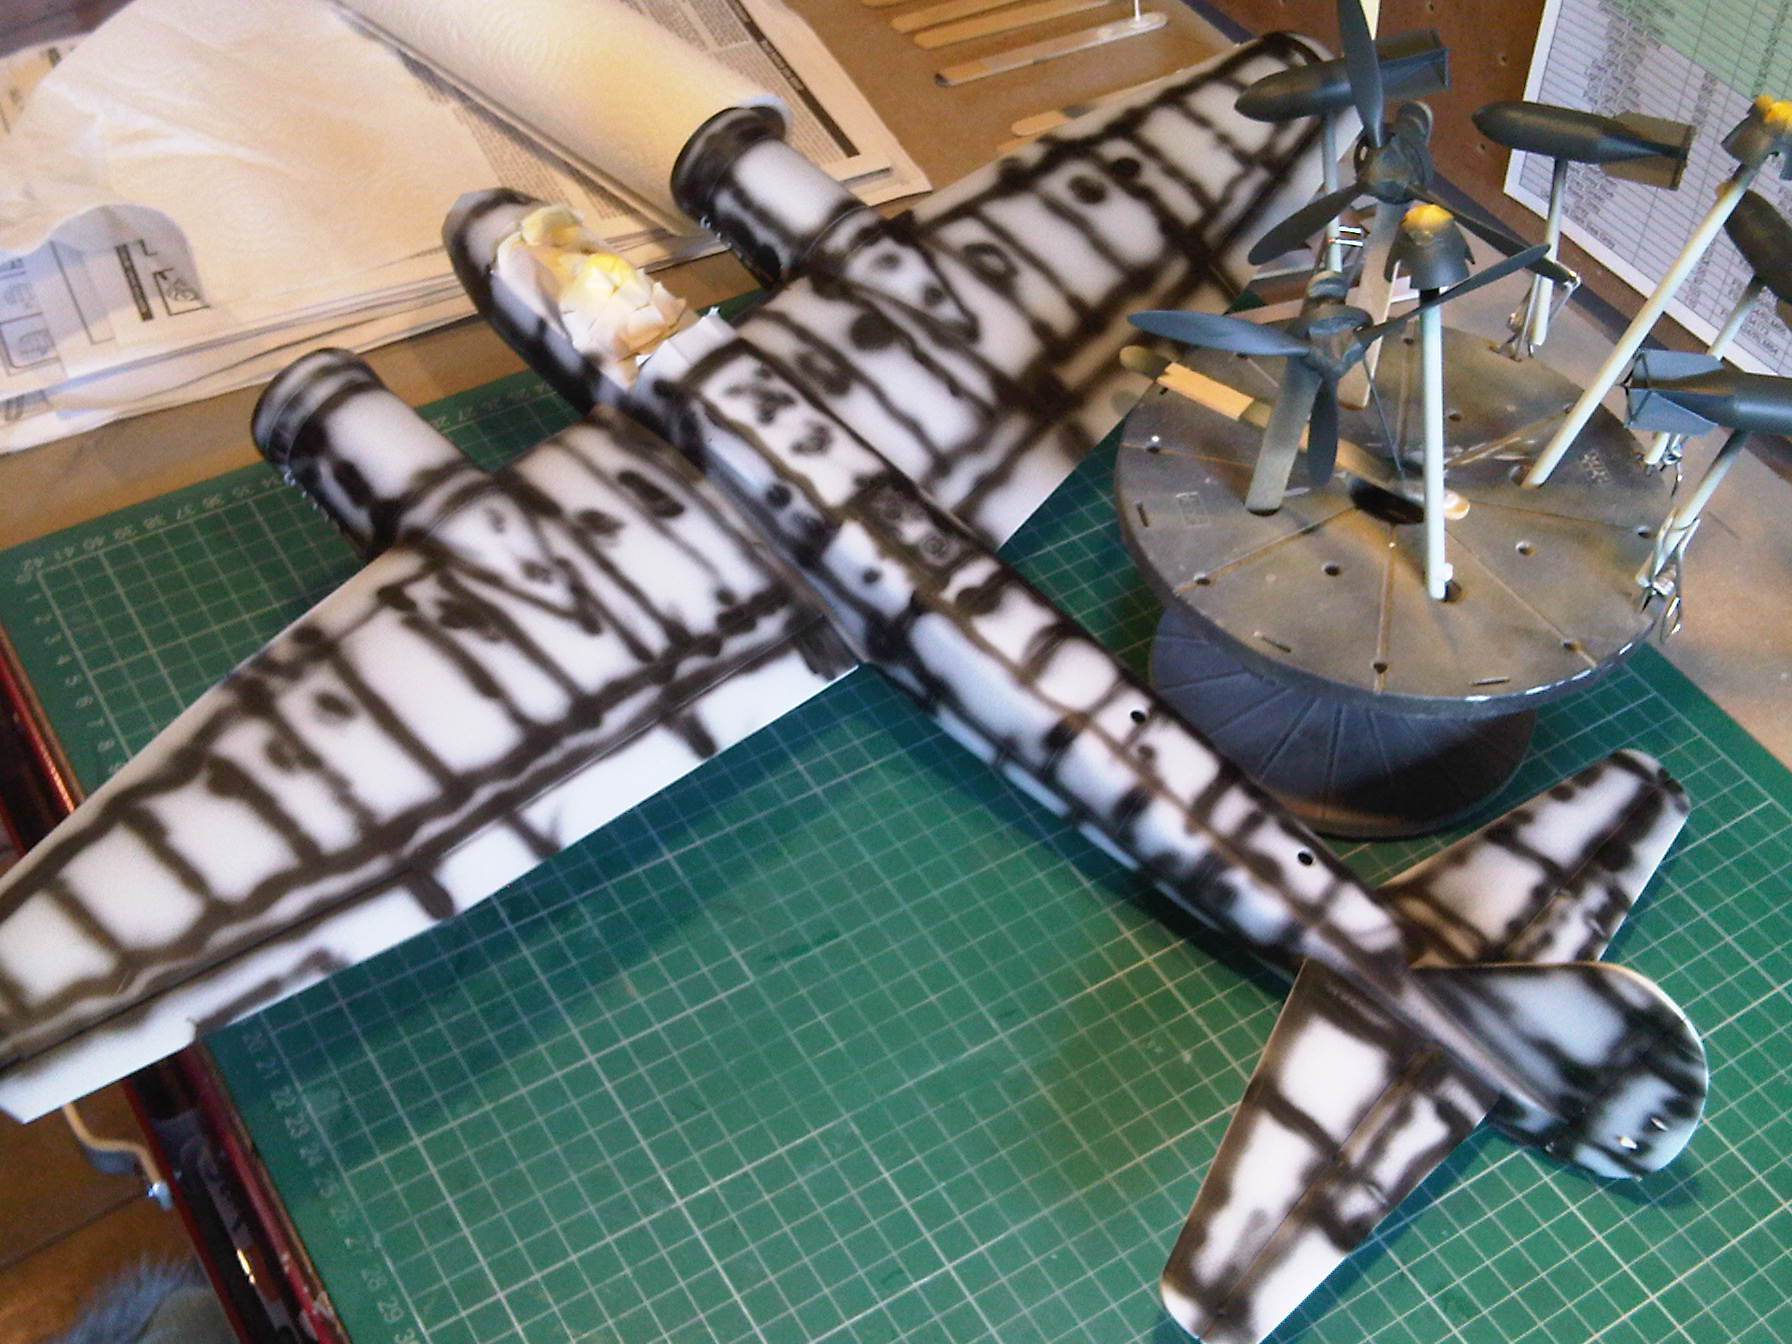
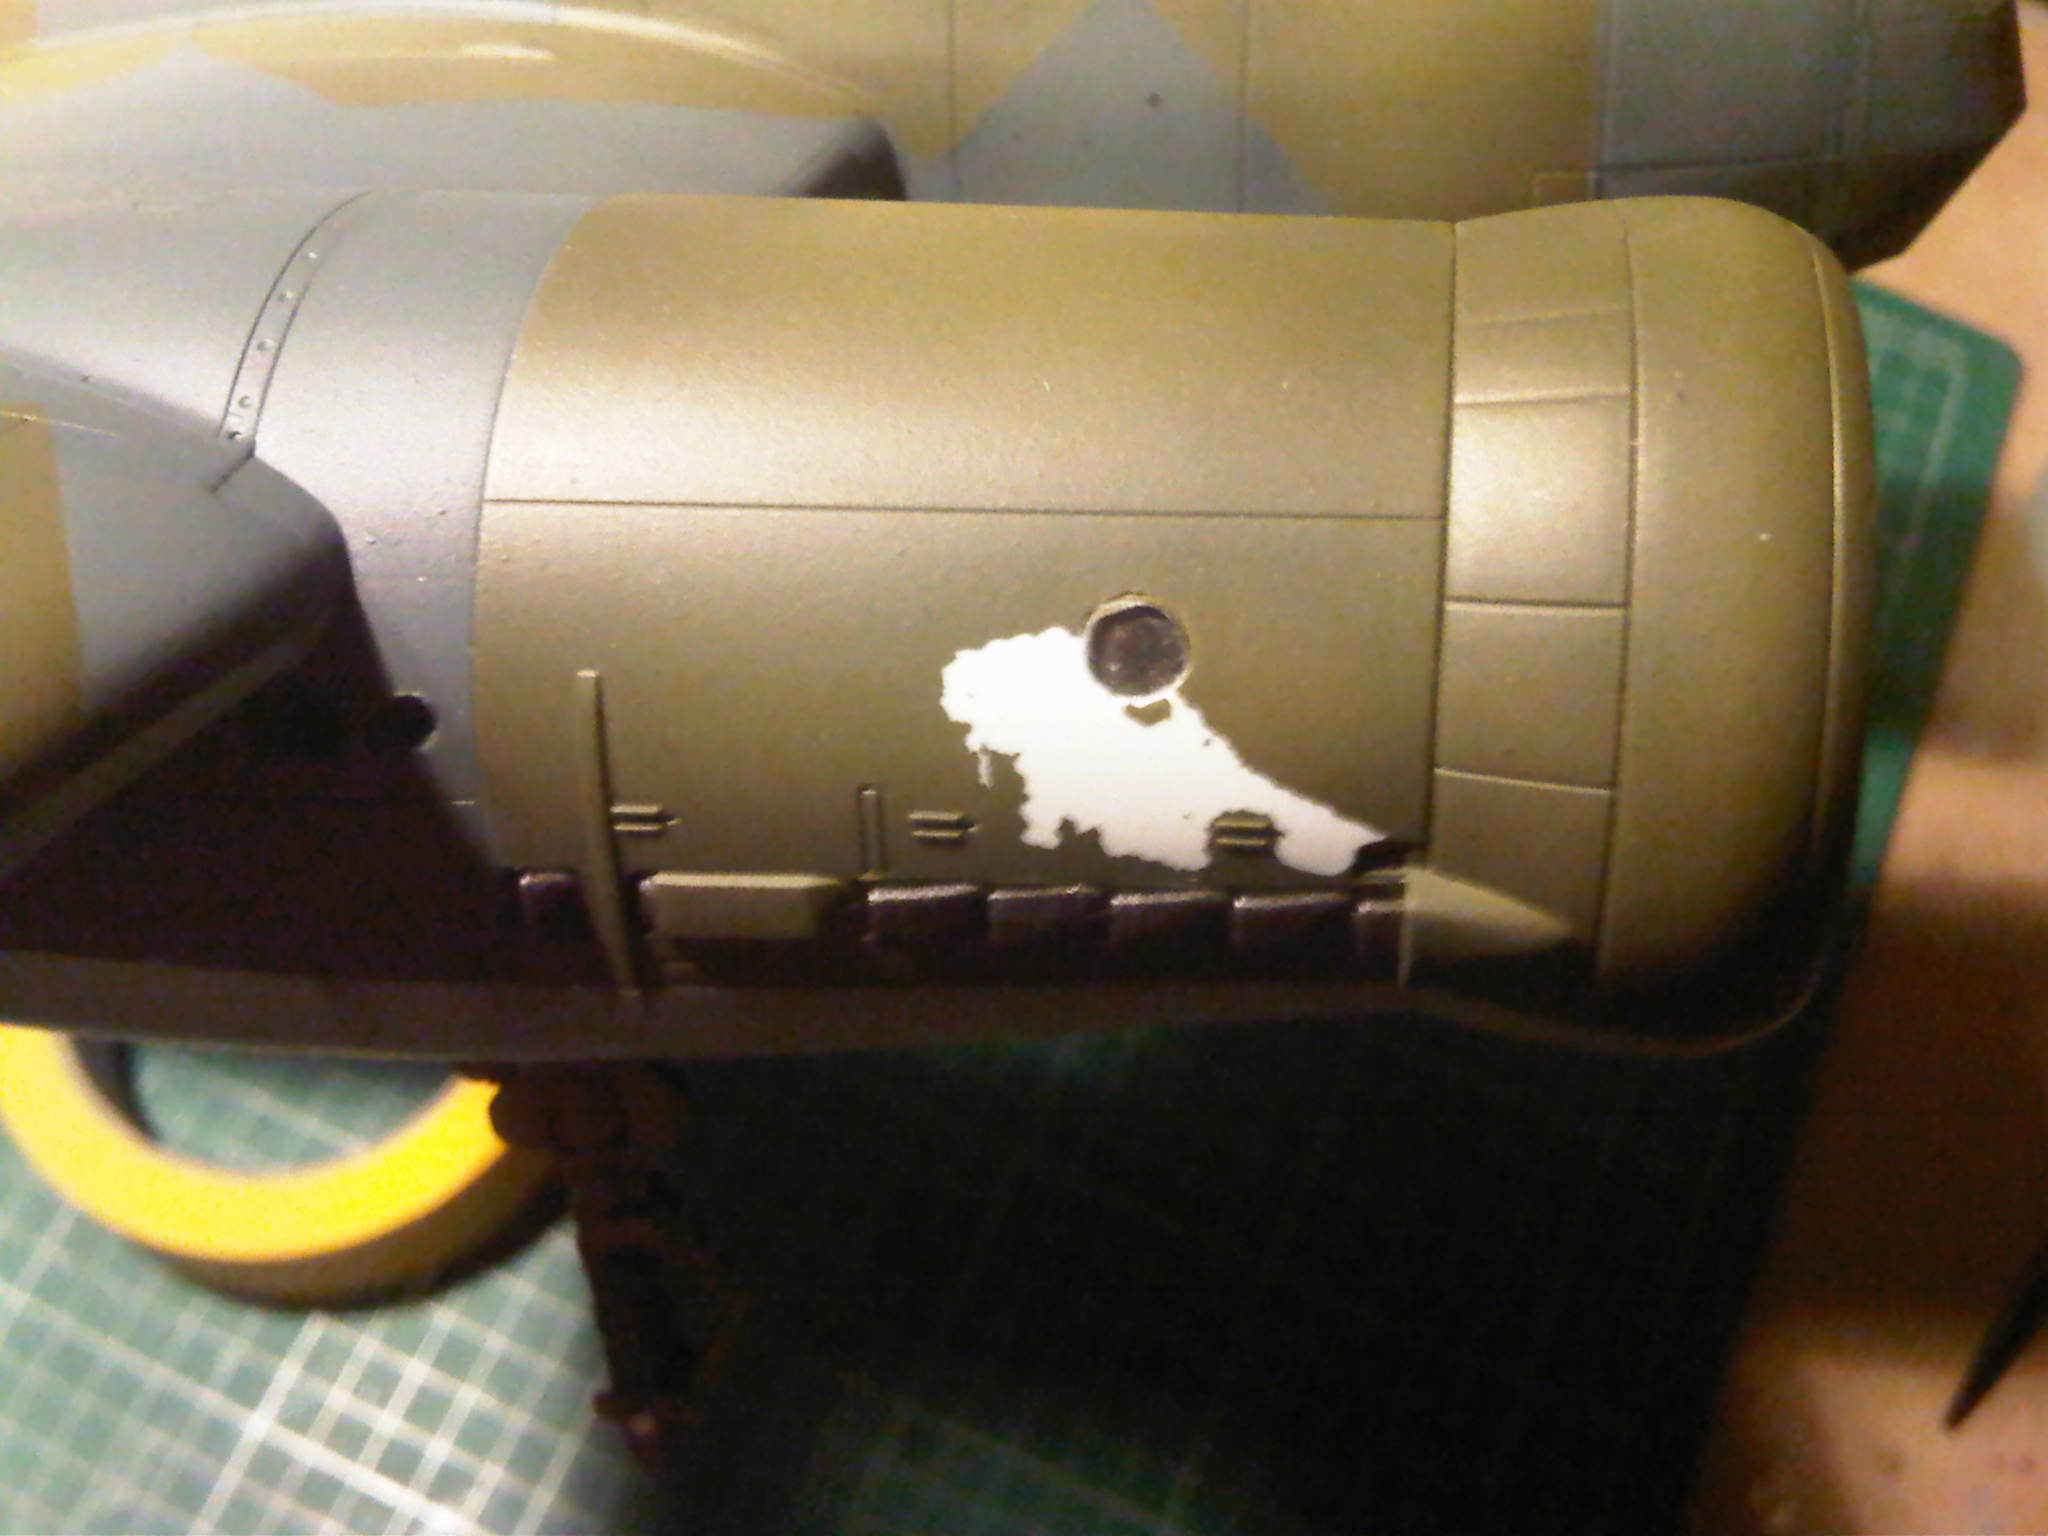
First up - after the final primer I 'pre-shaded' the model by spraying black along the panel lines and in other areas where I want to add depth to the model. What I am trying to do is to trick the eye into seeing on a model the kind of effects light plays on a surface, areas of shade and light.
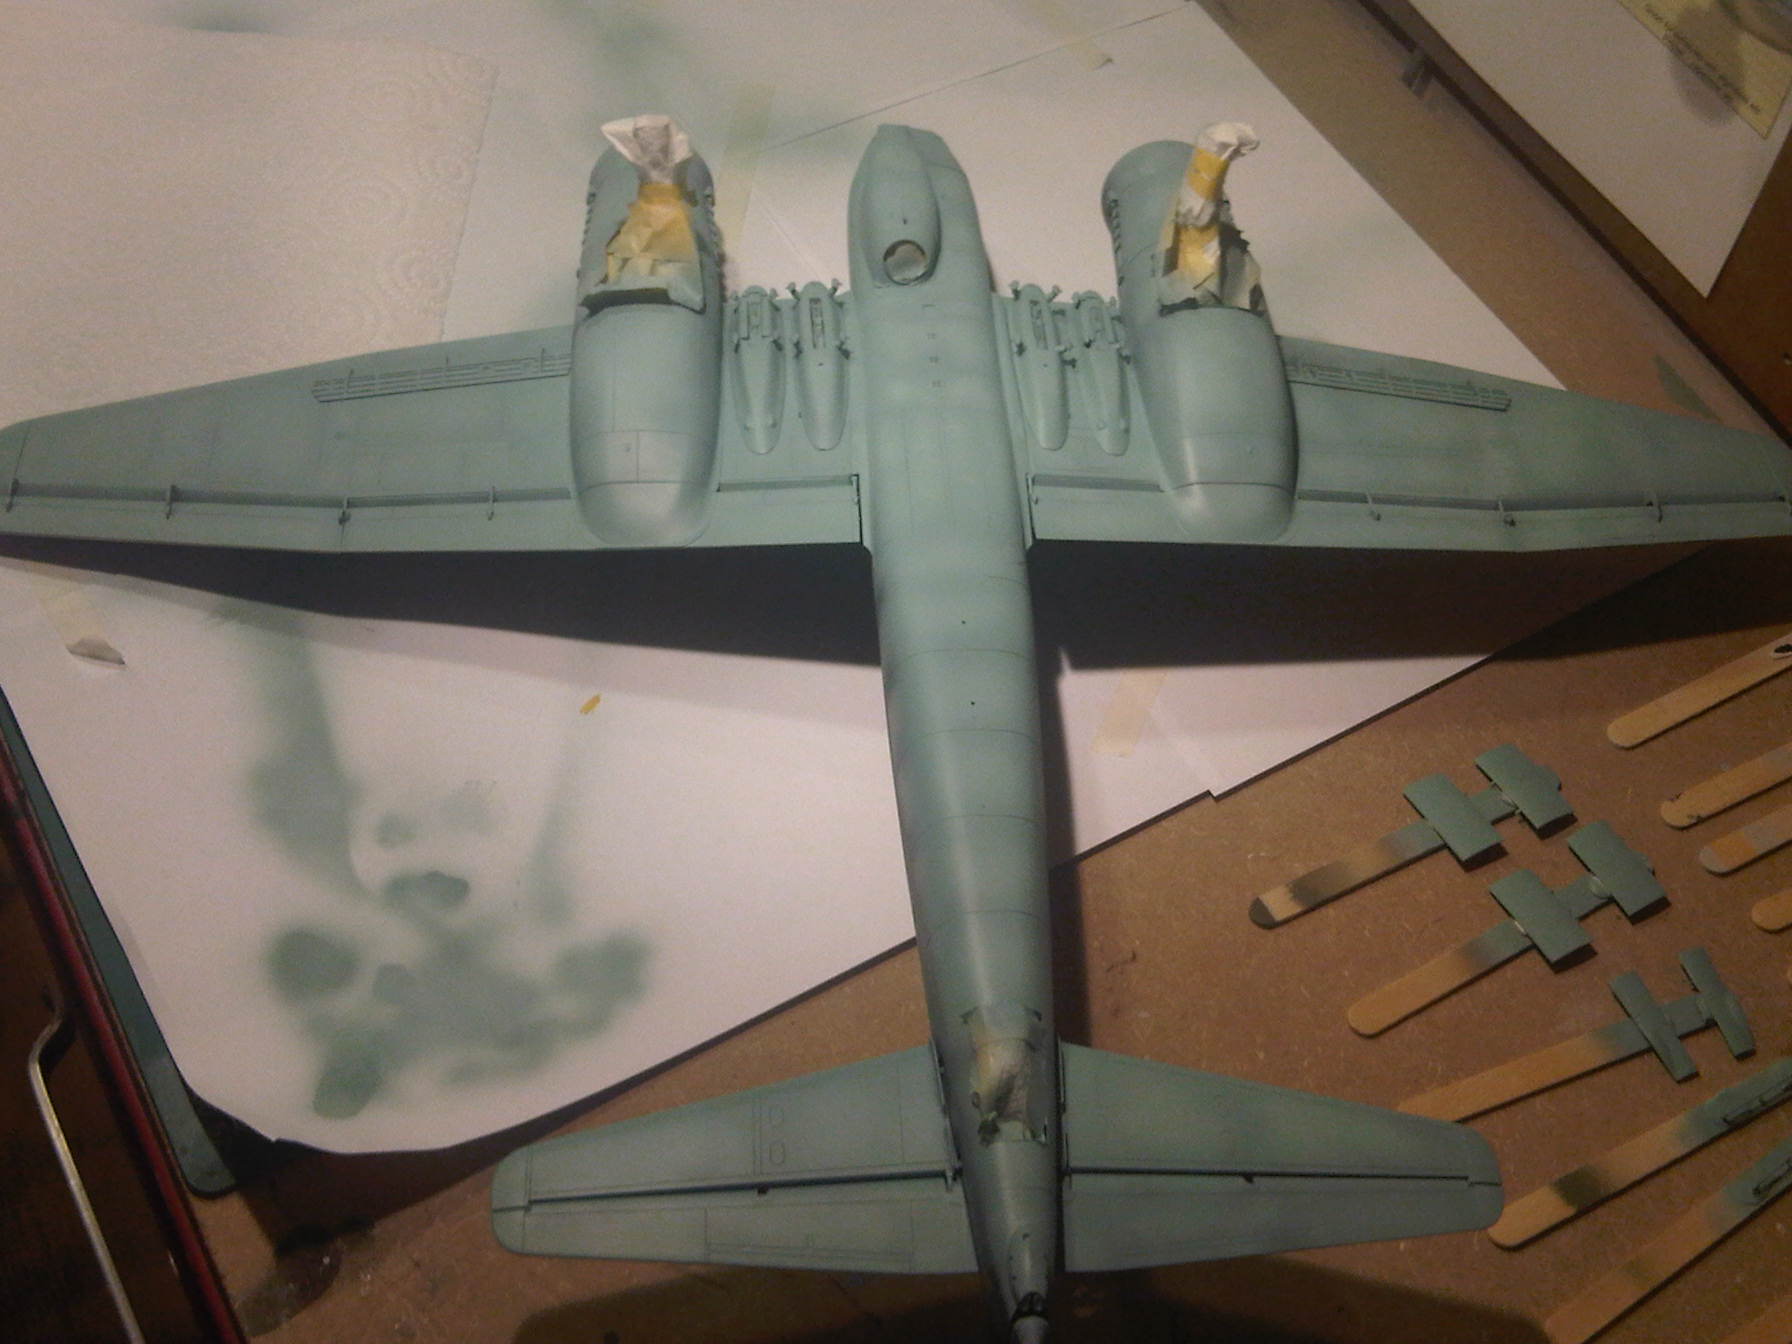
After the pre-shading I spray the base colour building it up in thin coats leaving some of the pre-shading showing through and then I spray into the middle of panels the base colour lightened with about 20% white and very well thinned. After that I mist on a very, very thinned base coat to tone down the contrast and to blend the effects until I get appropriate levels of contrast.
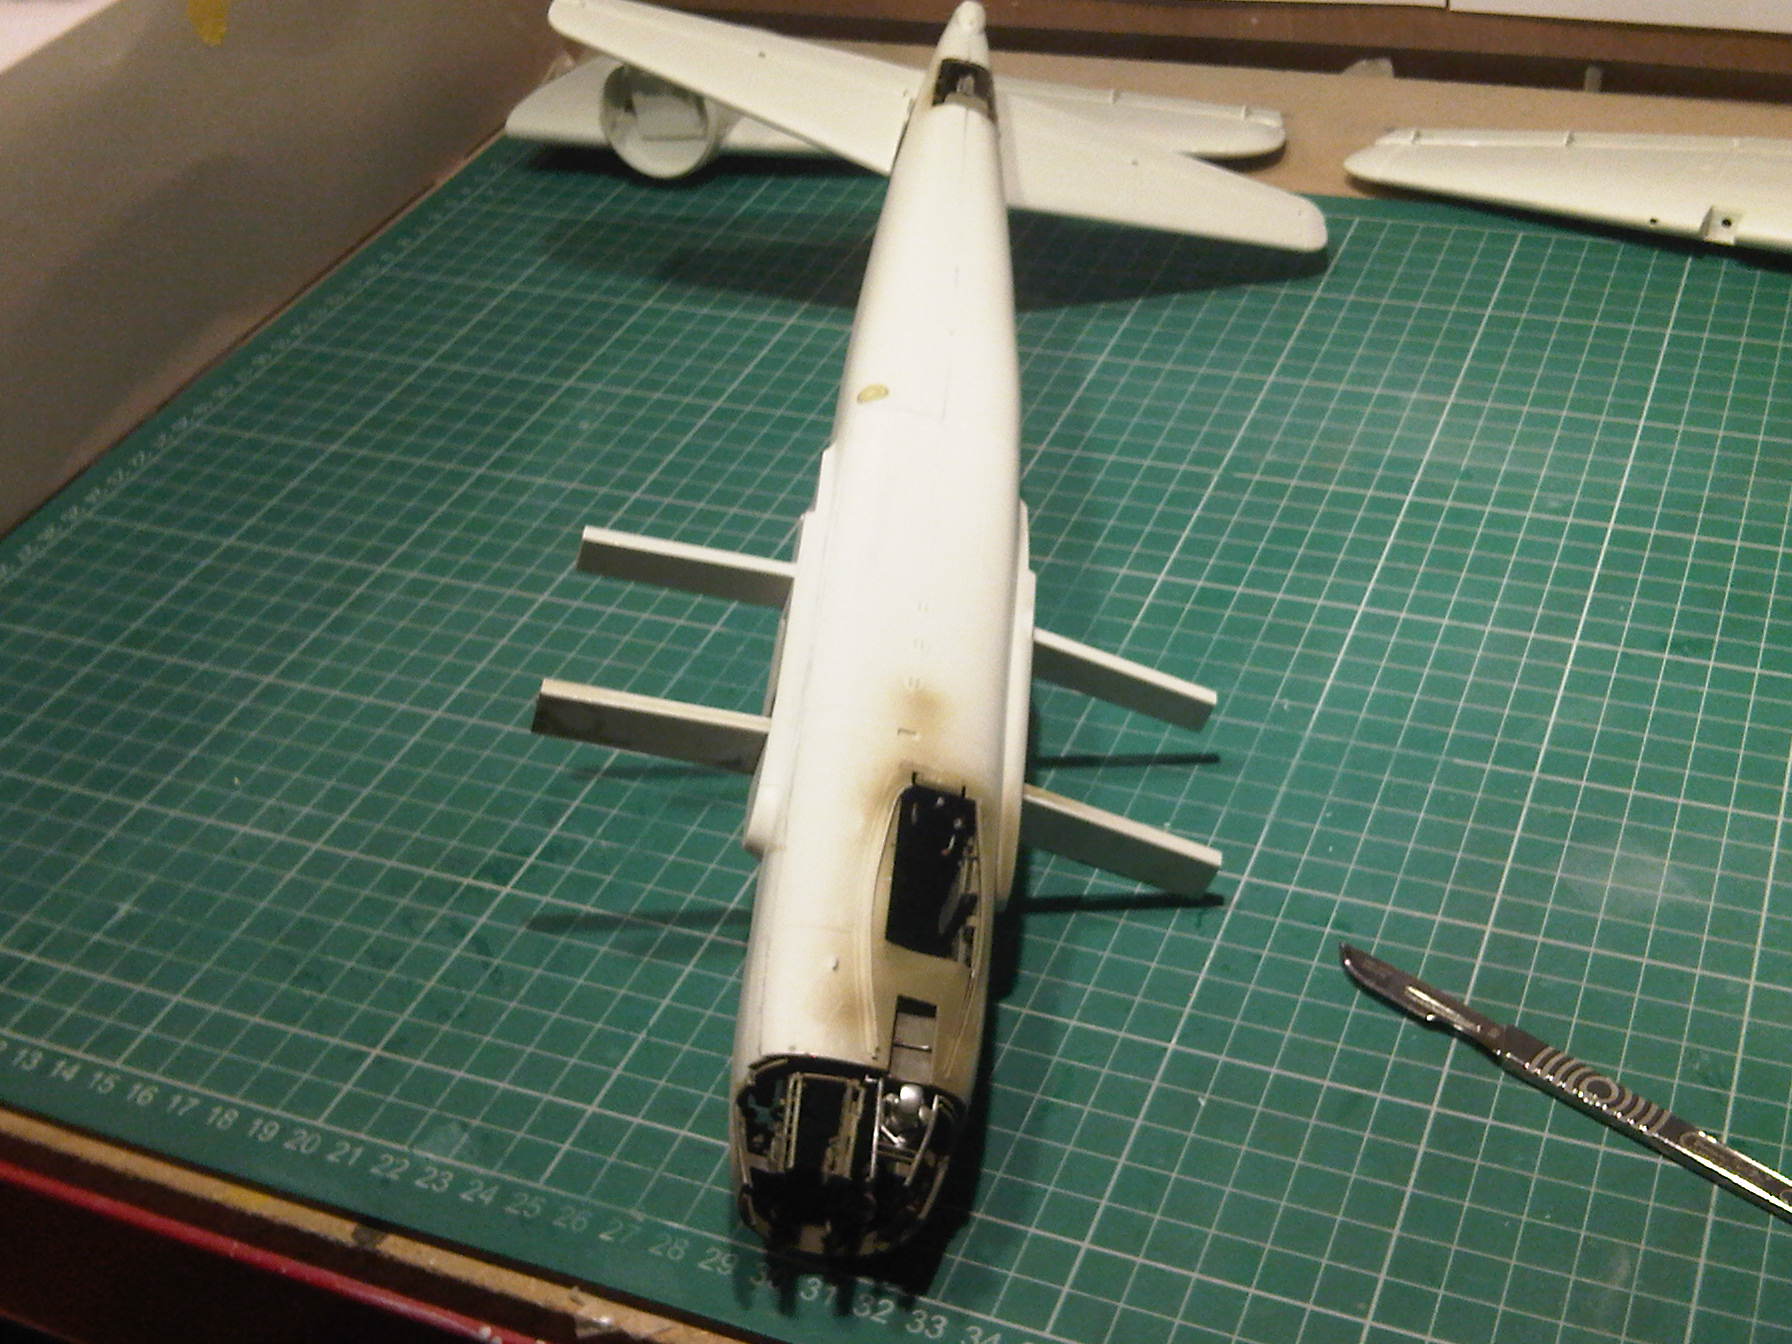
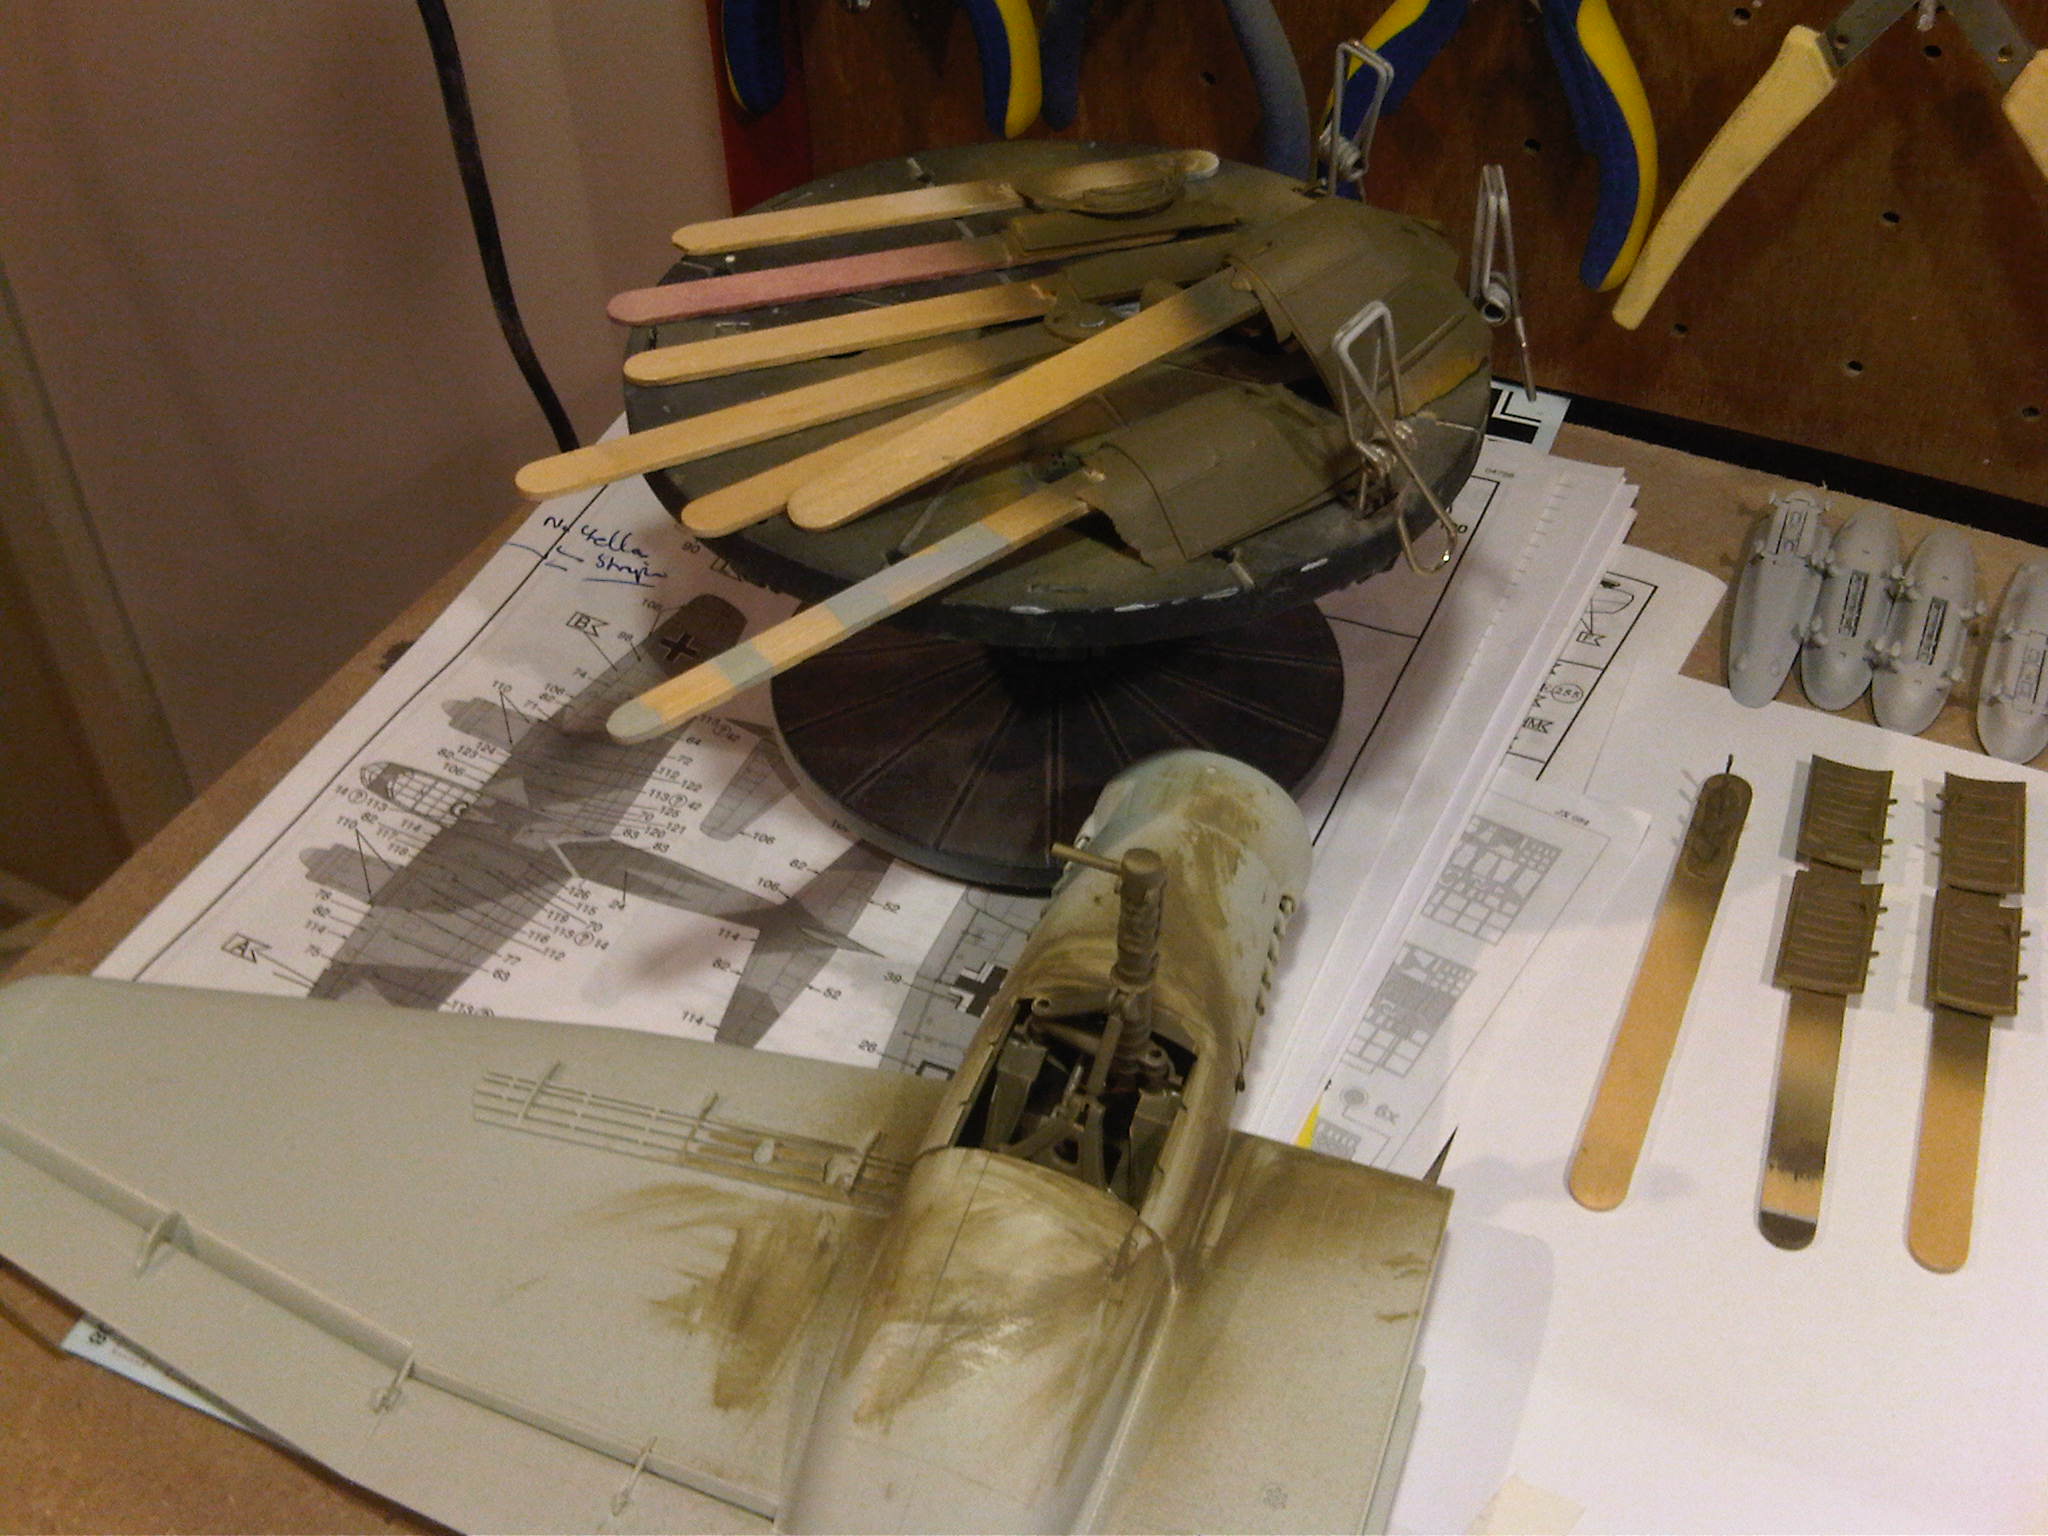
Here is the pre-shaded model, it is important not to have the pre-shading looking all neat and tidy, it needs to be a bit random looking.
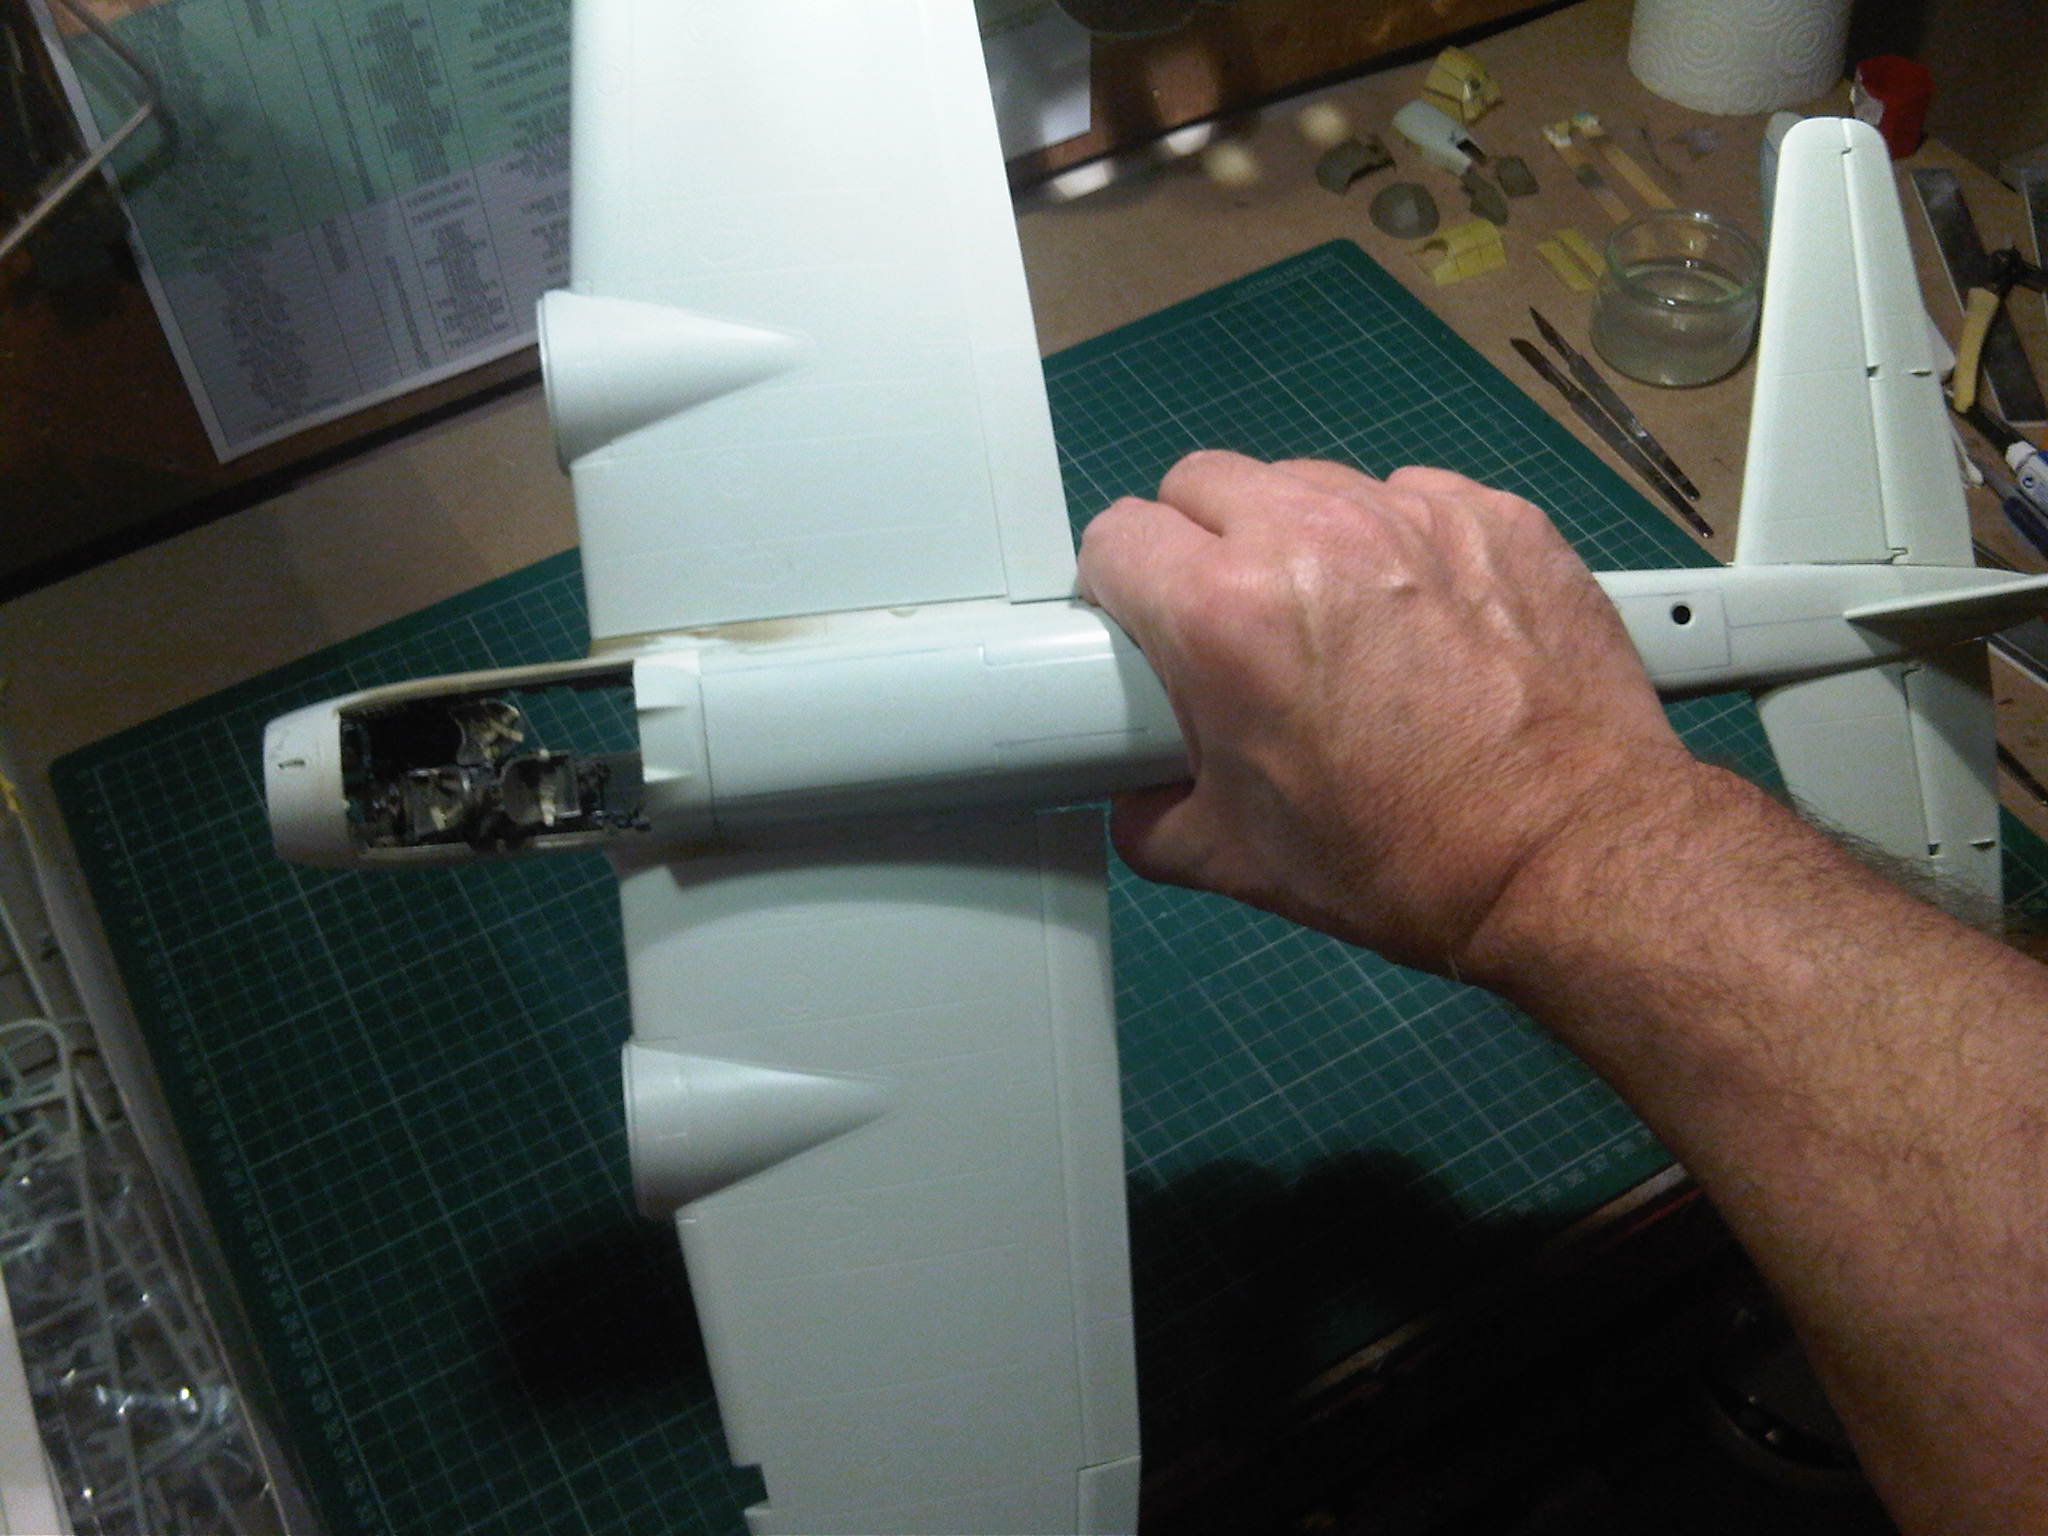
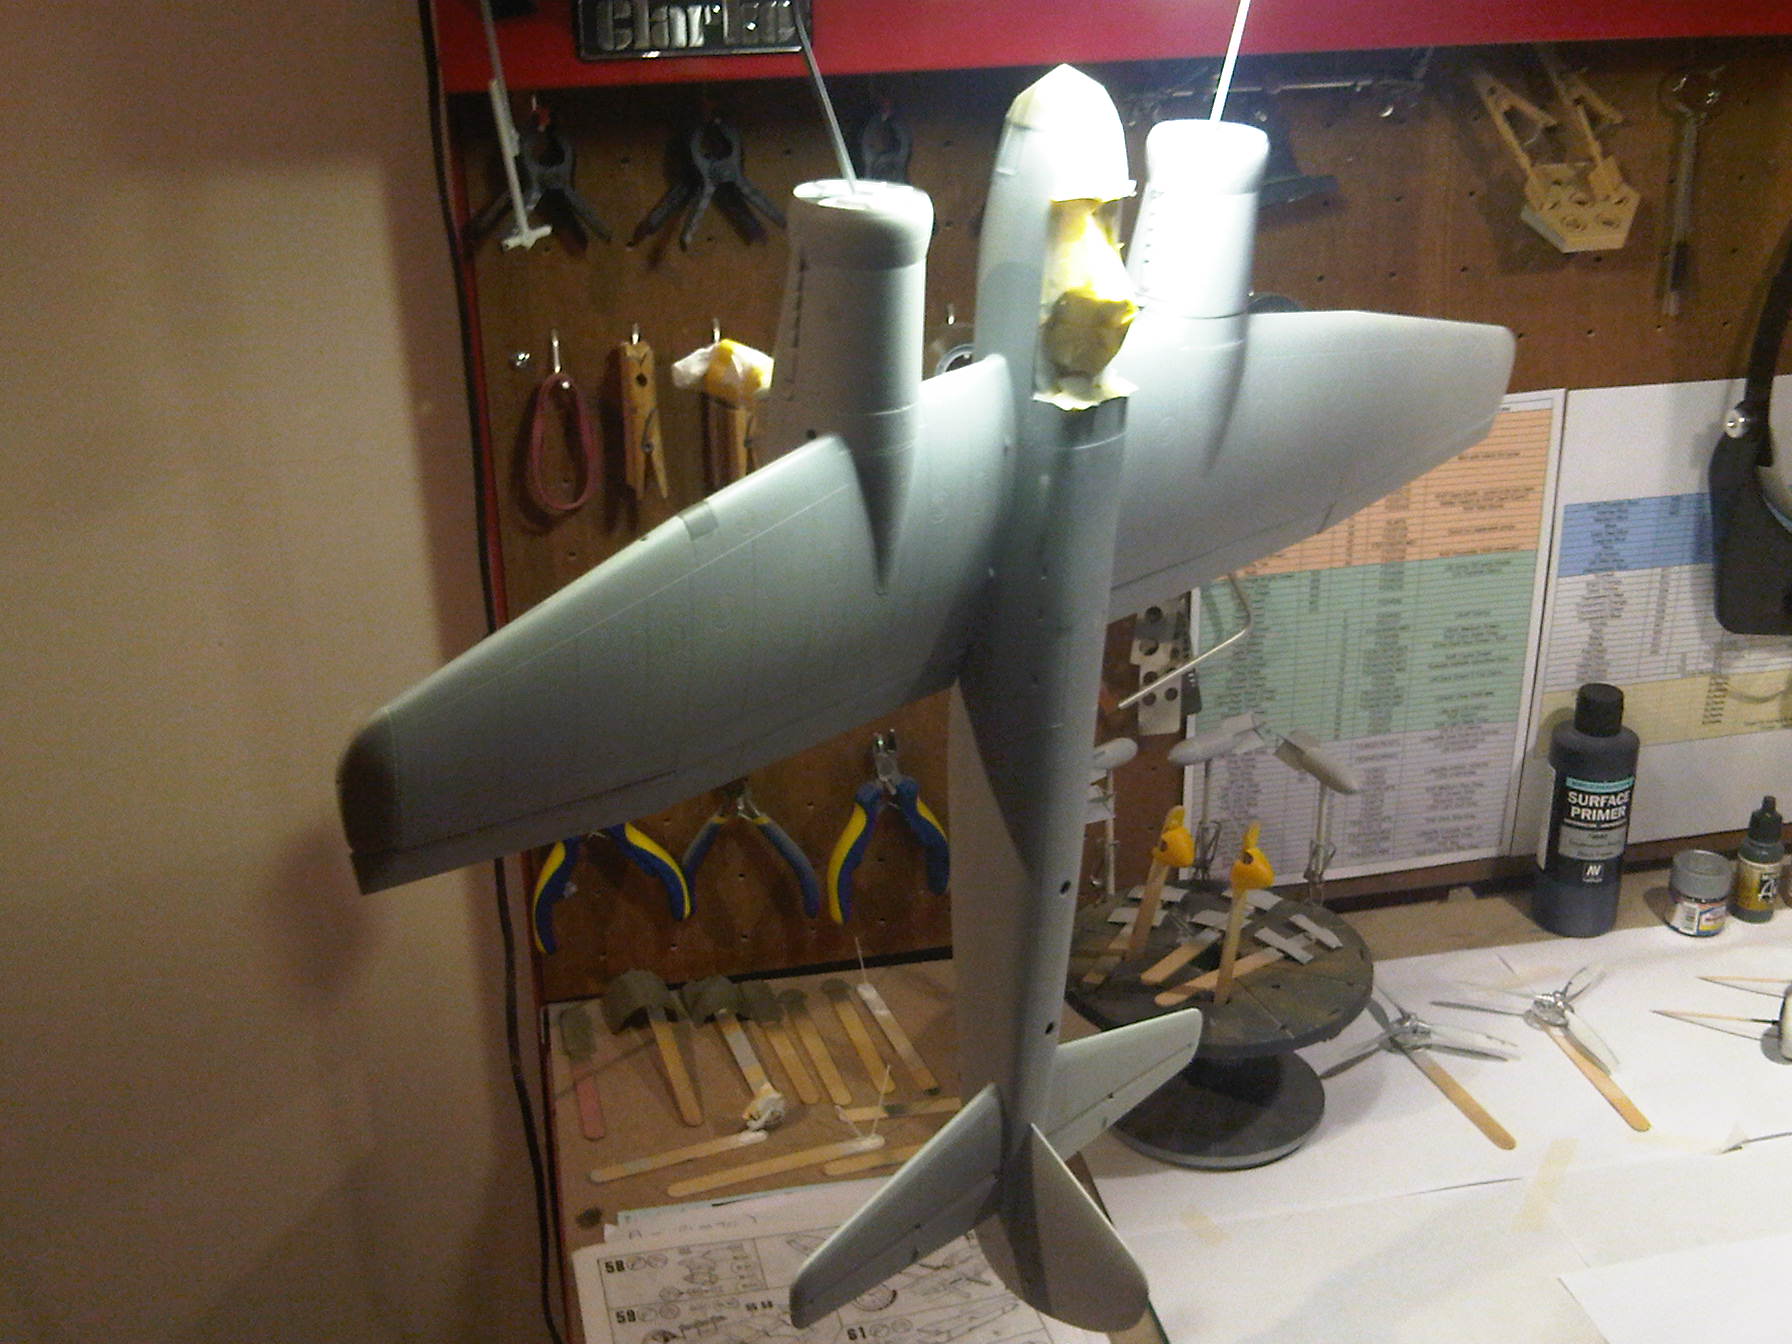
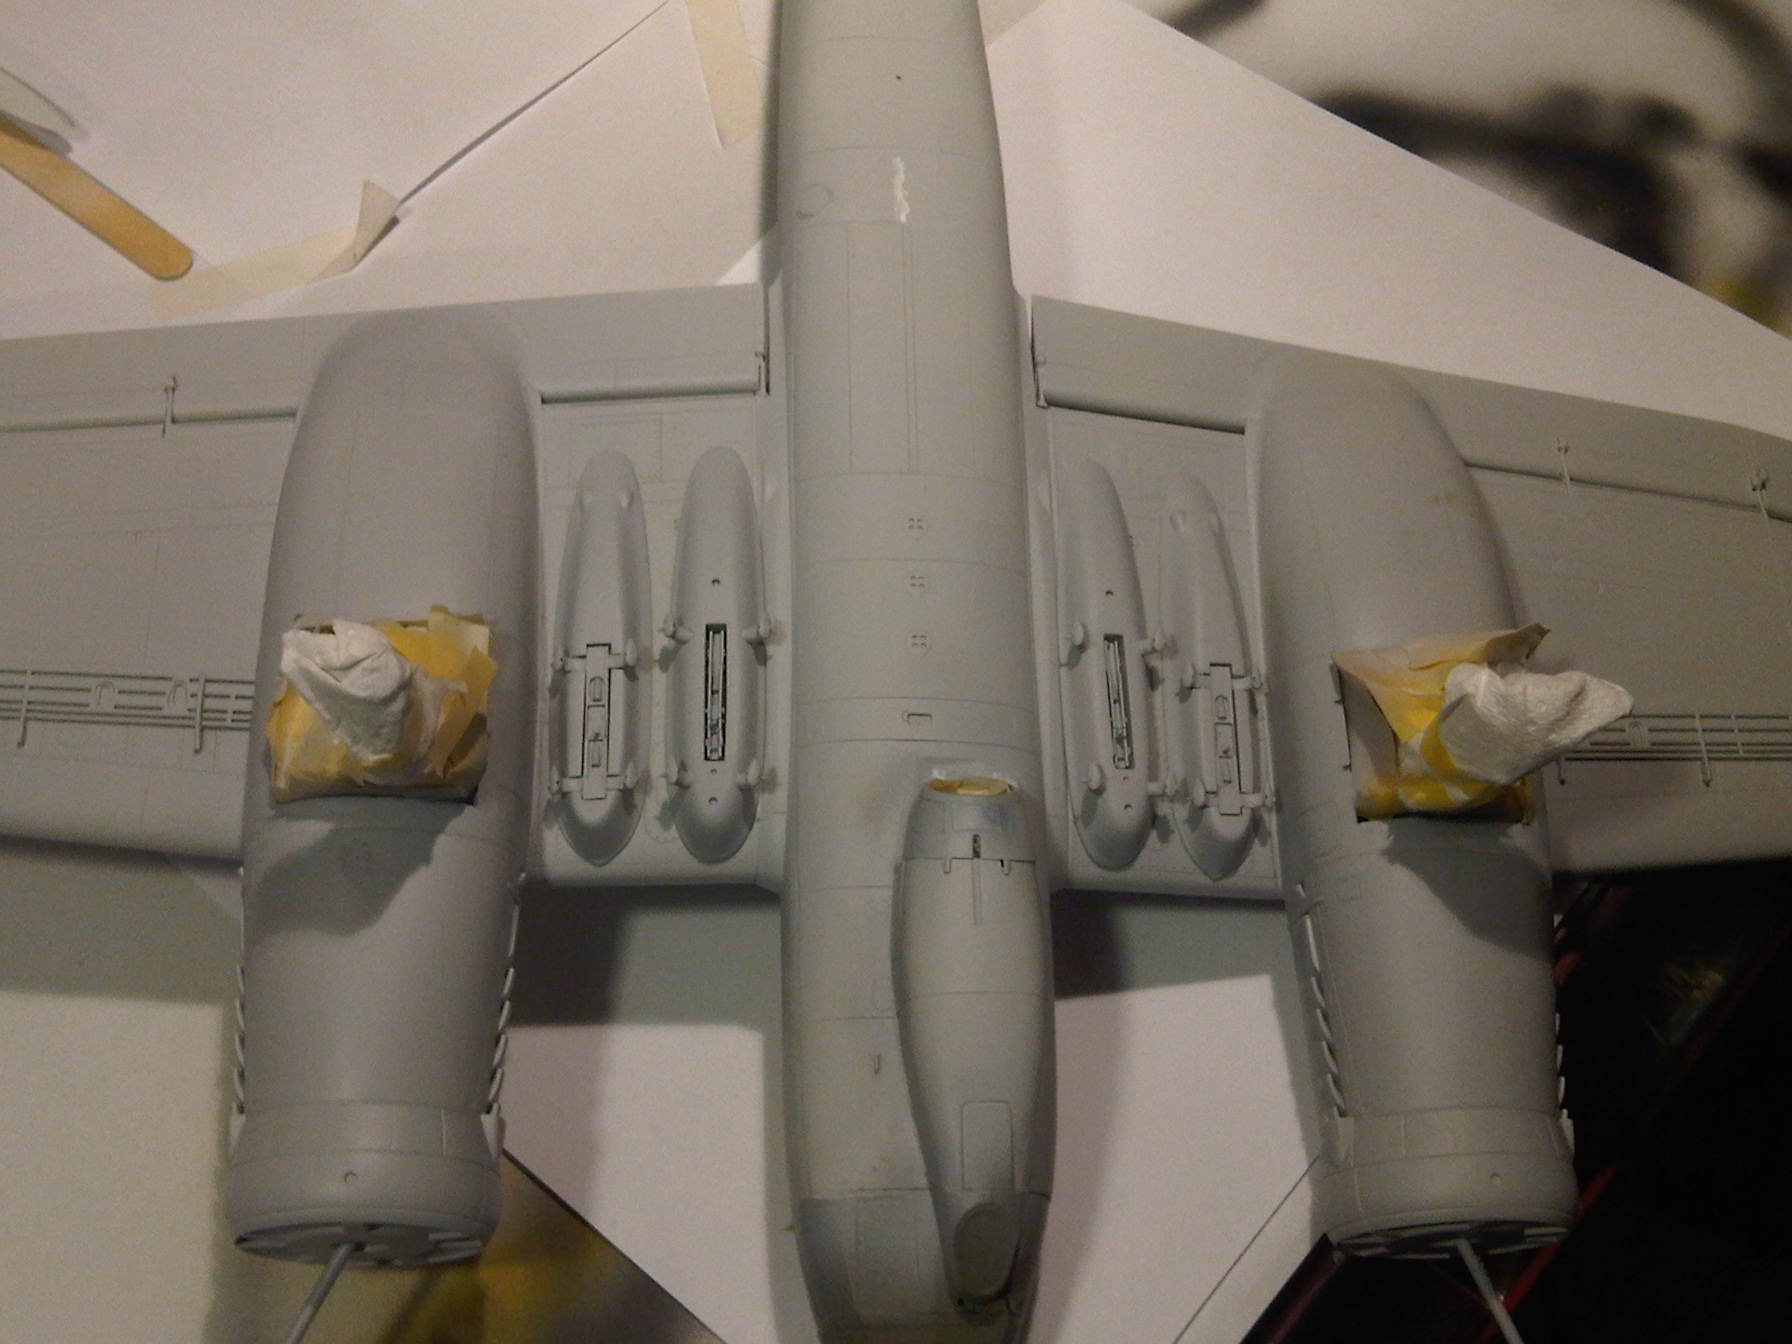
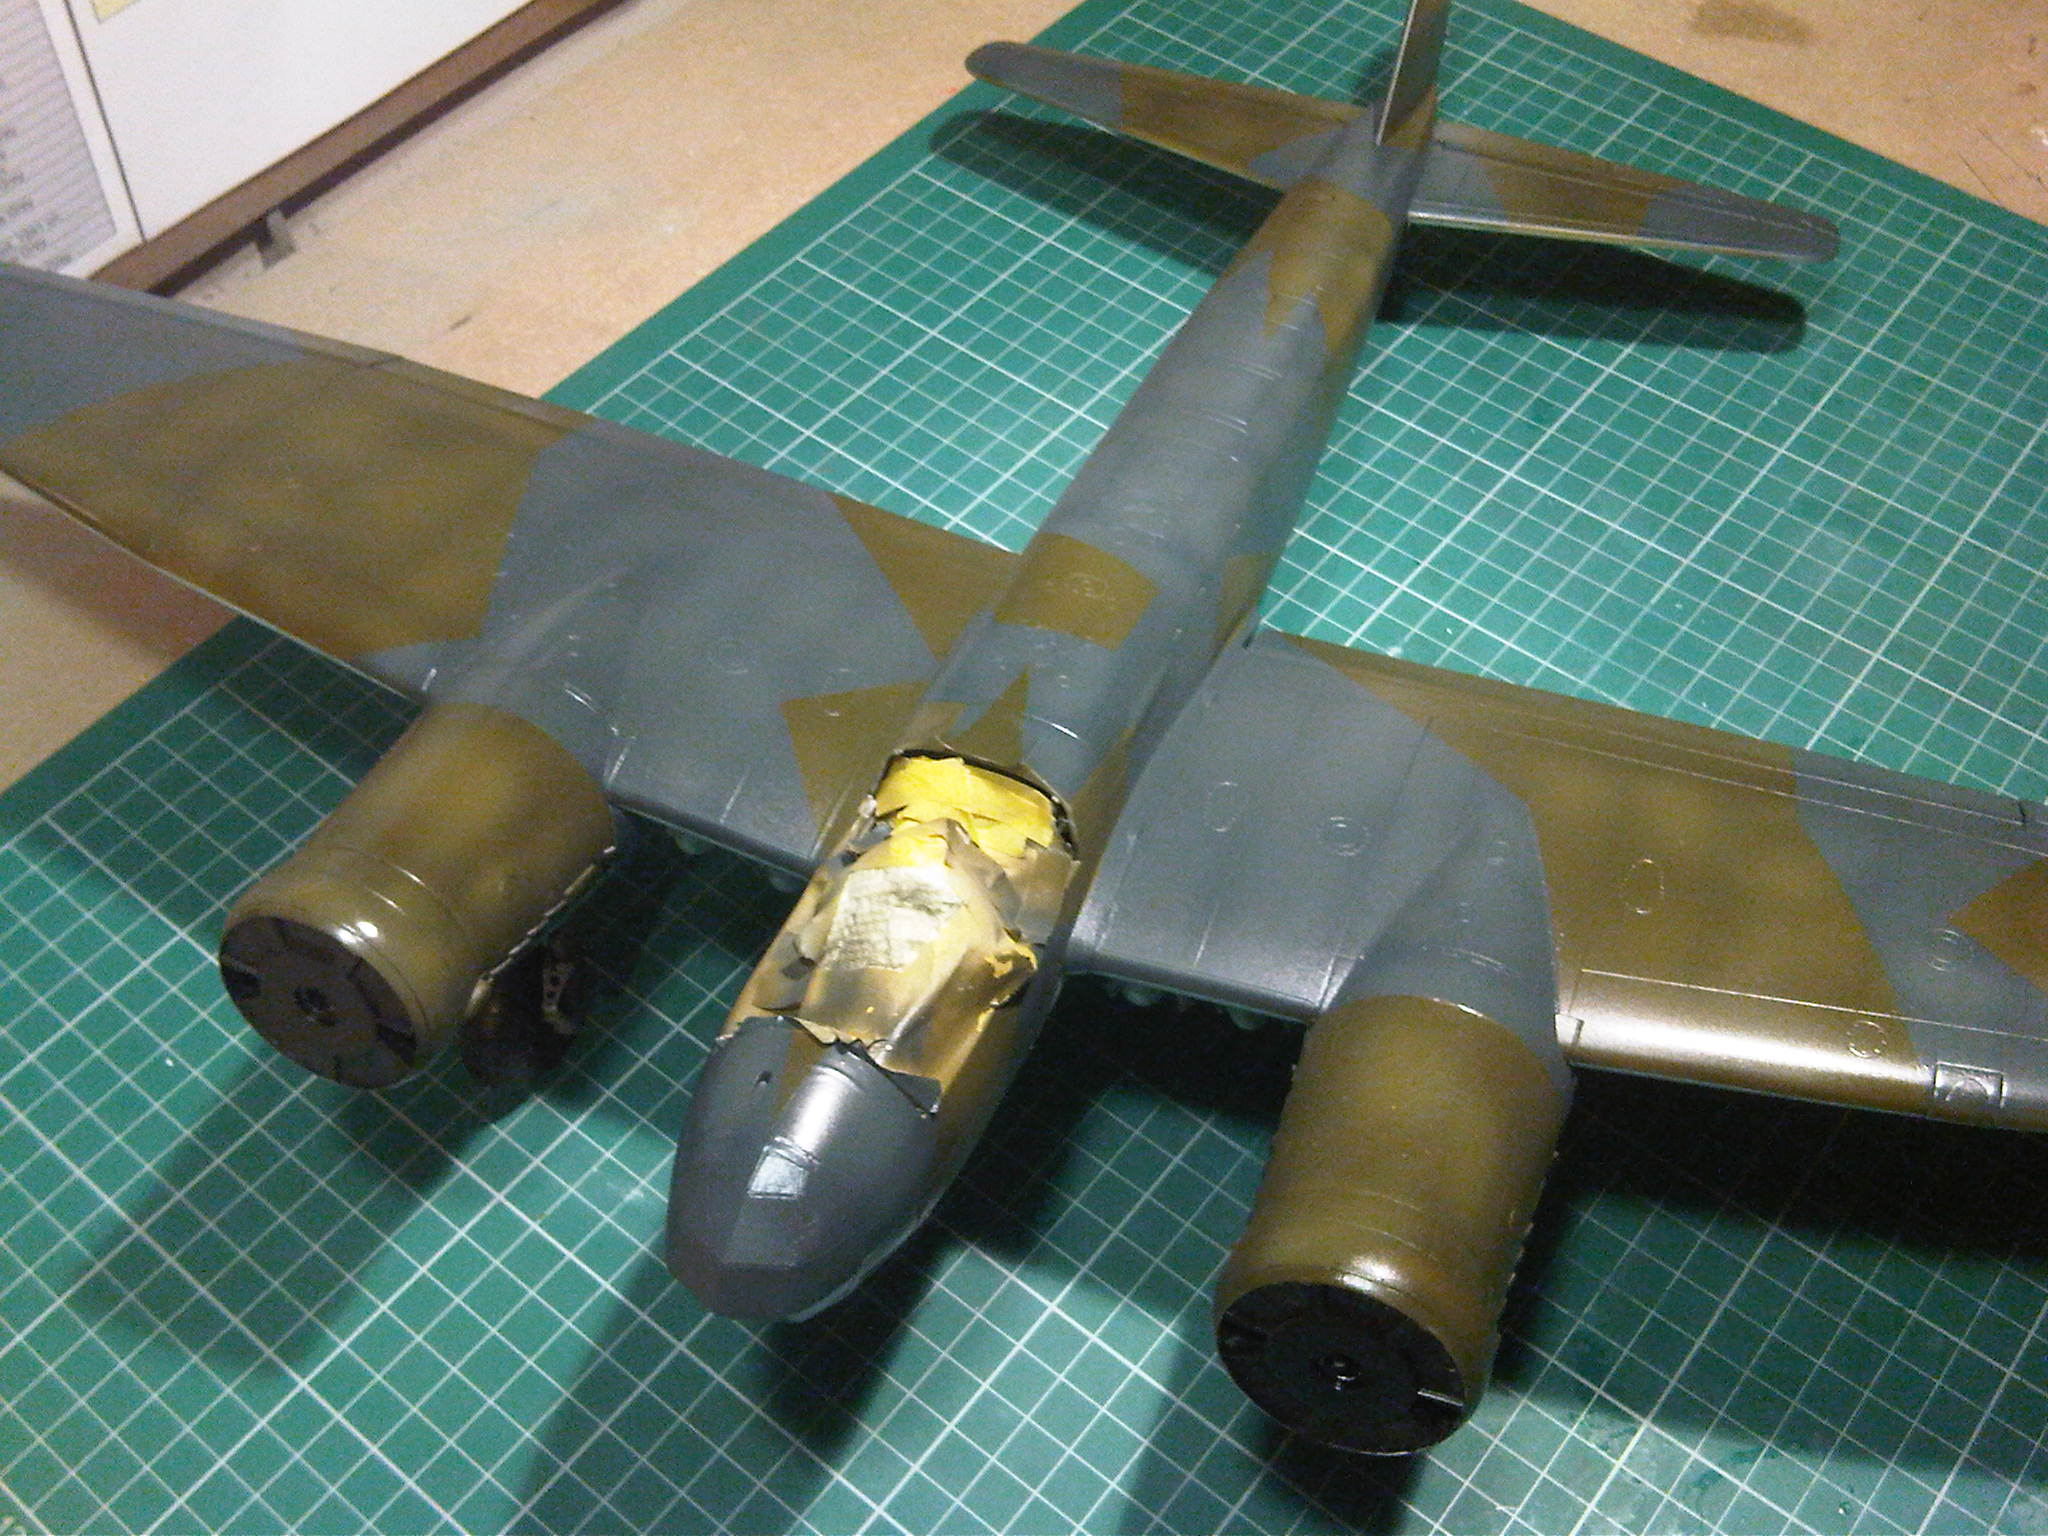
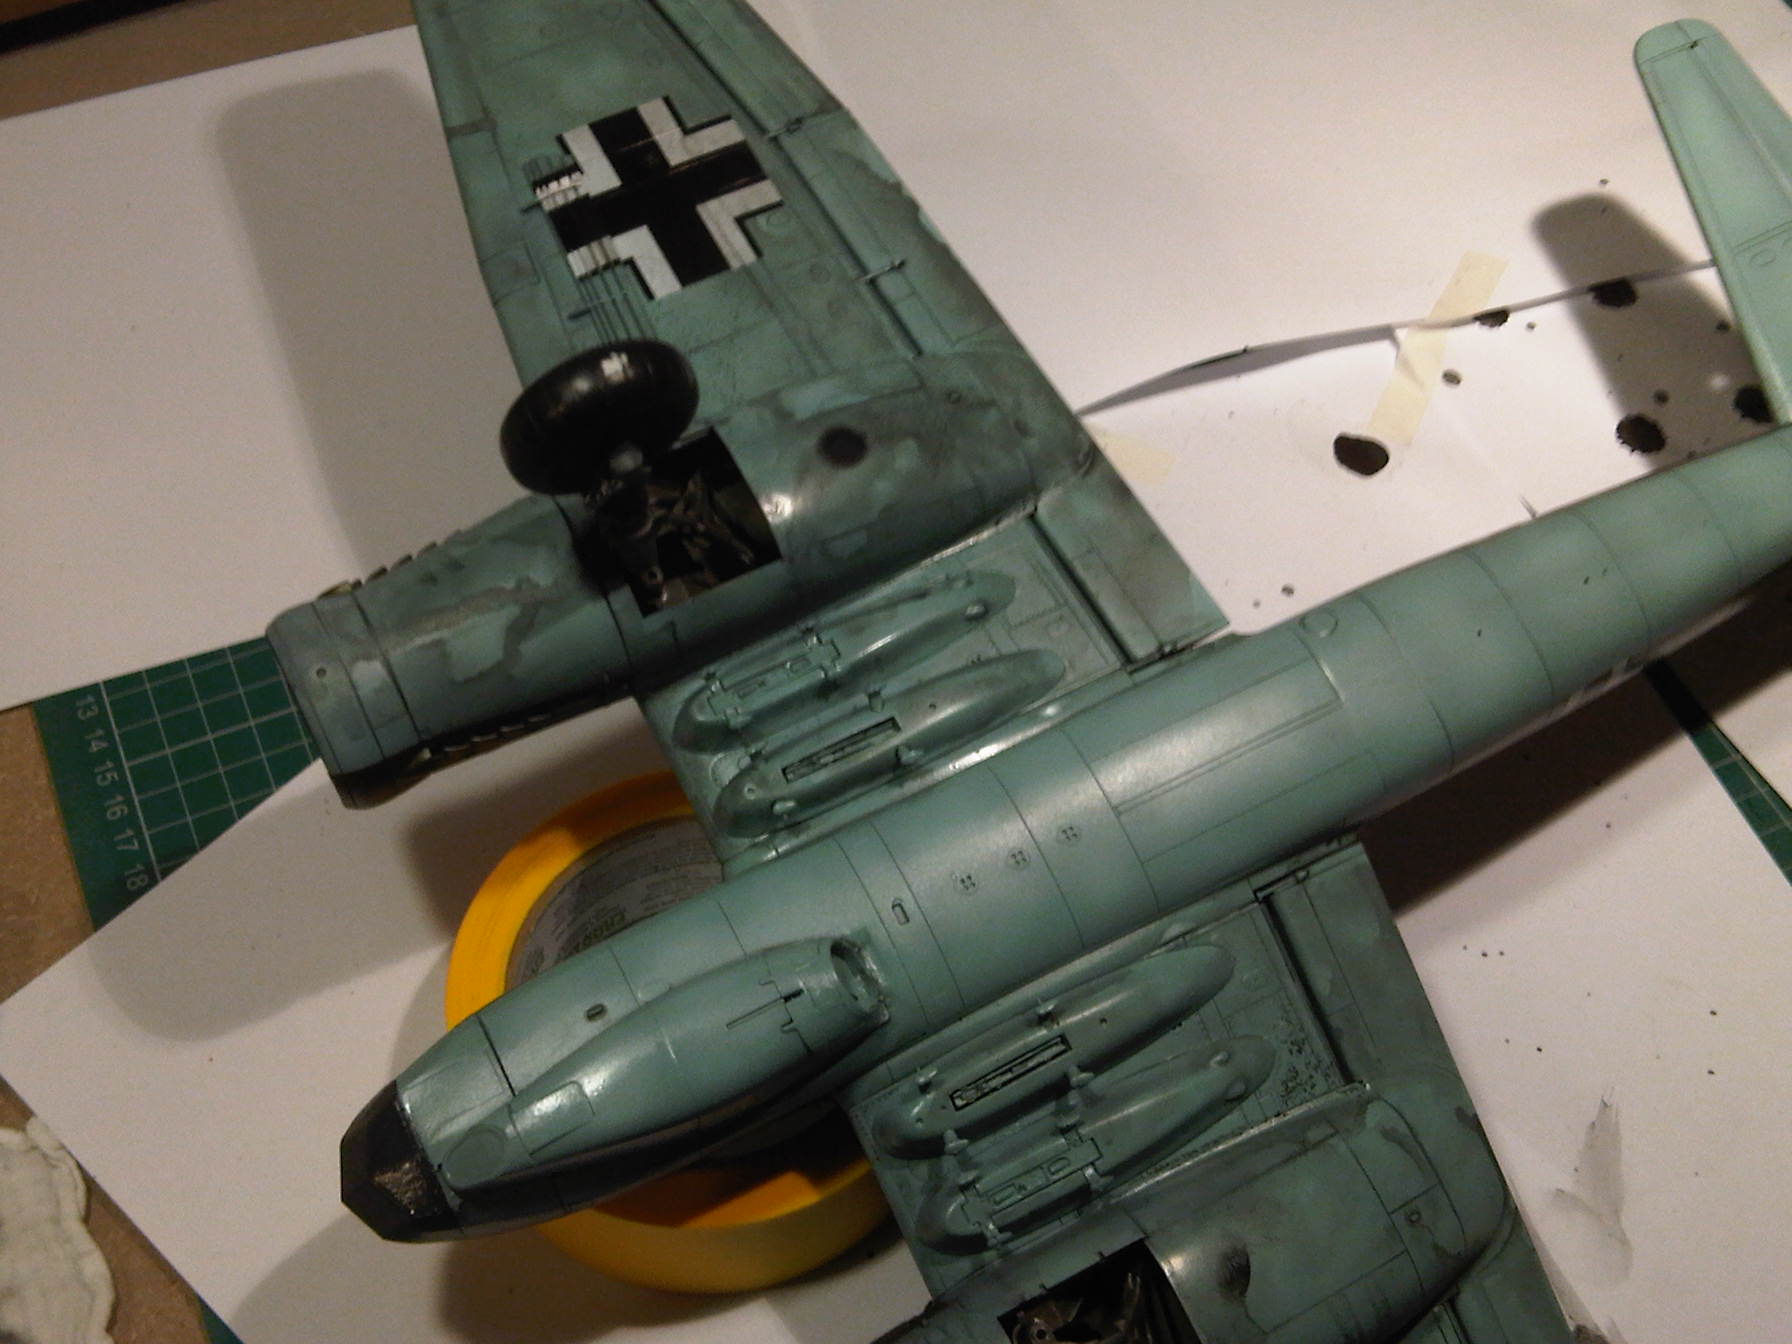
Here we have a shot of the underside with the base coat of RLM65 Blue applied, I hope you can see the effects I am trying to achieve in the shot.
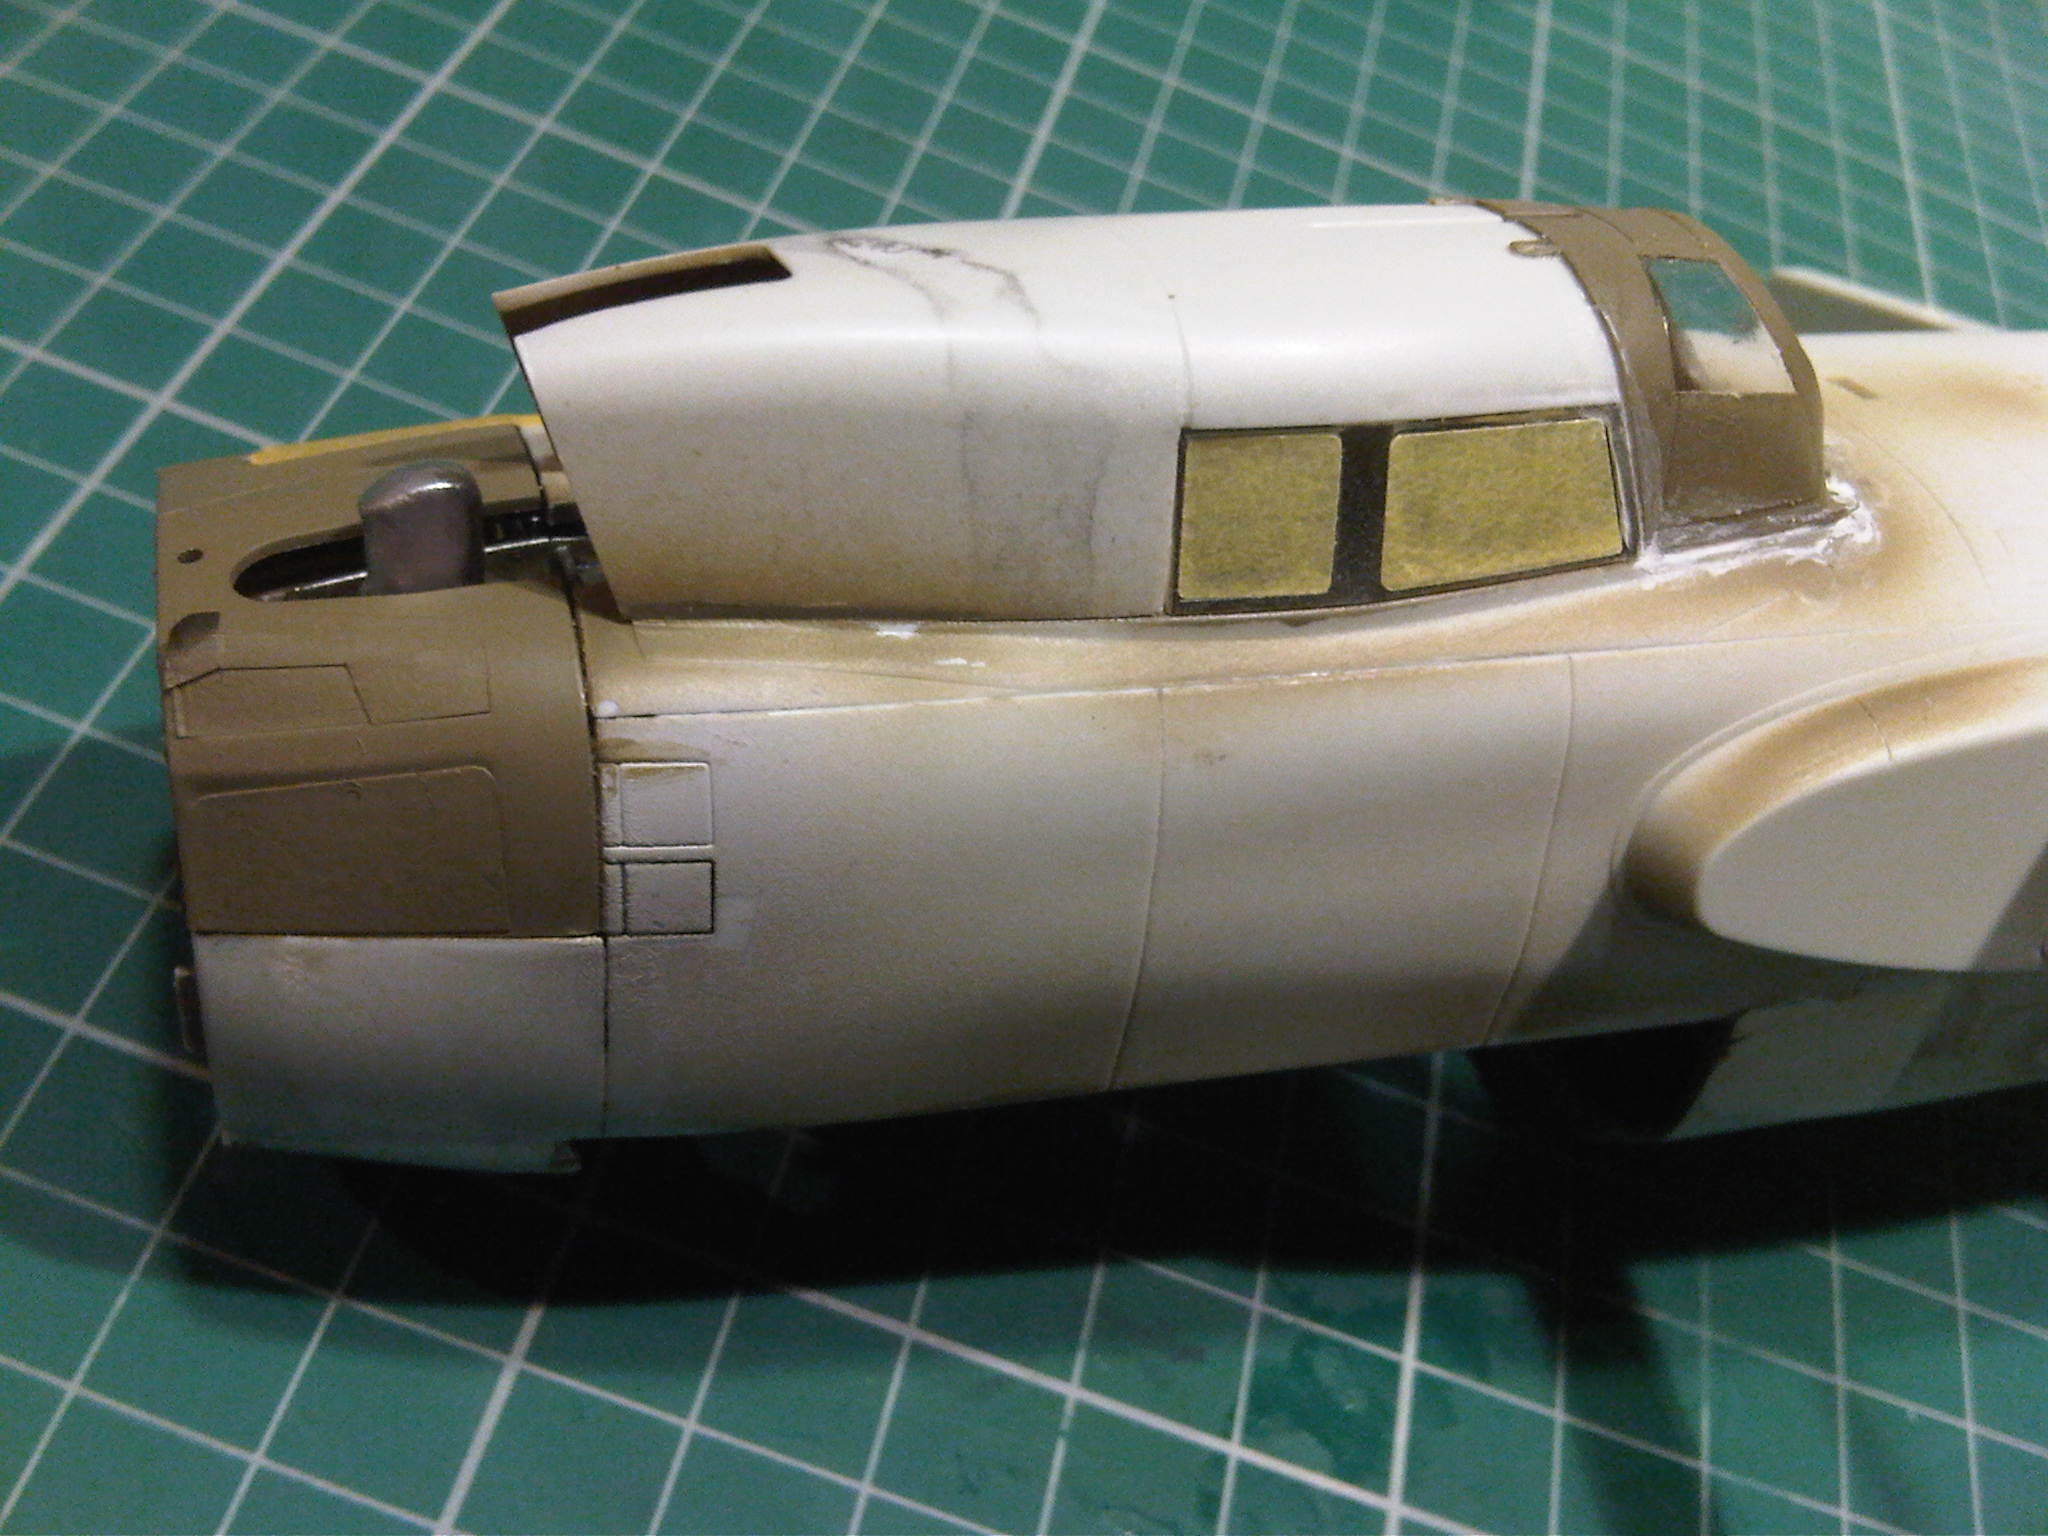
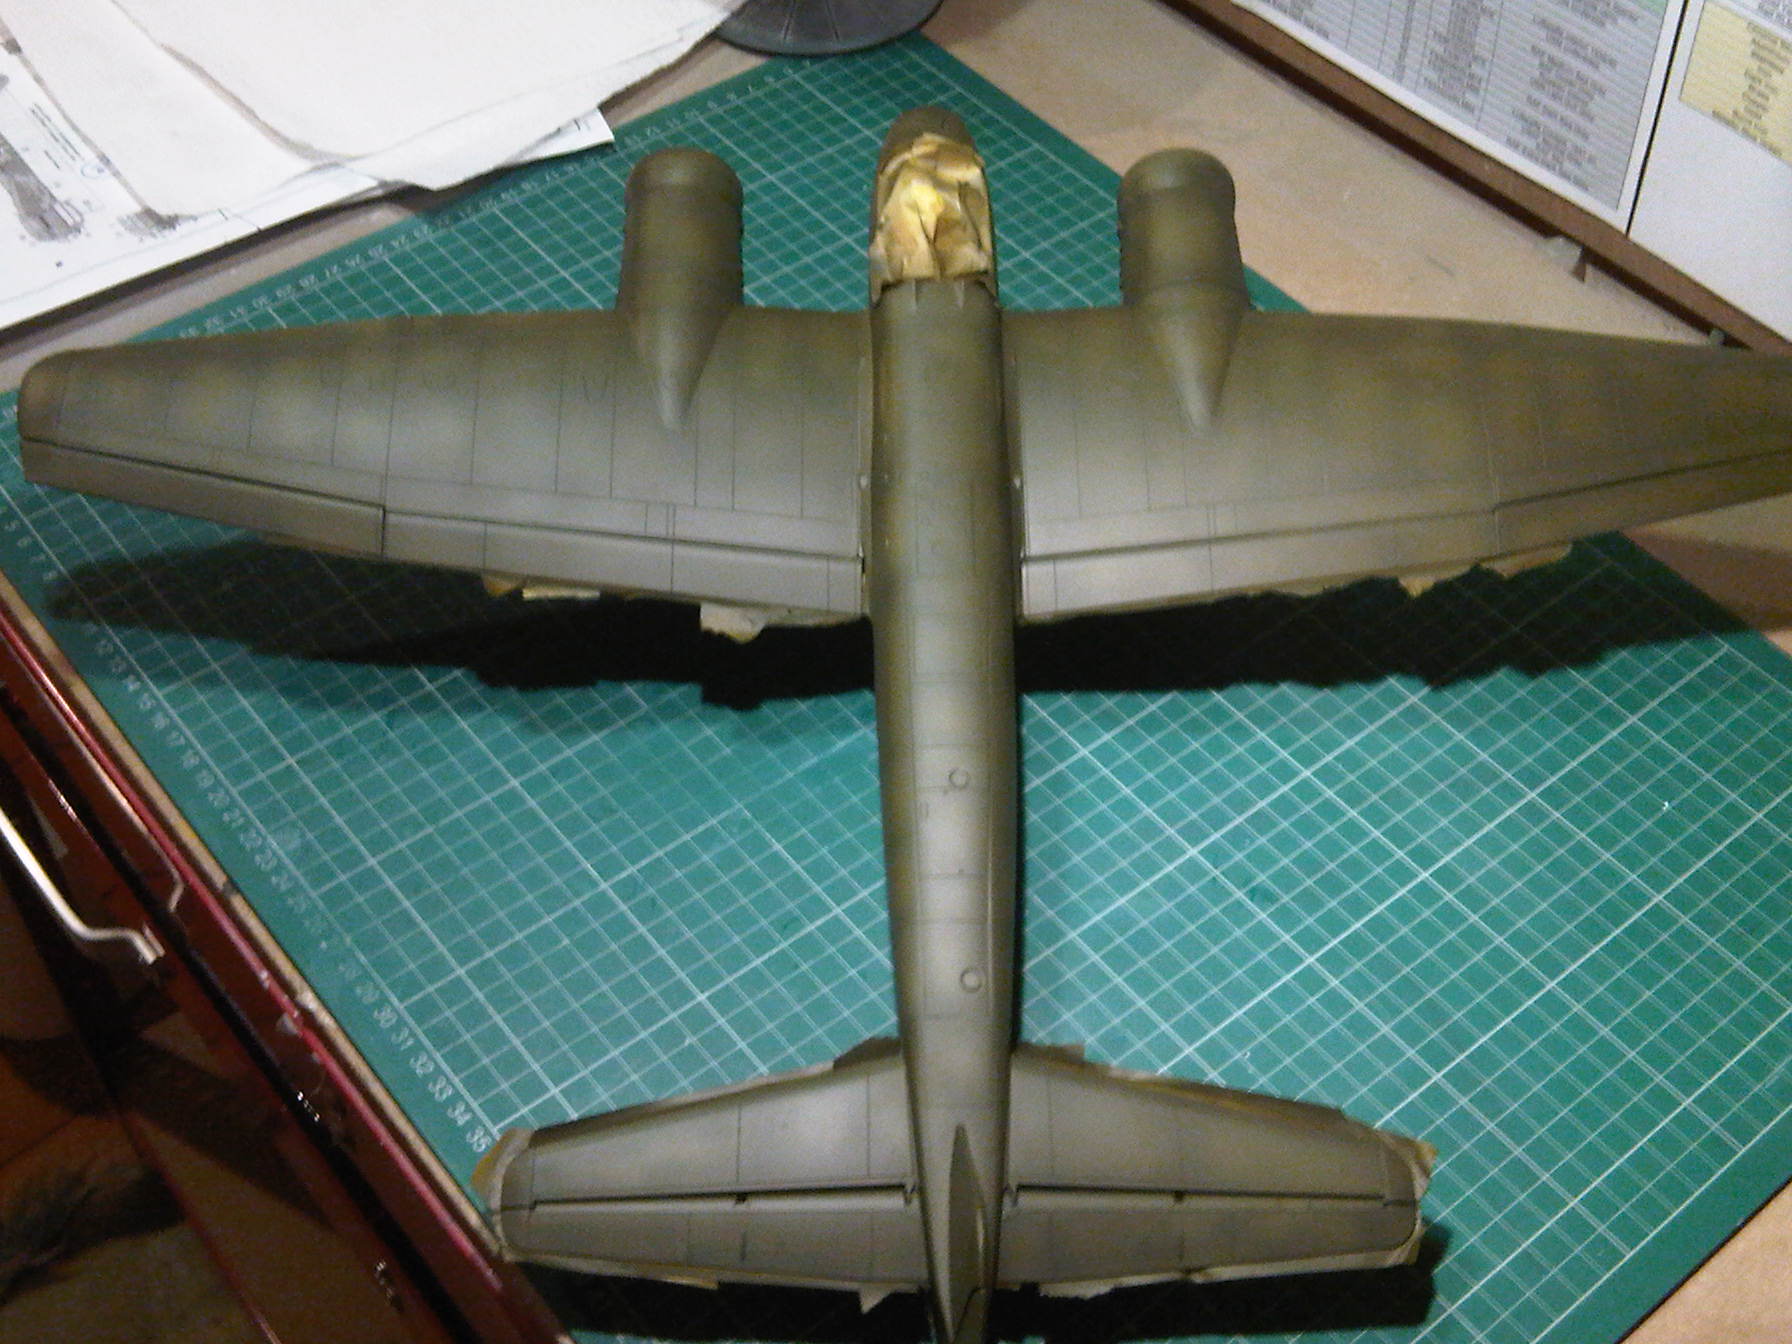
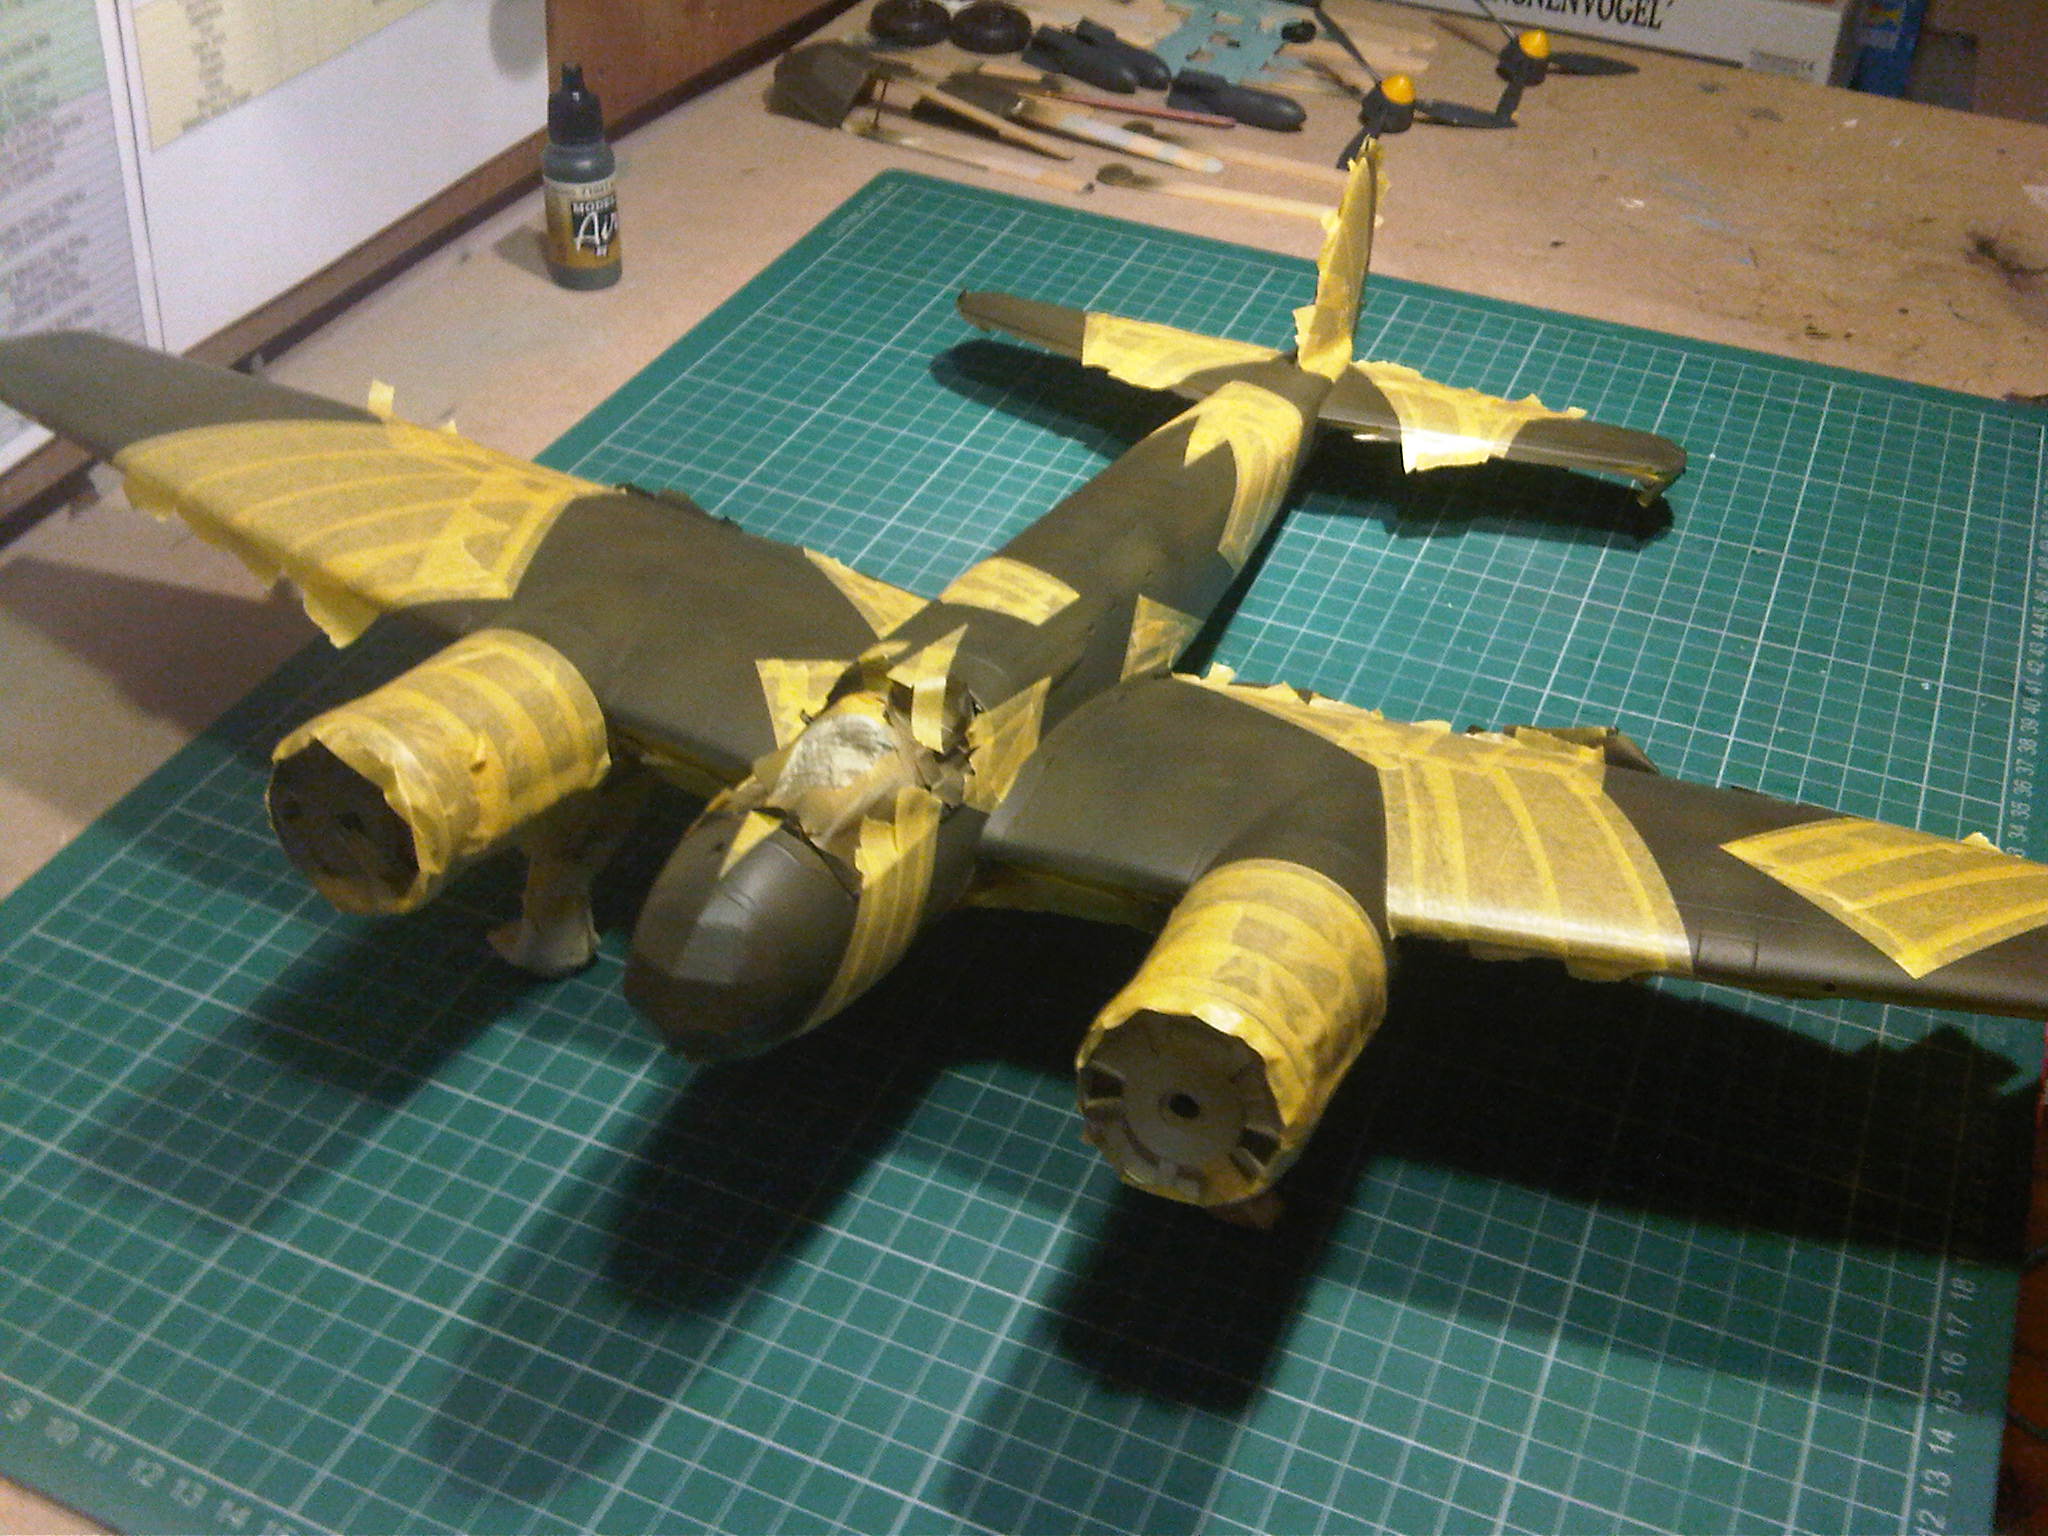
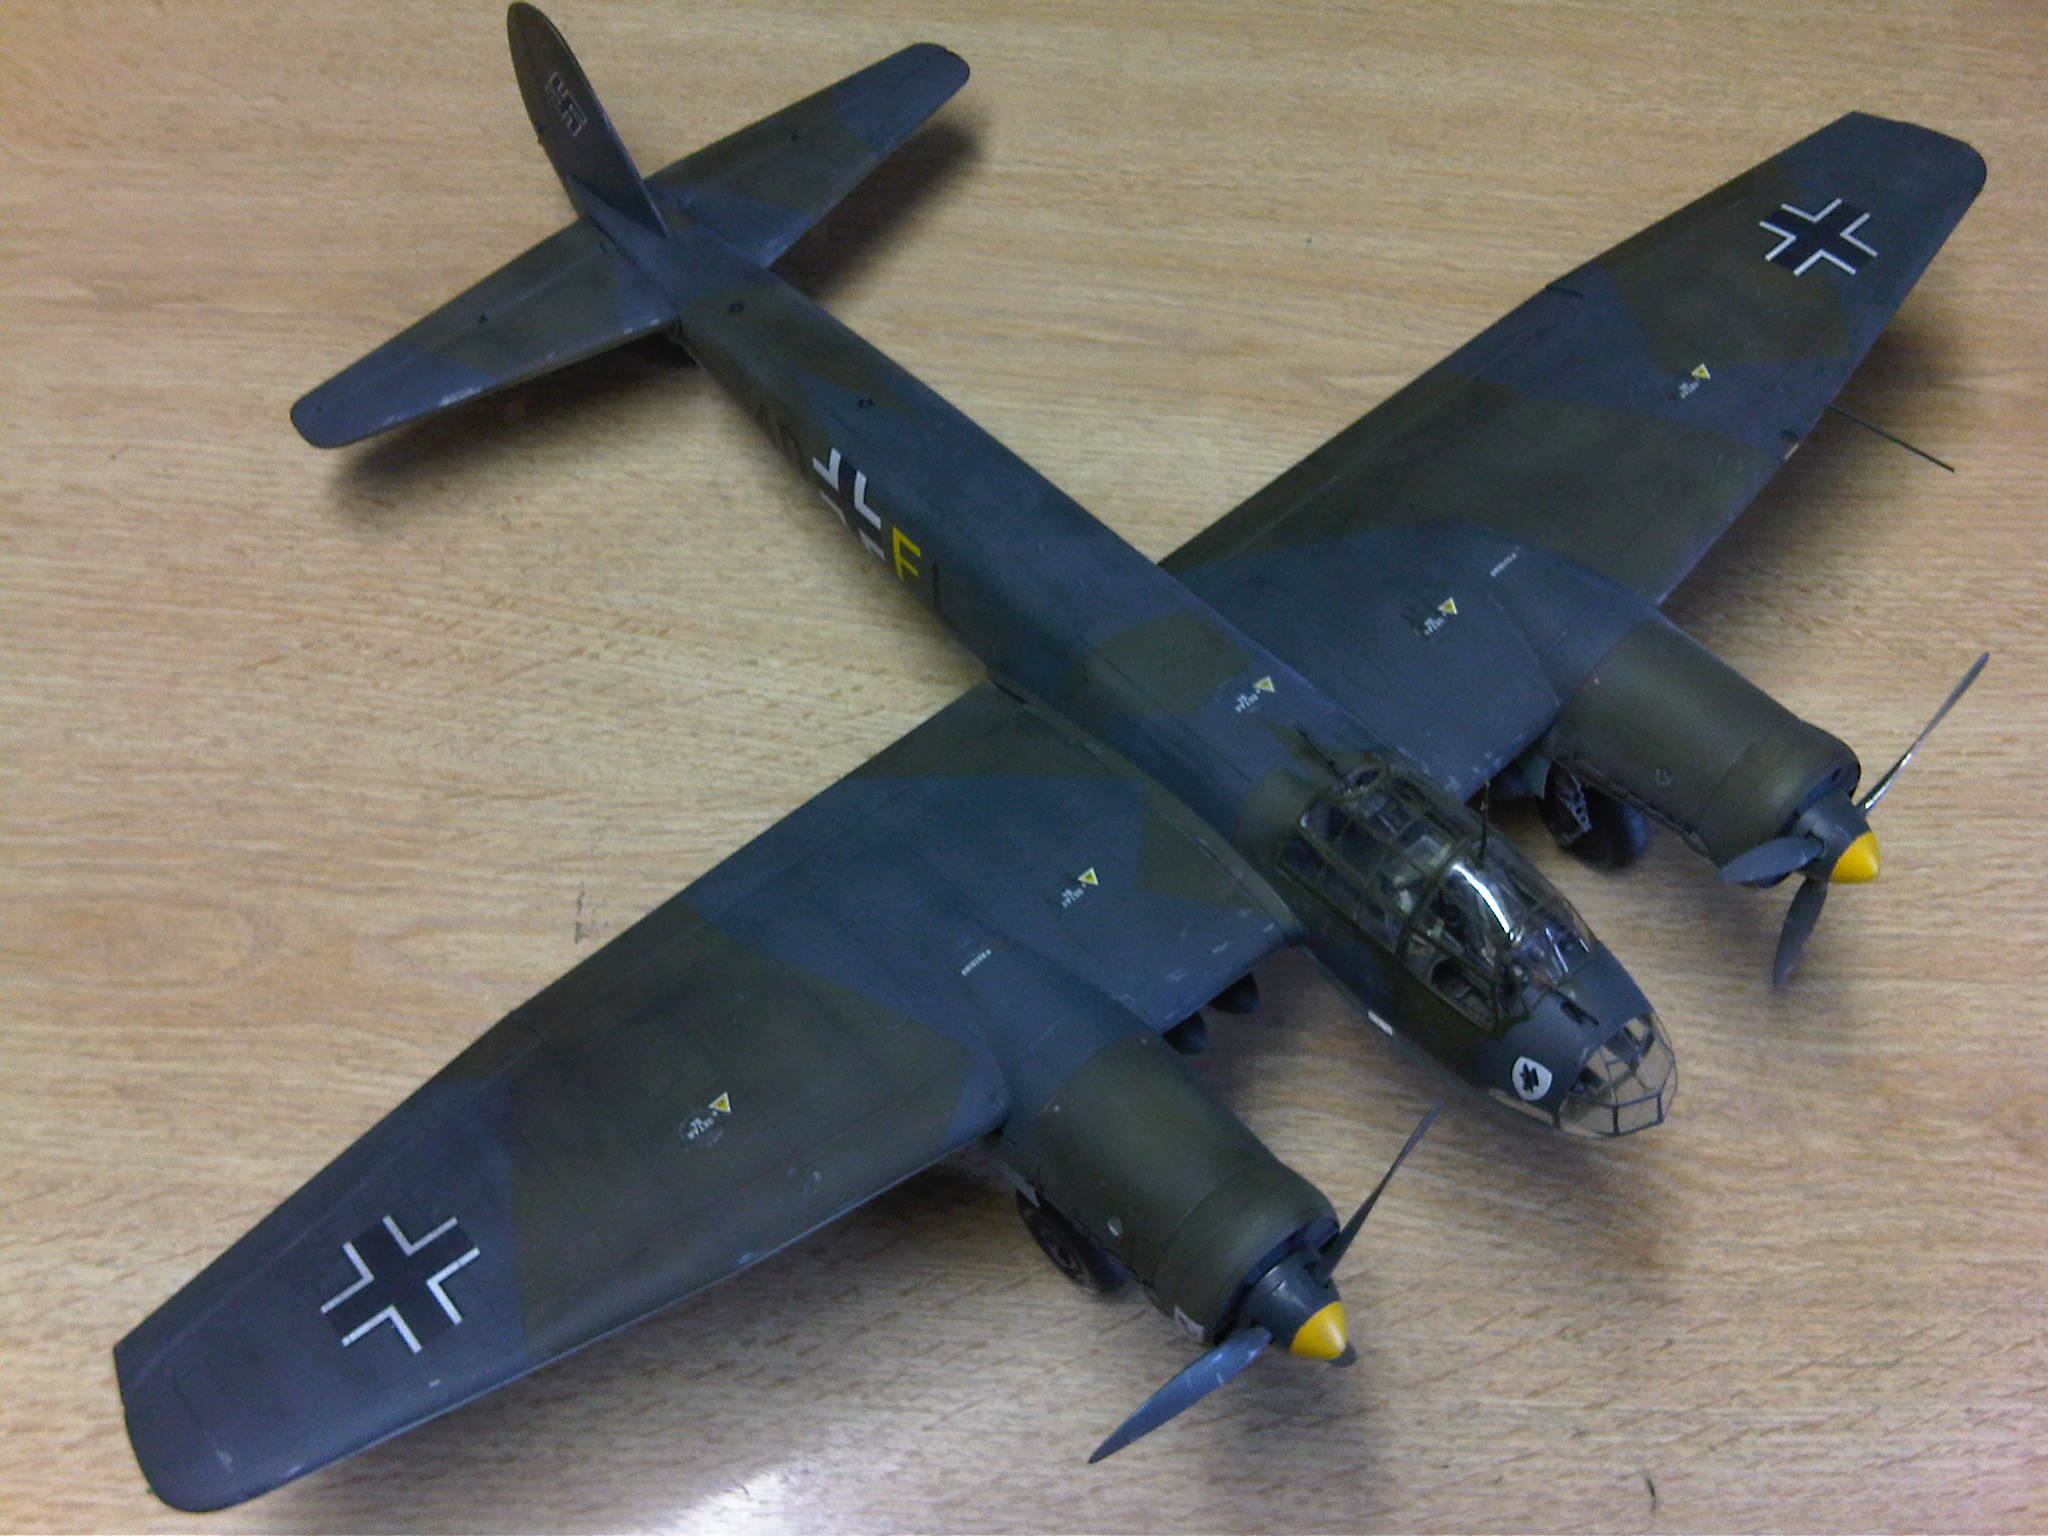
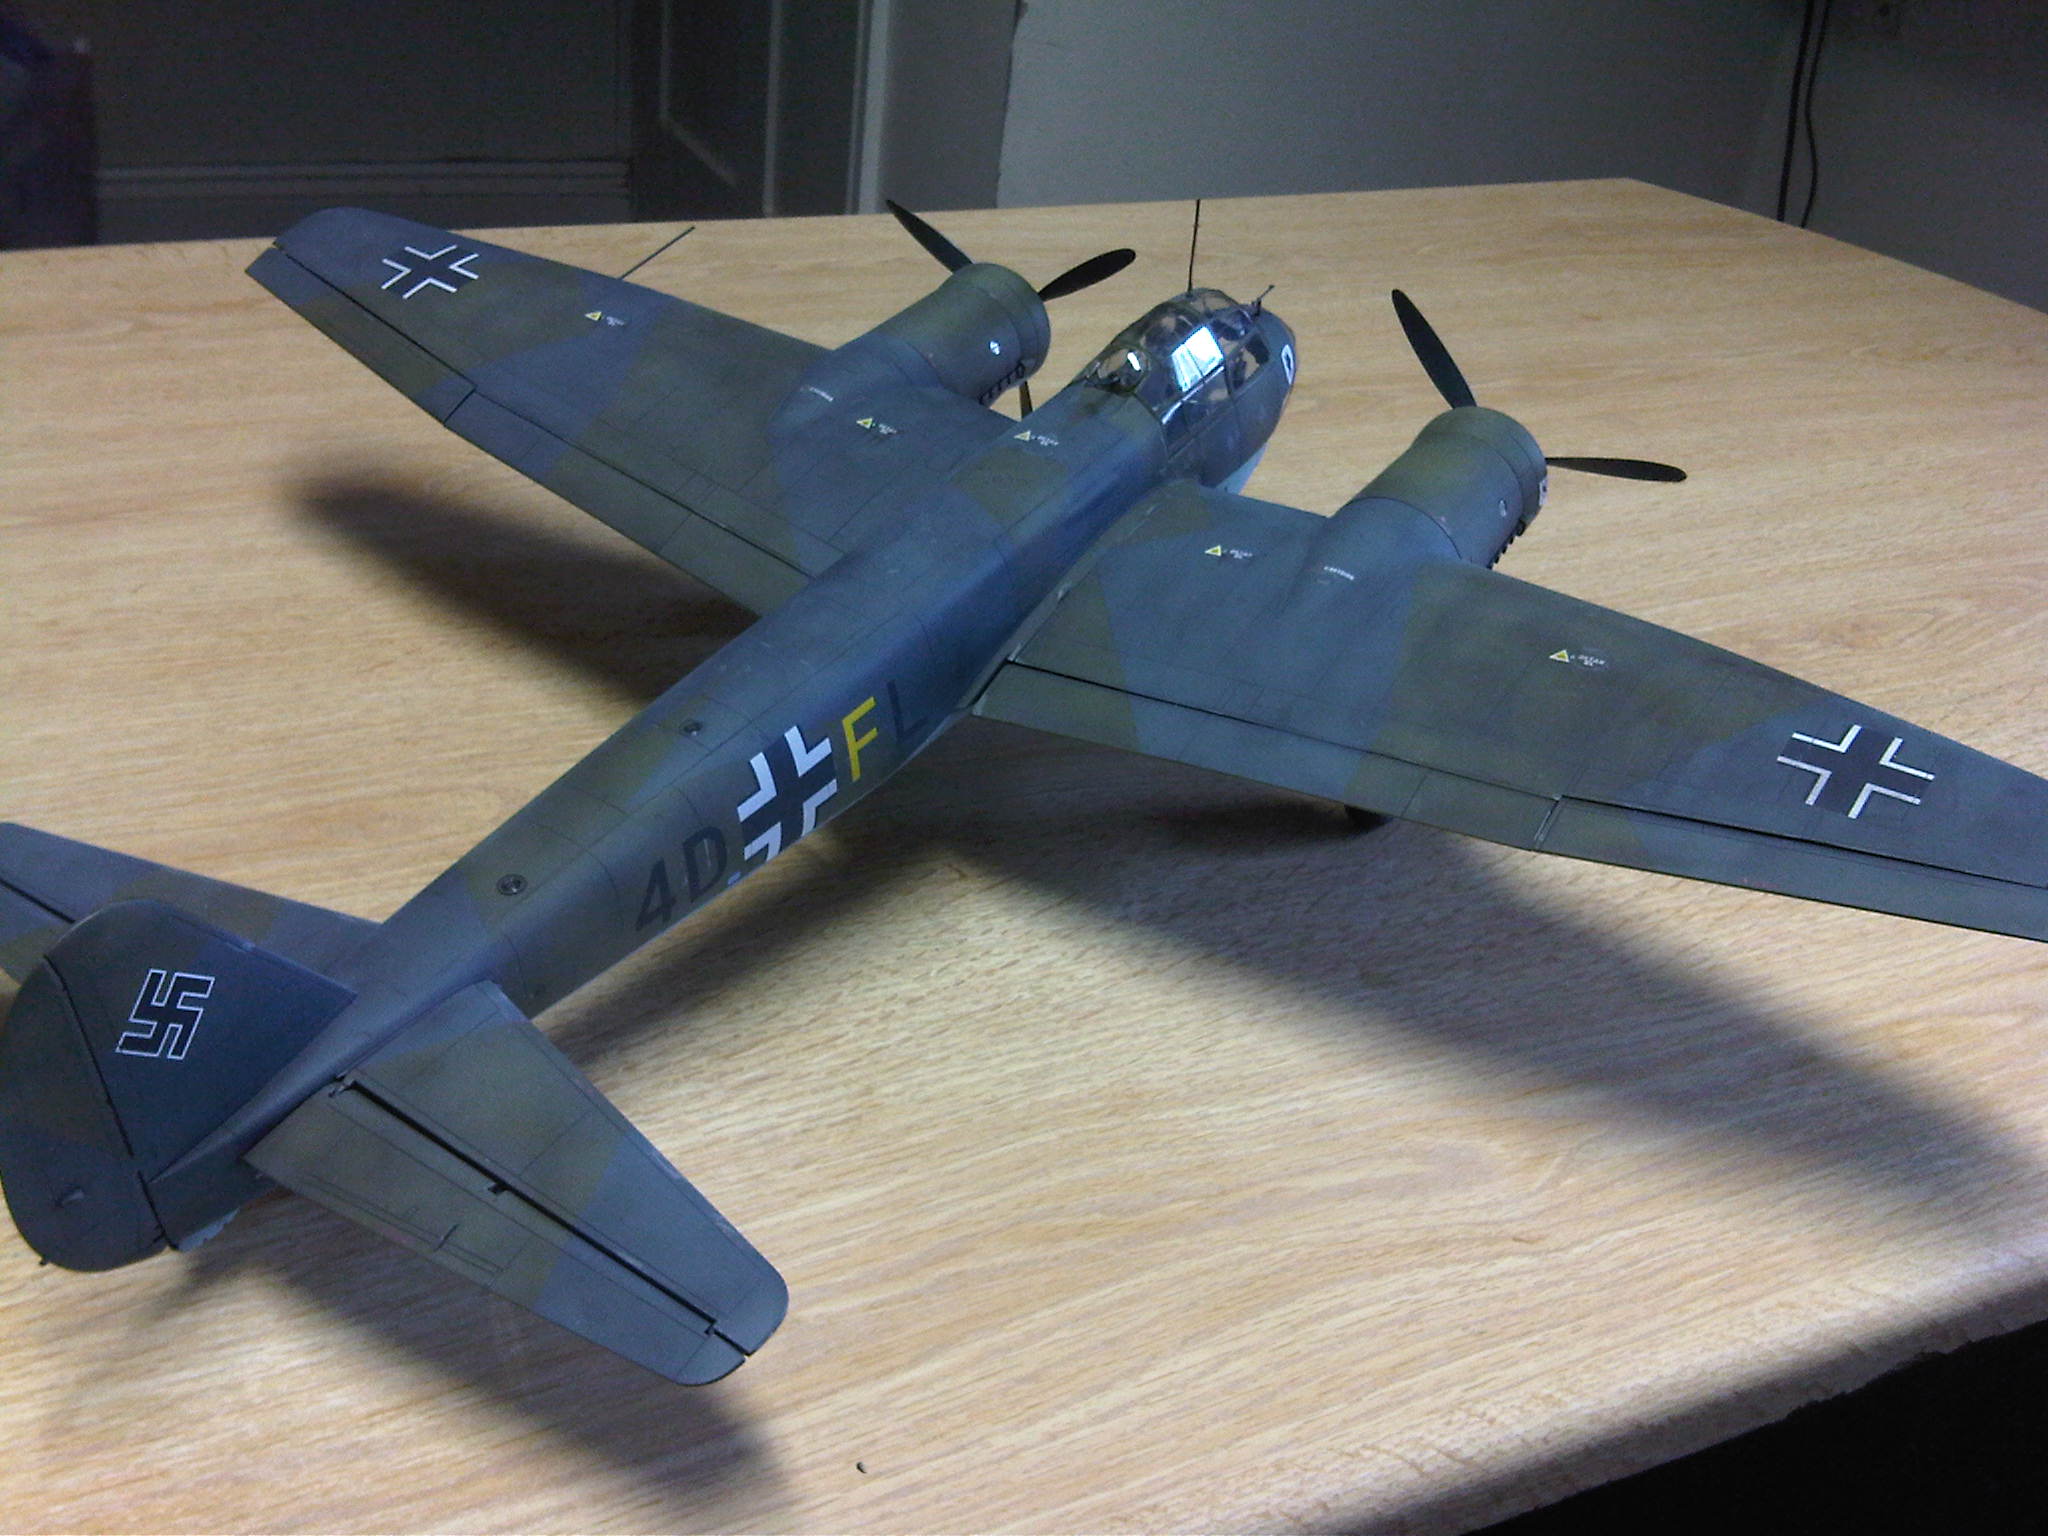
I had to leave the paint to cure for 24 hours before masking it up - a 2 hour job! ready to apply the base colour on the topside. It is RLM71 Olive Green.
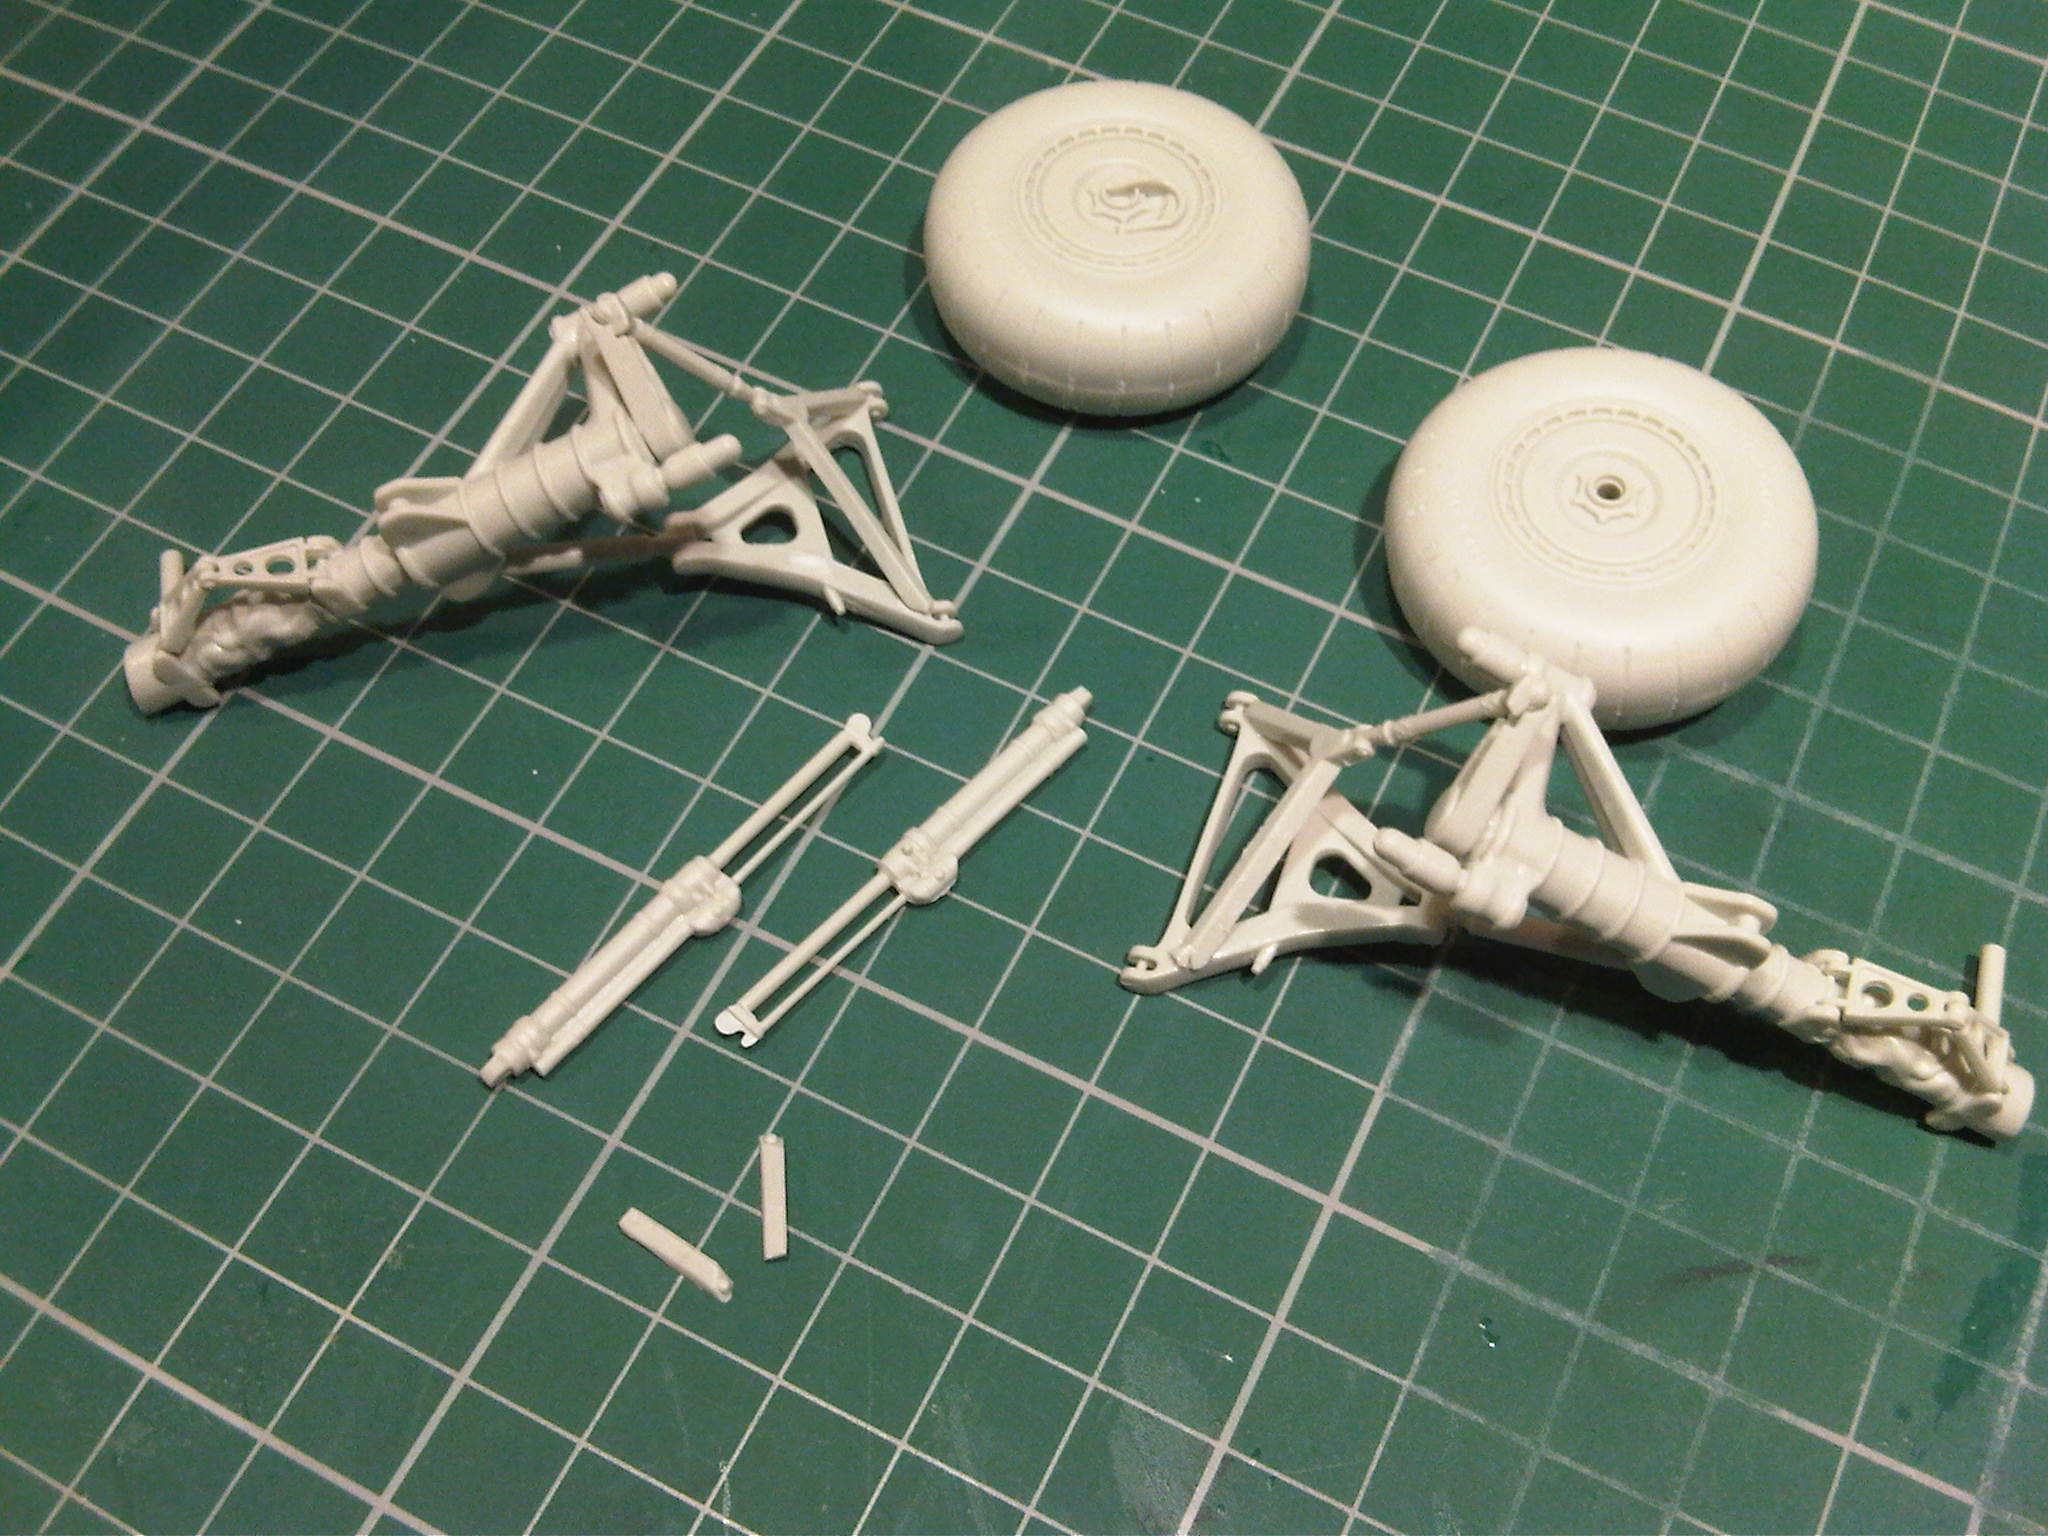
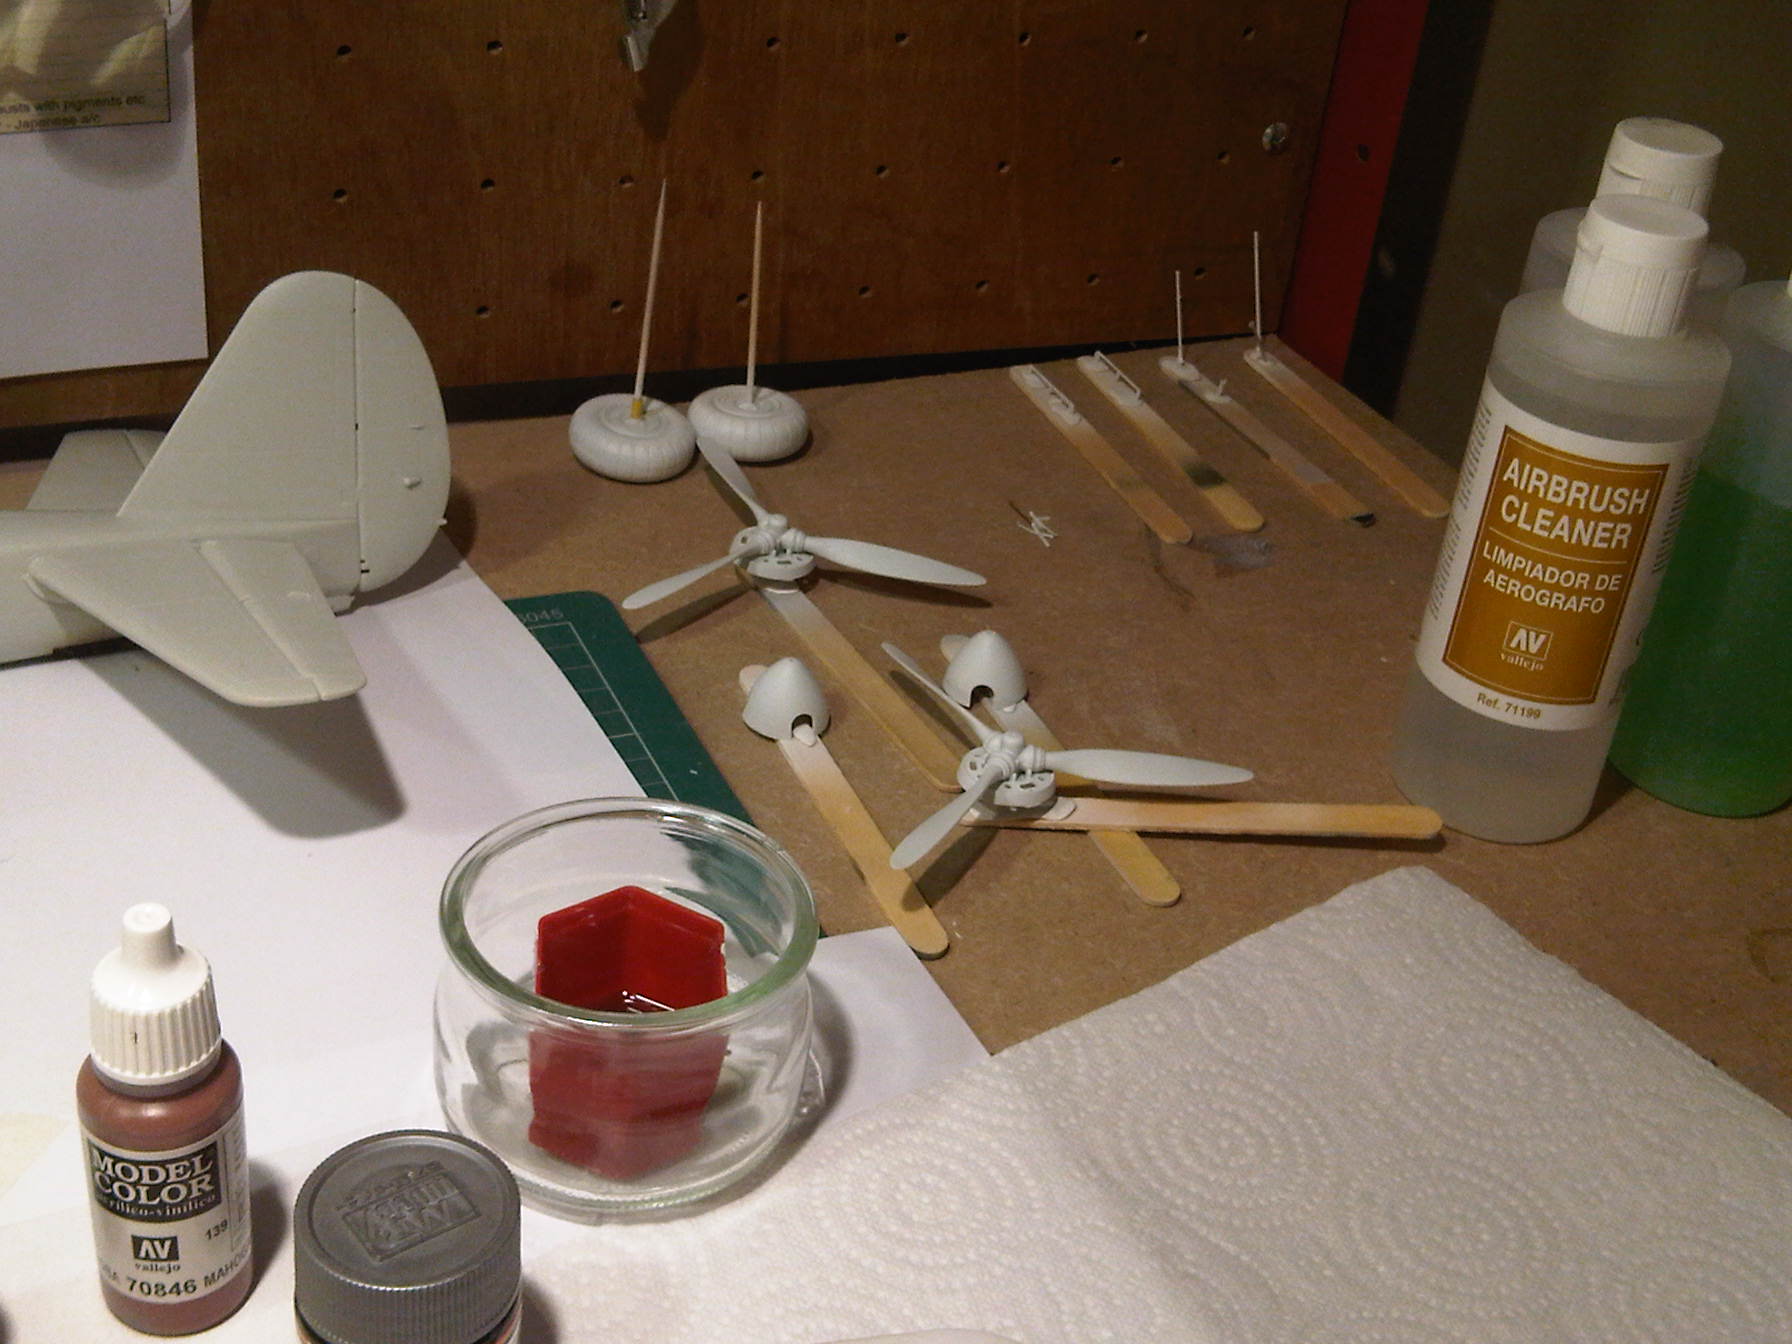
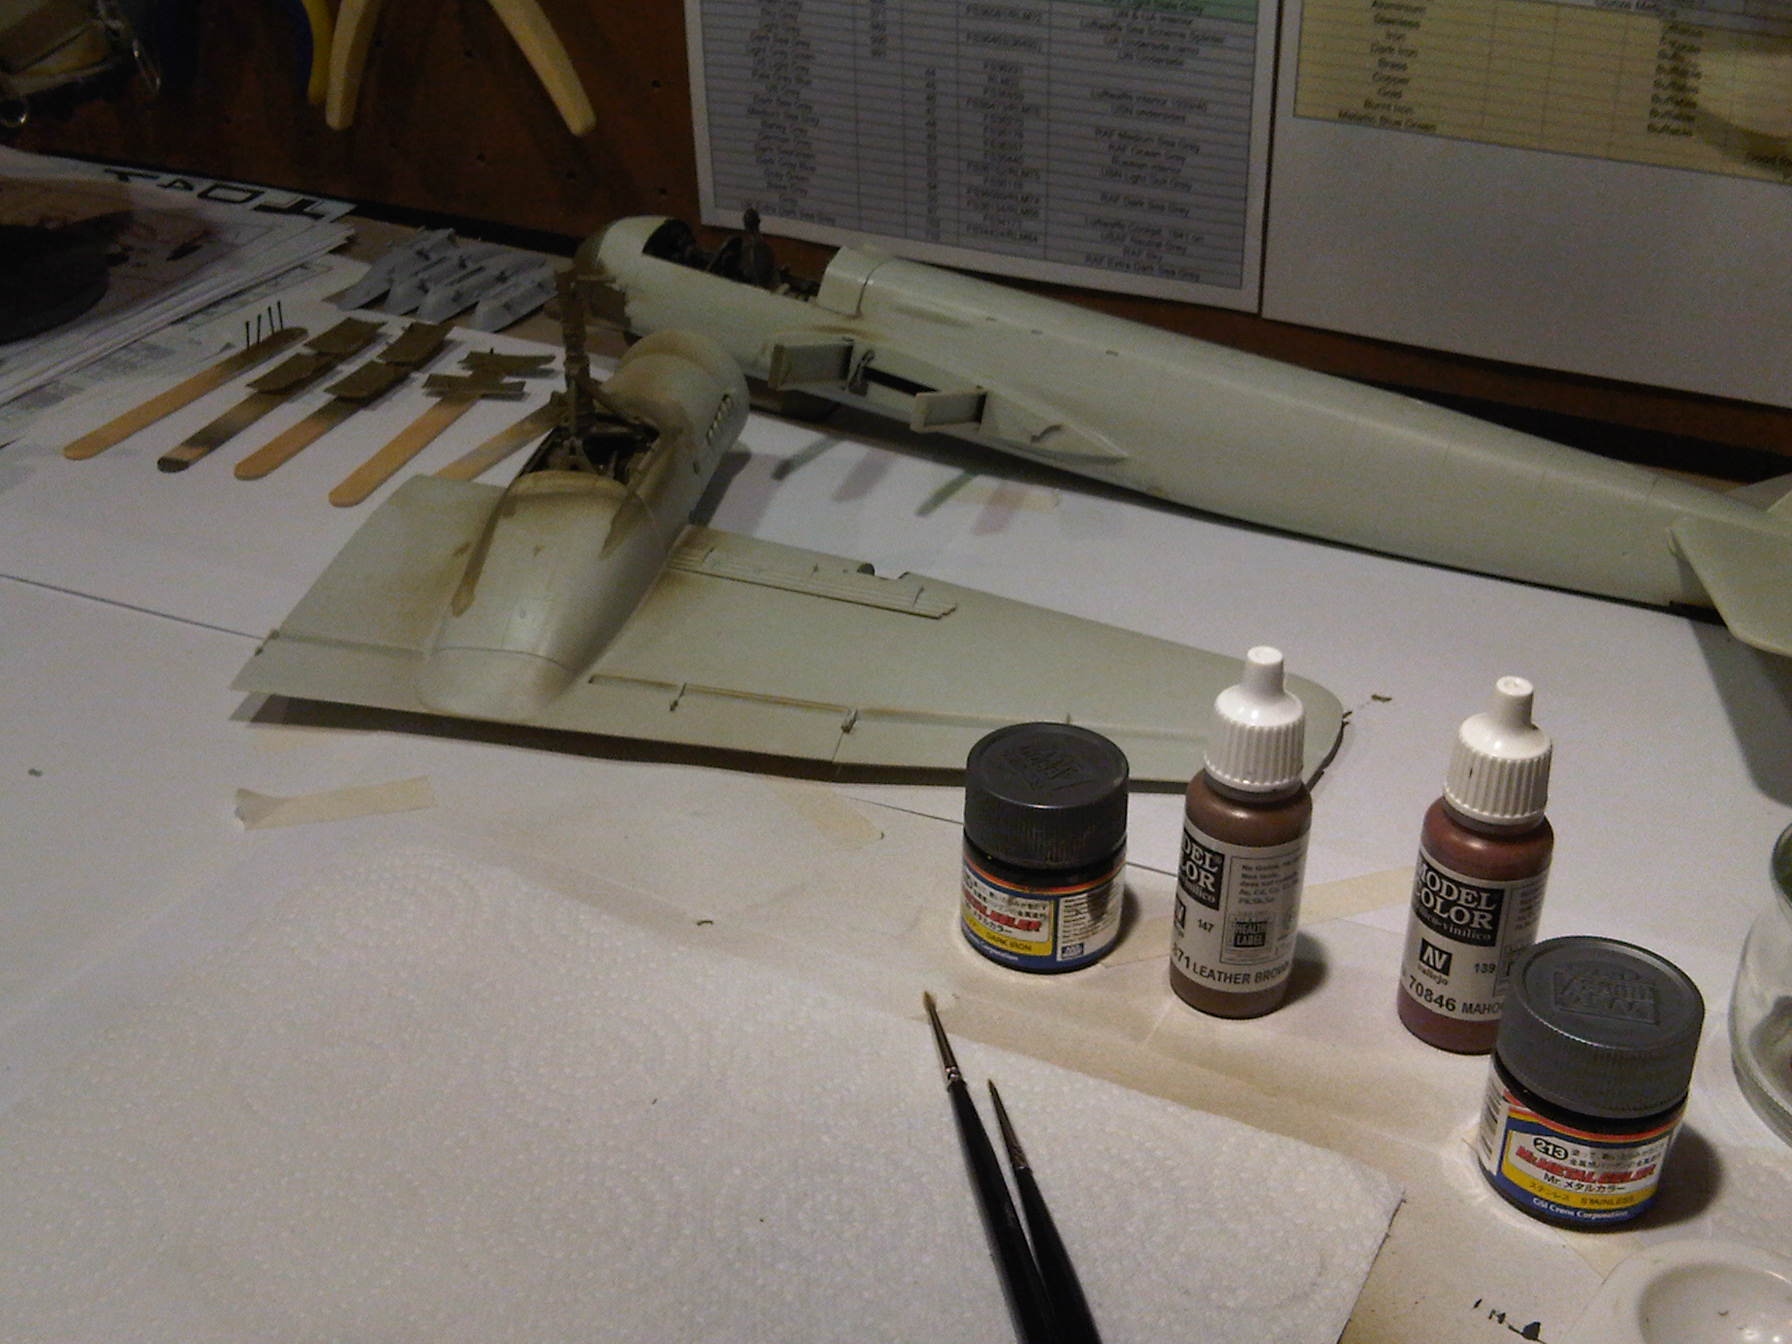
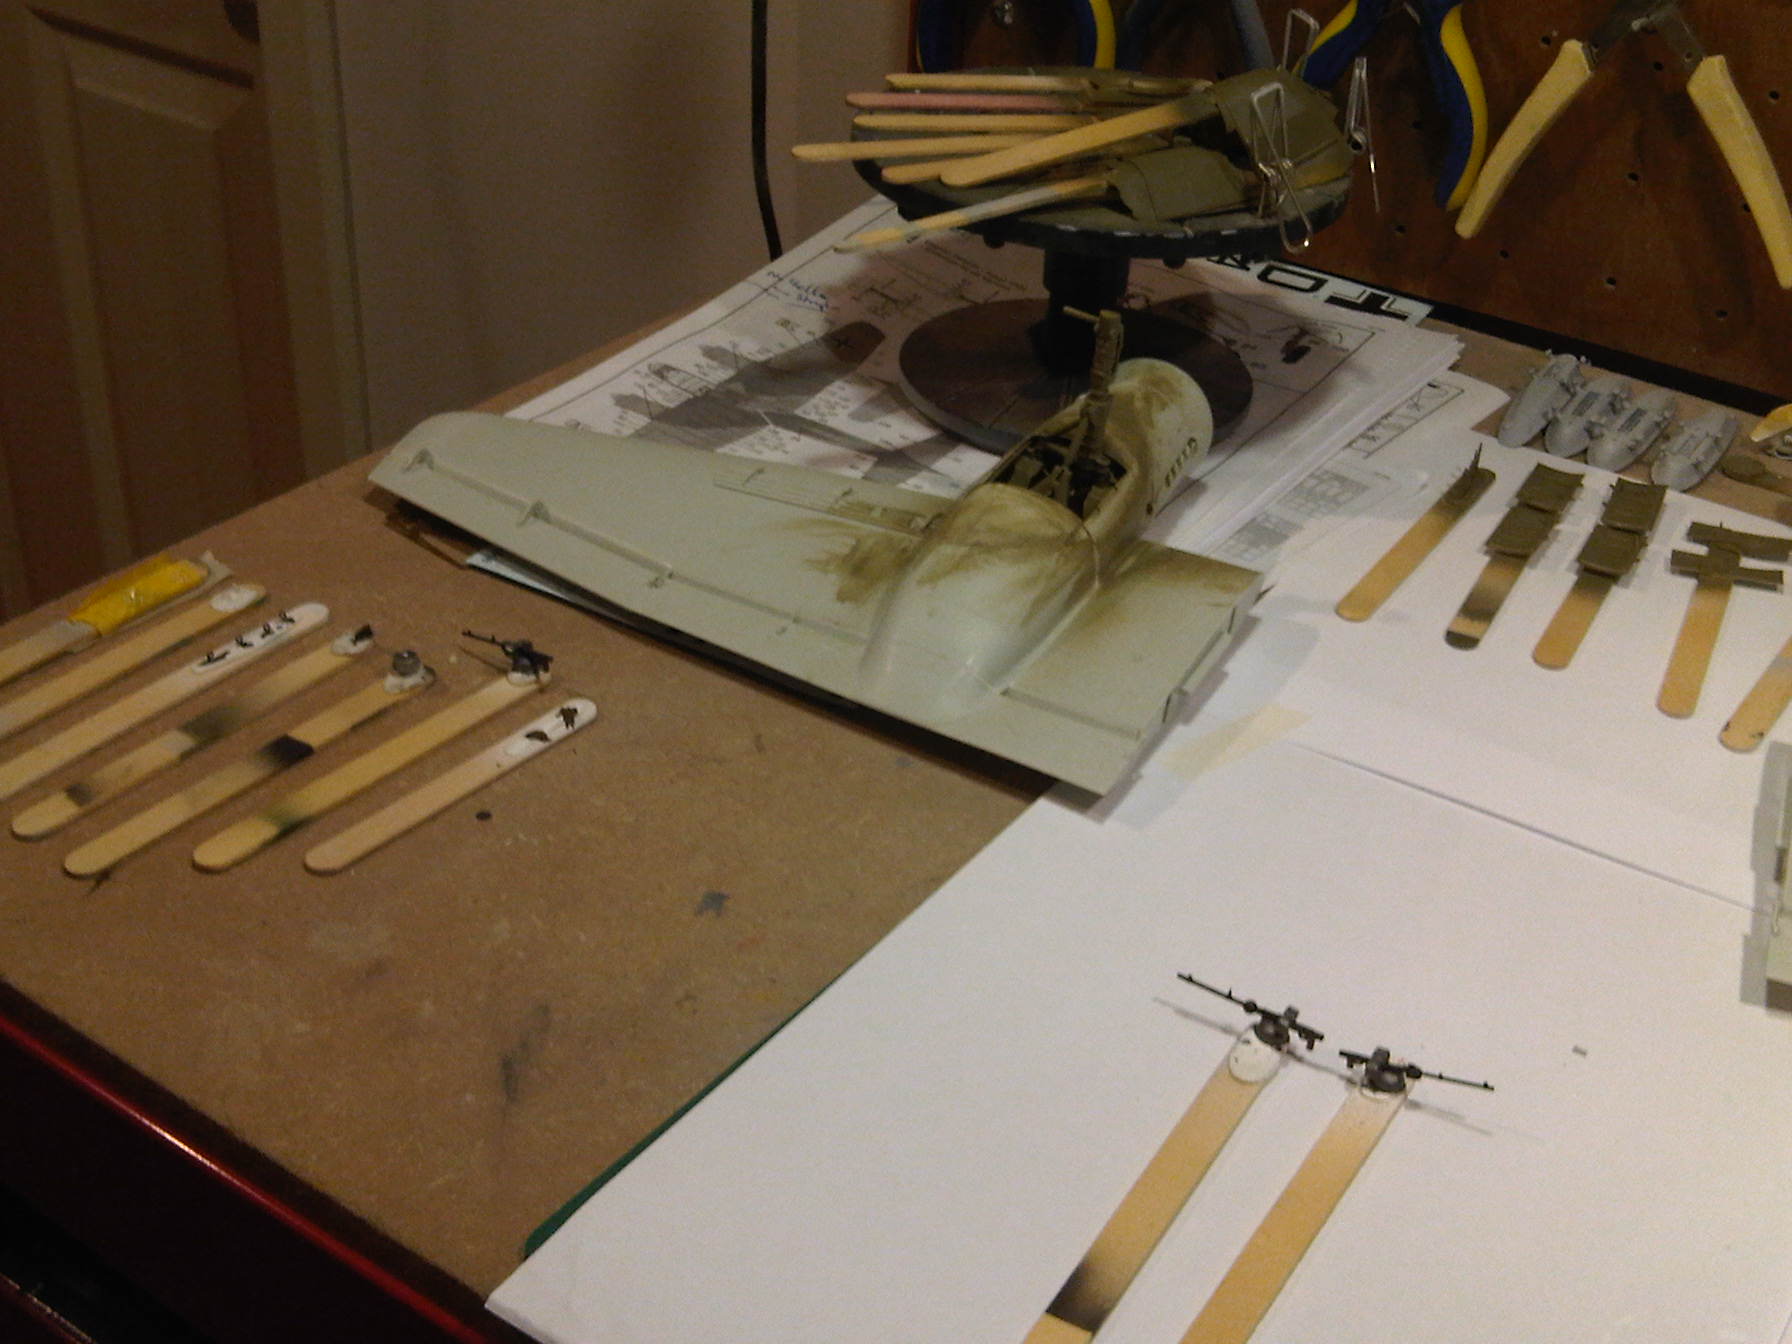
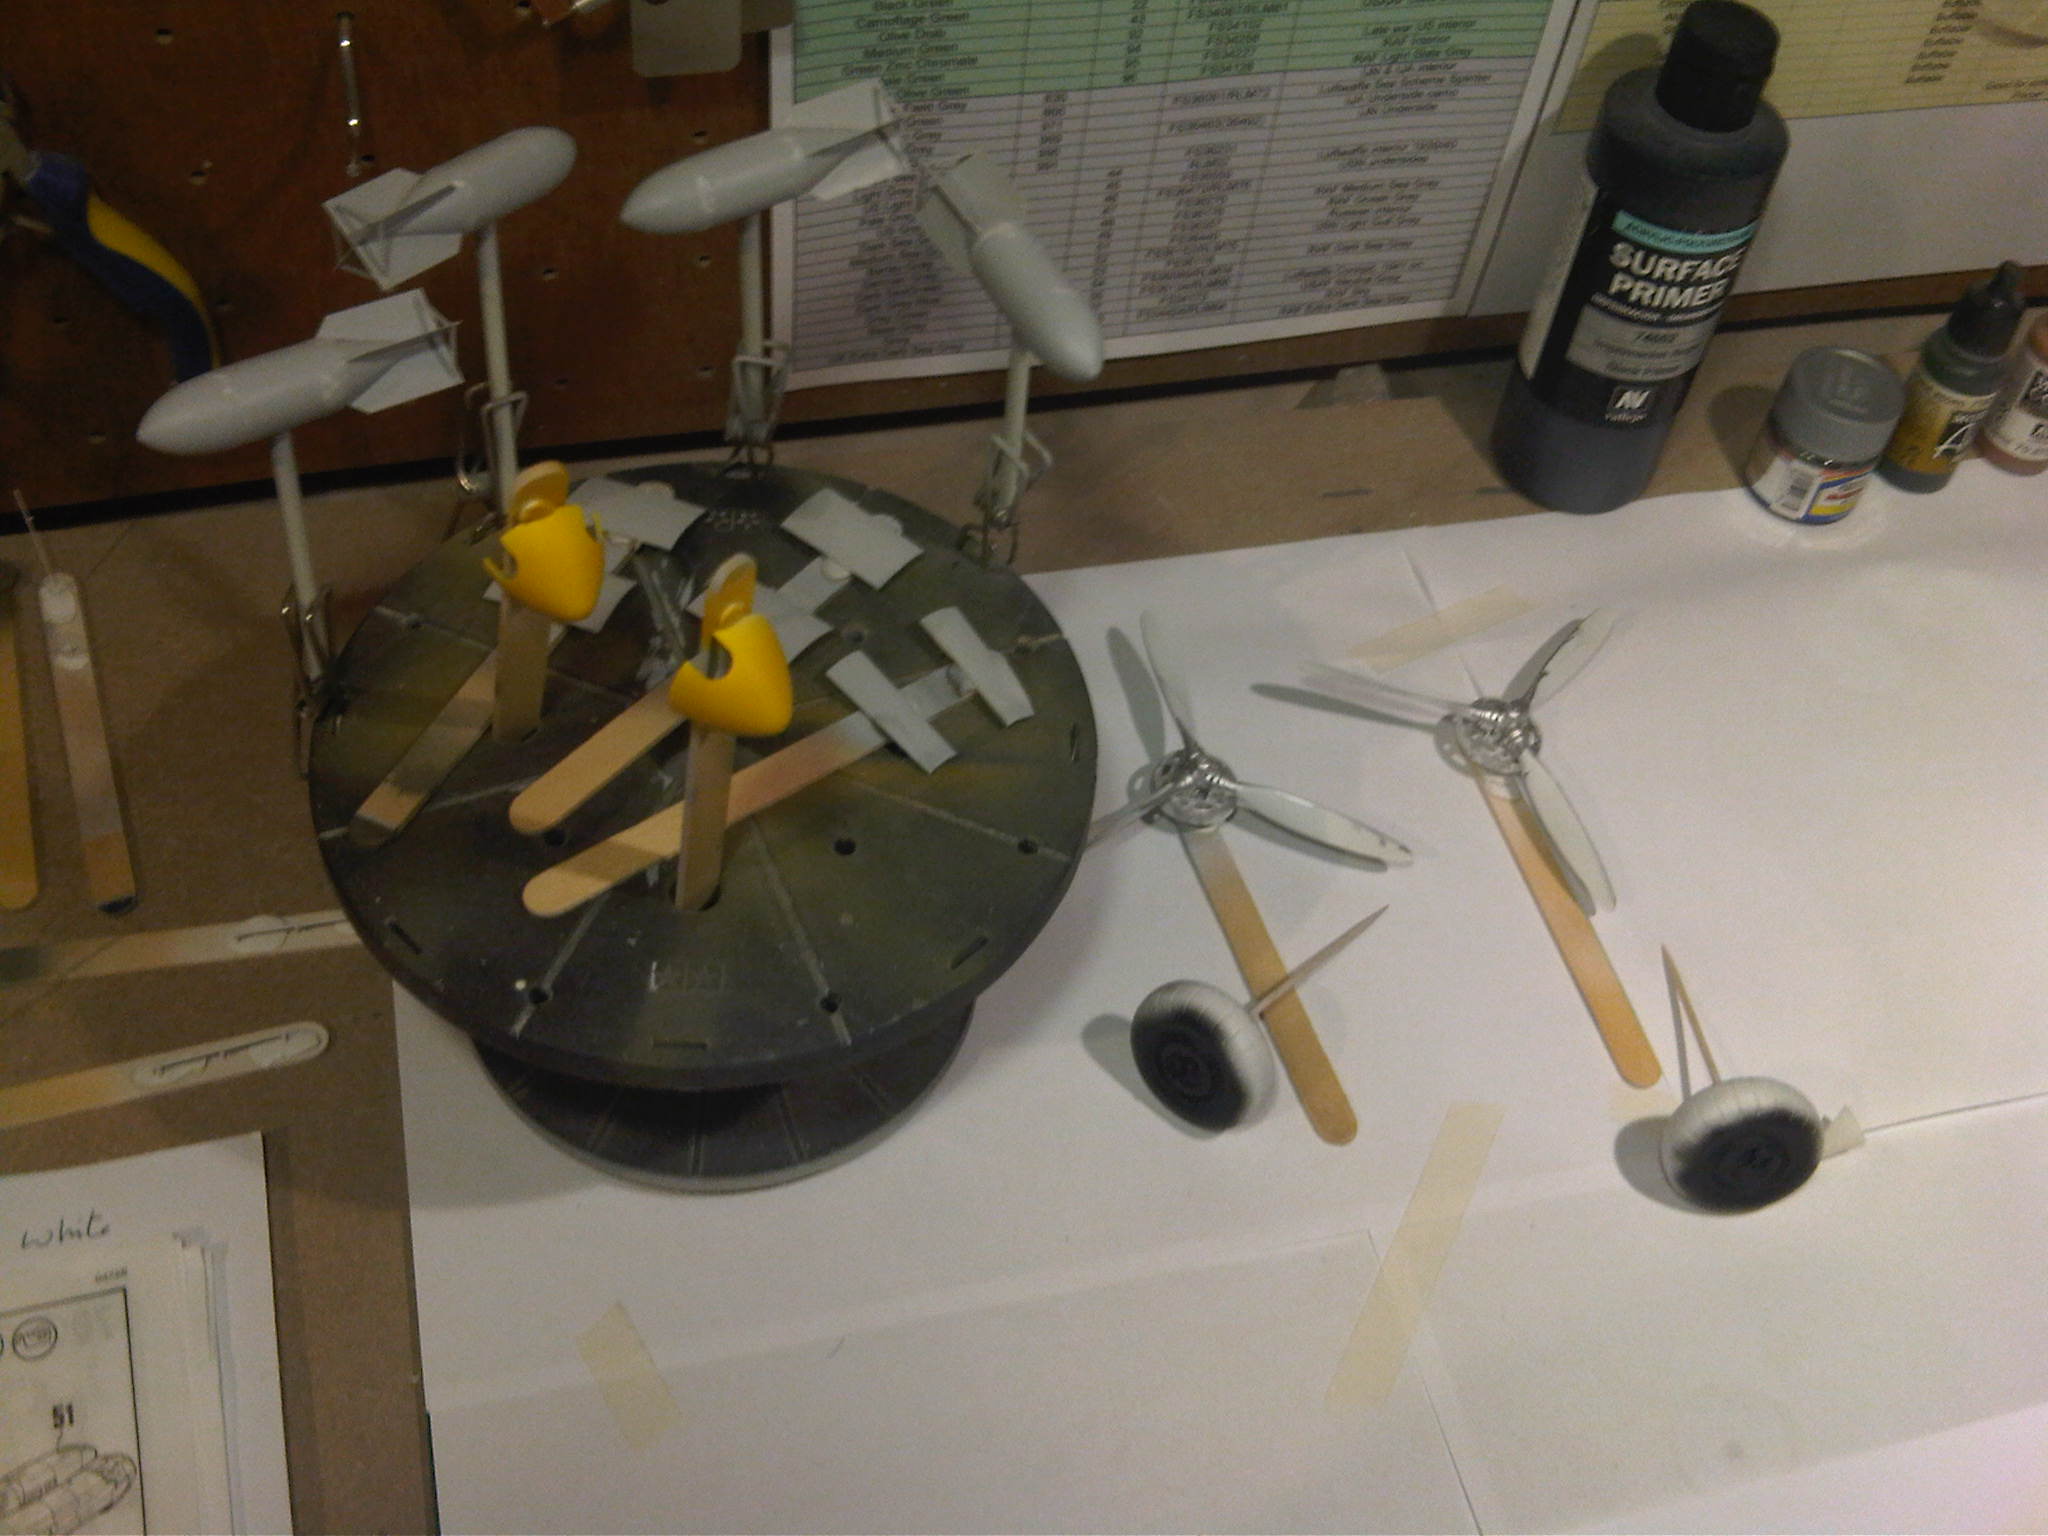
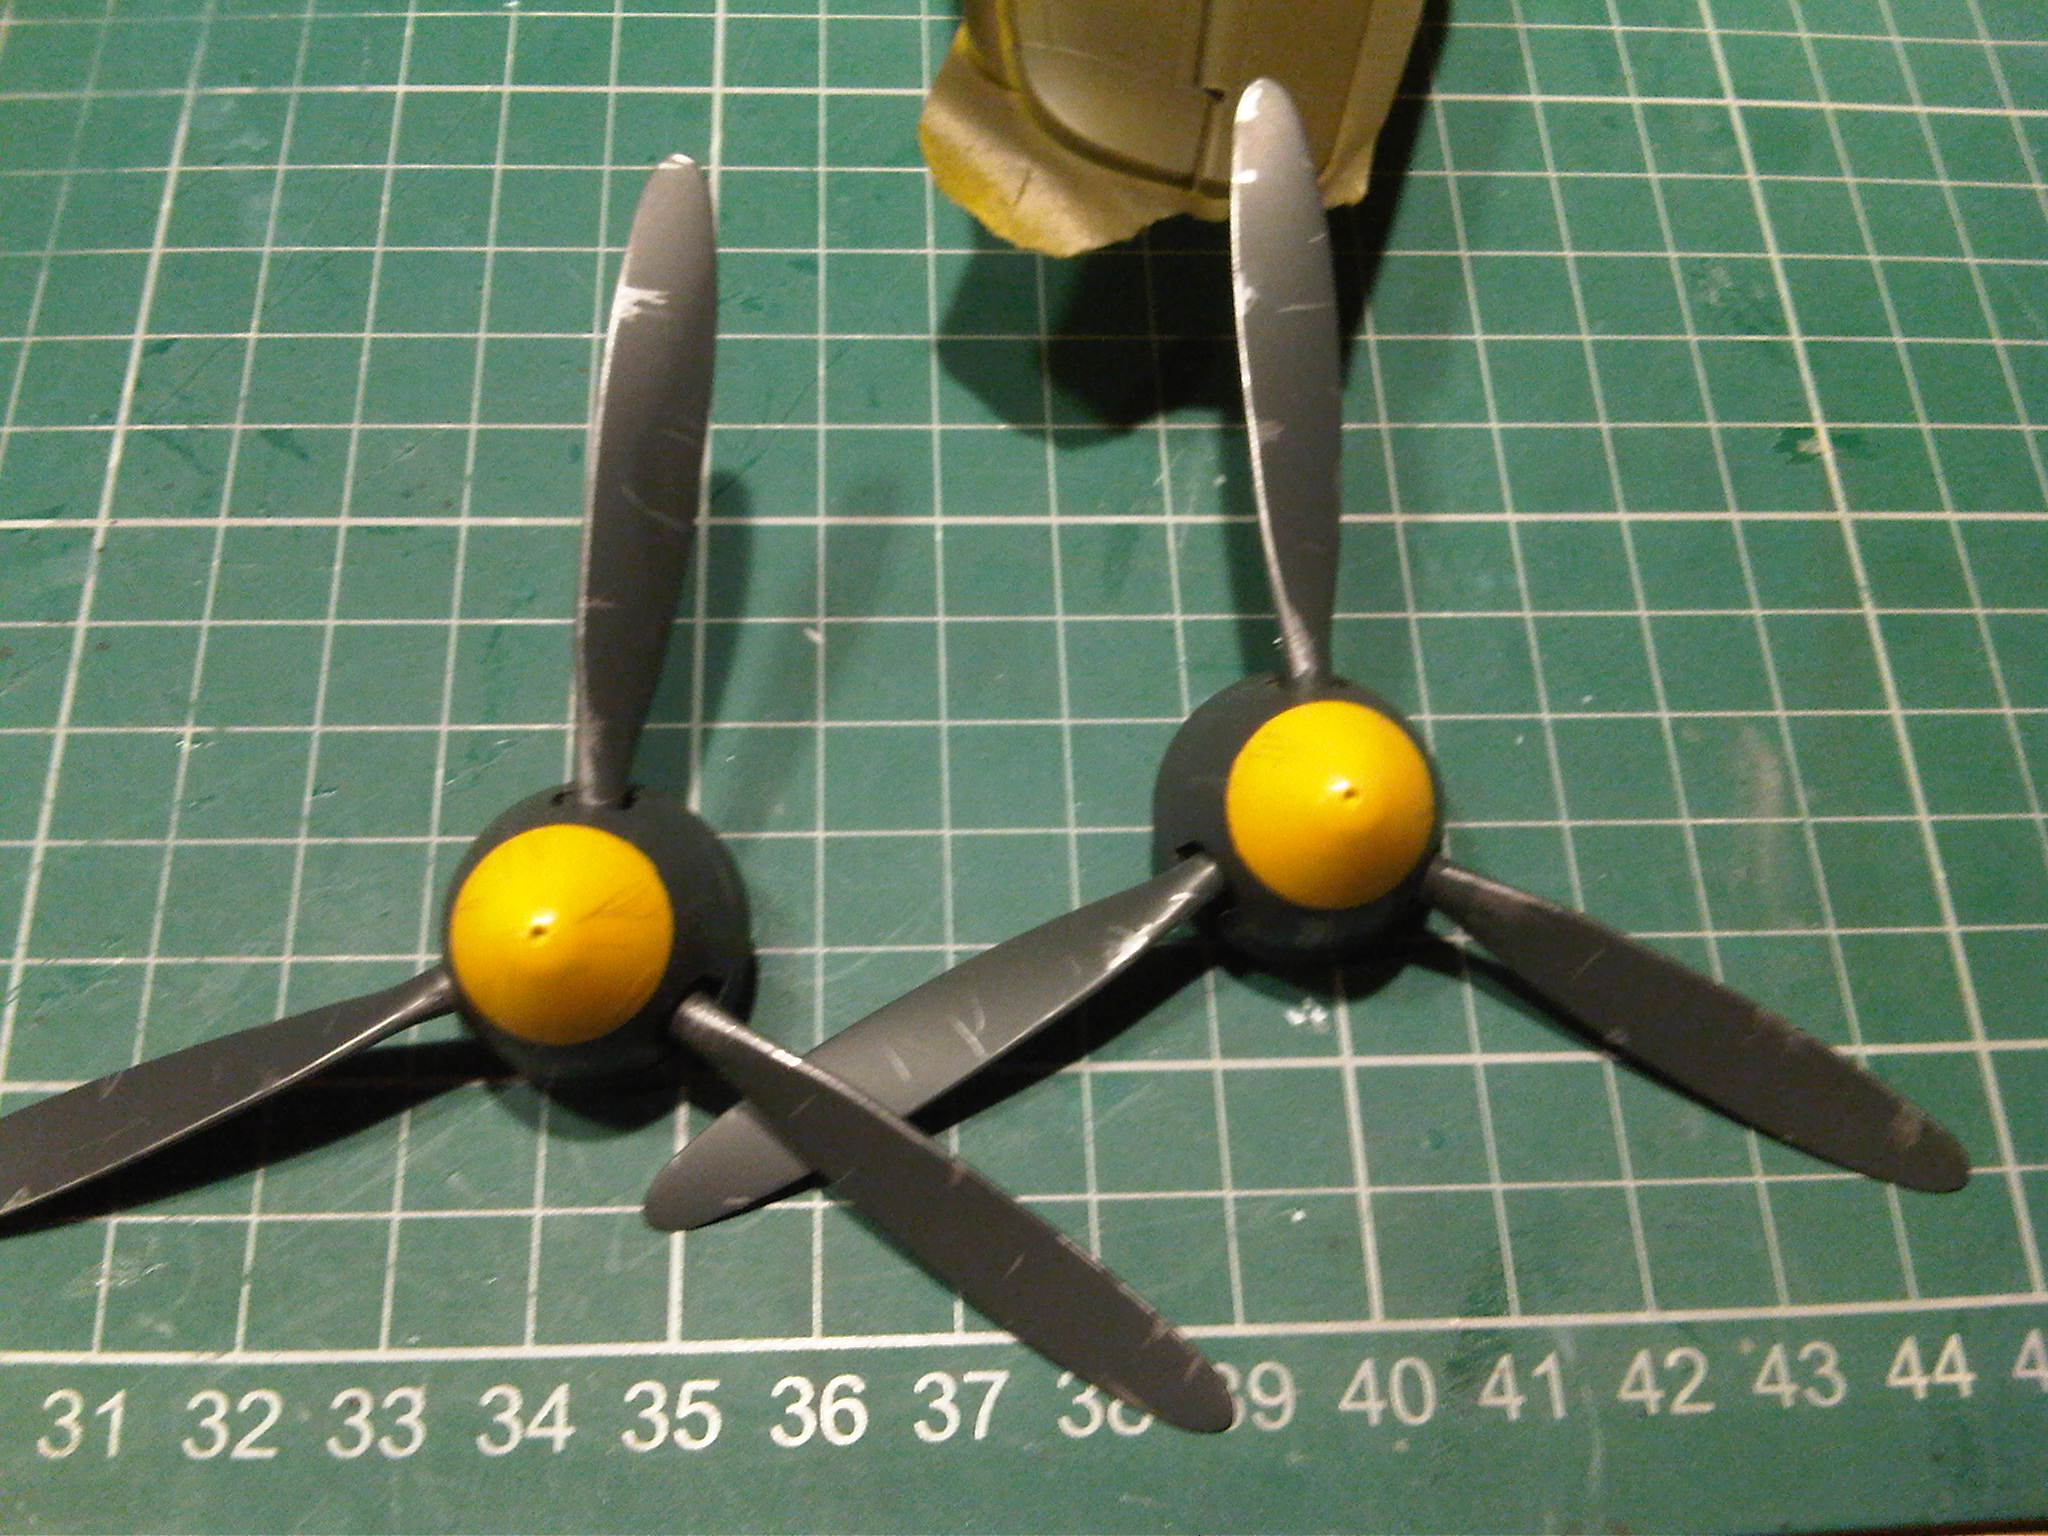
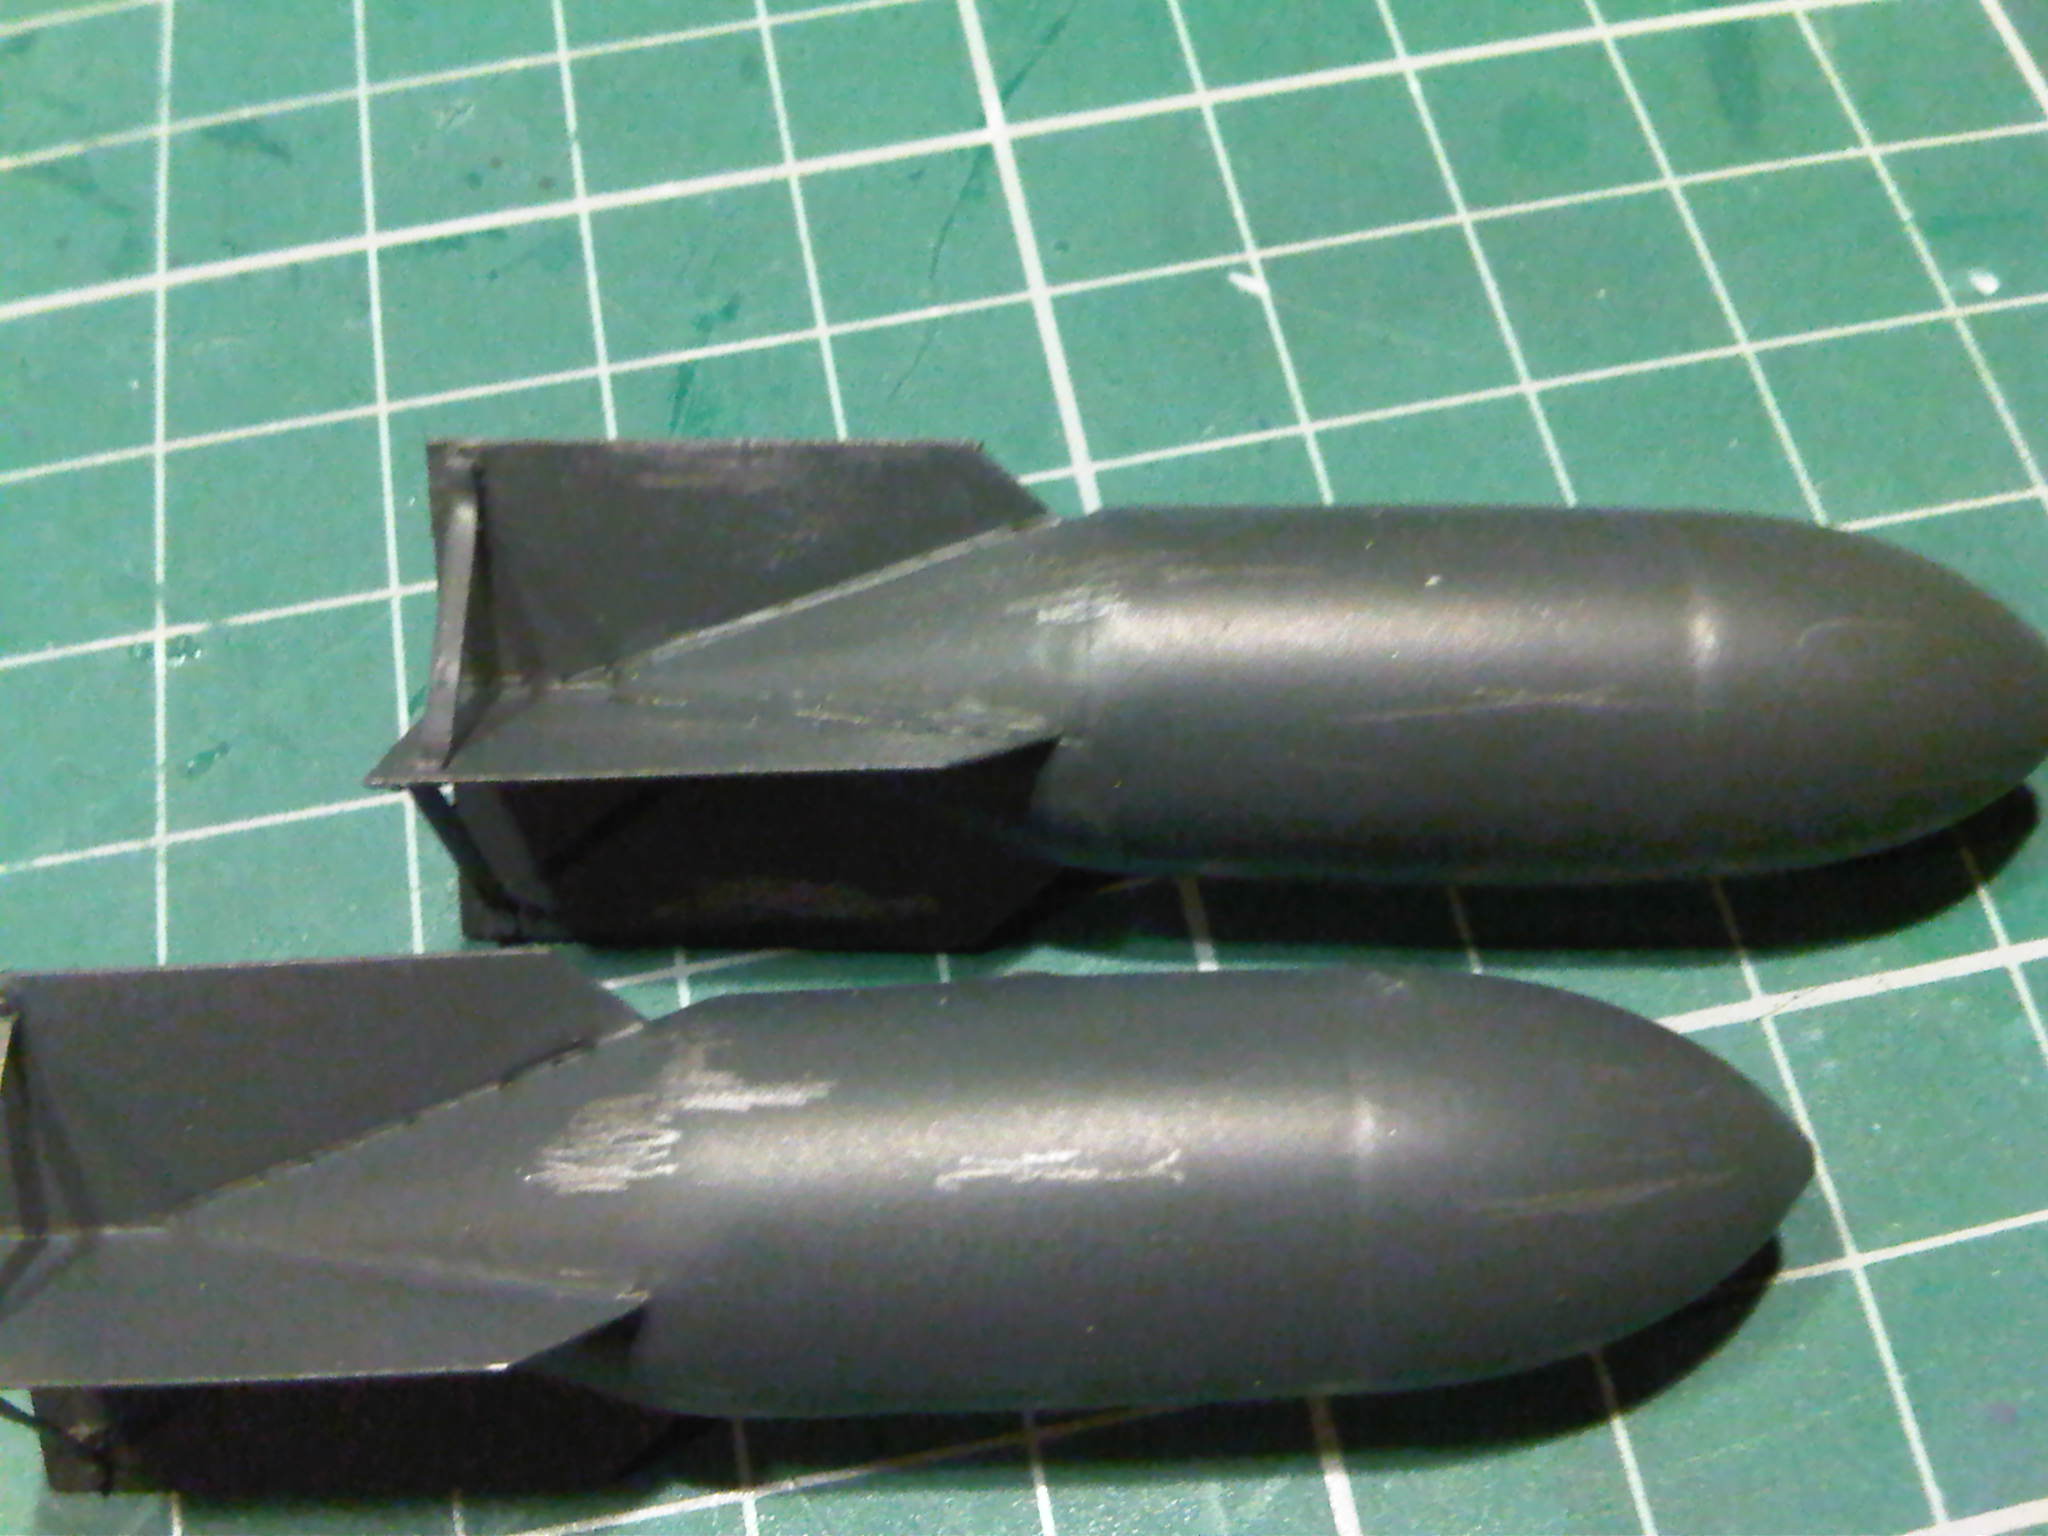
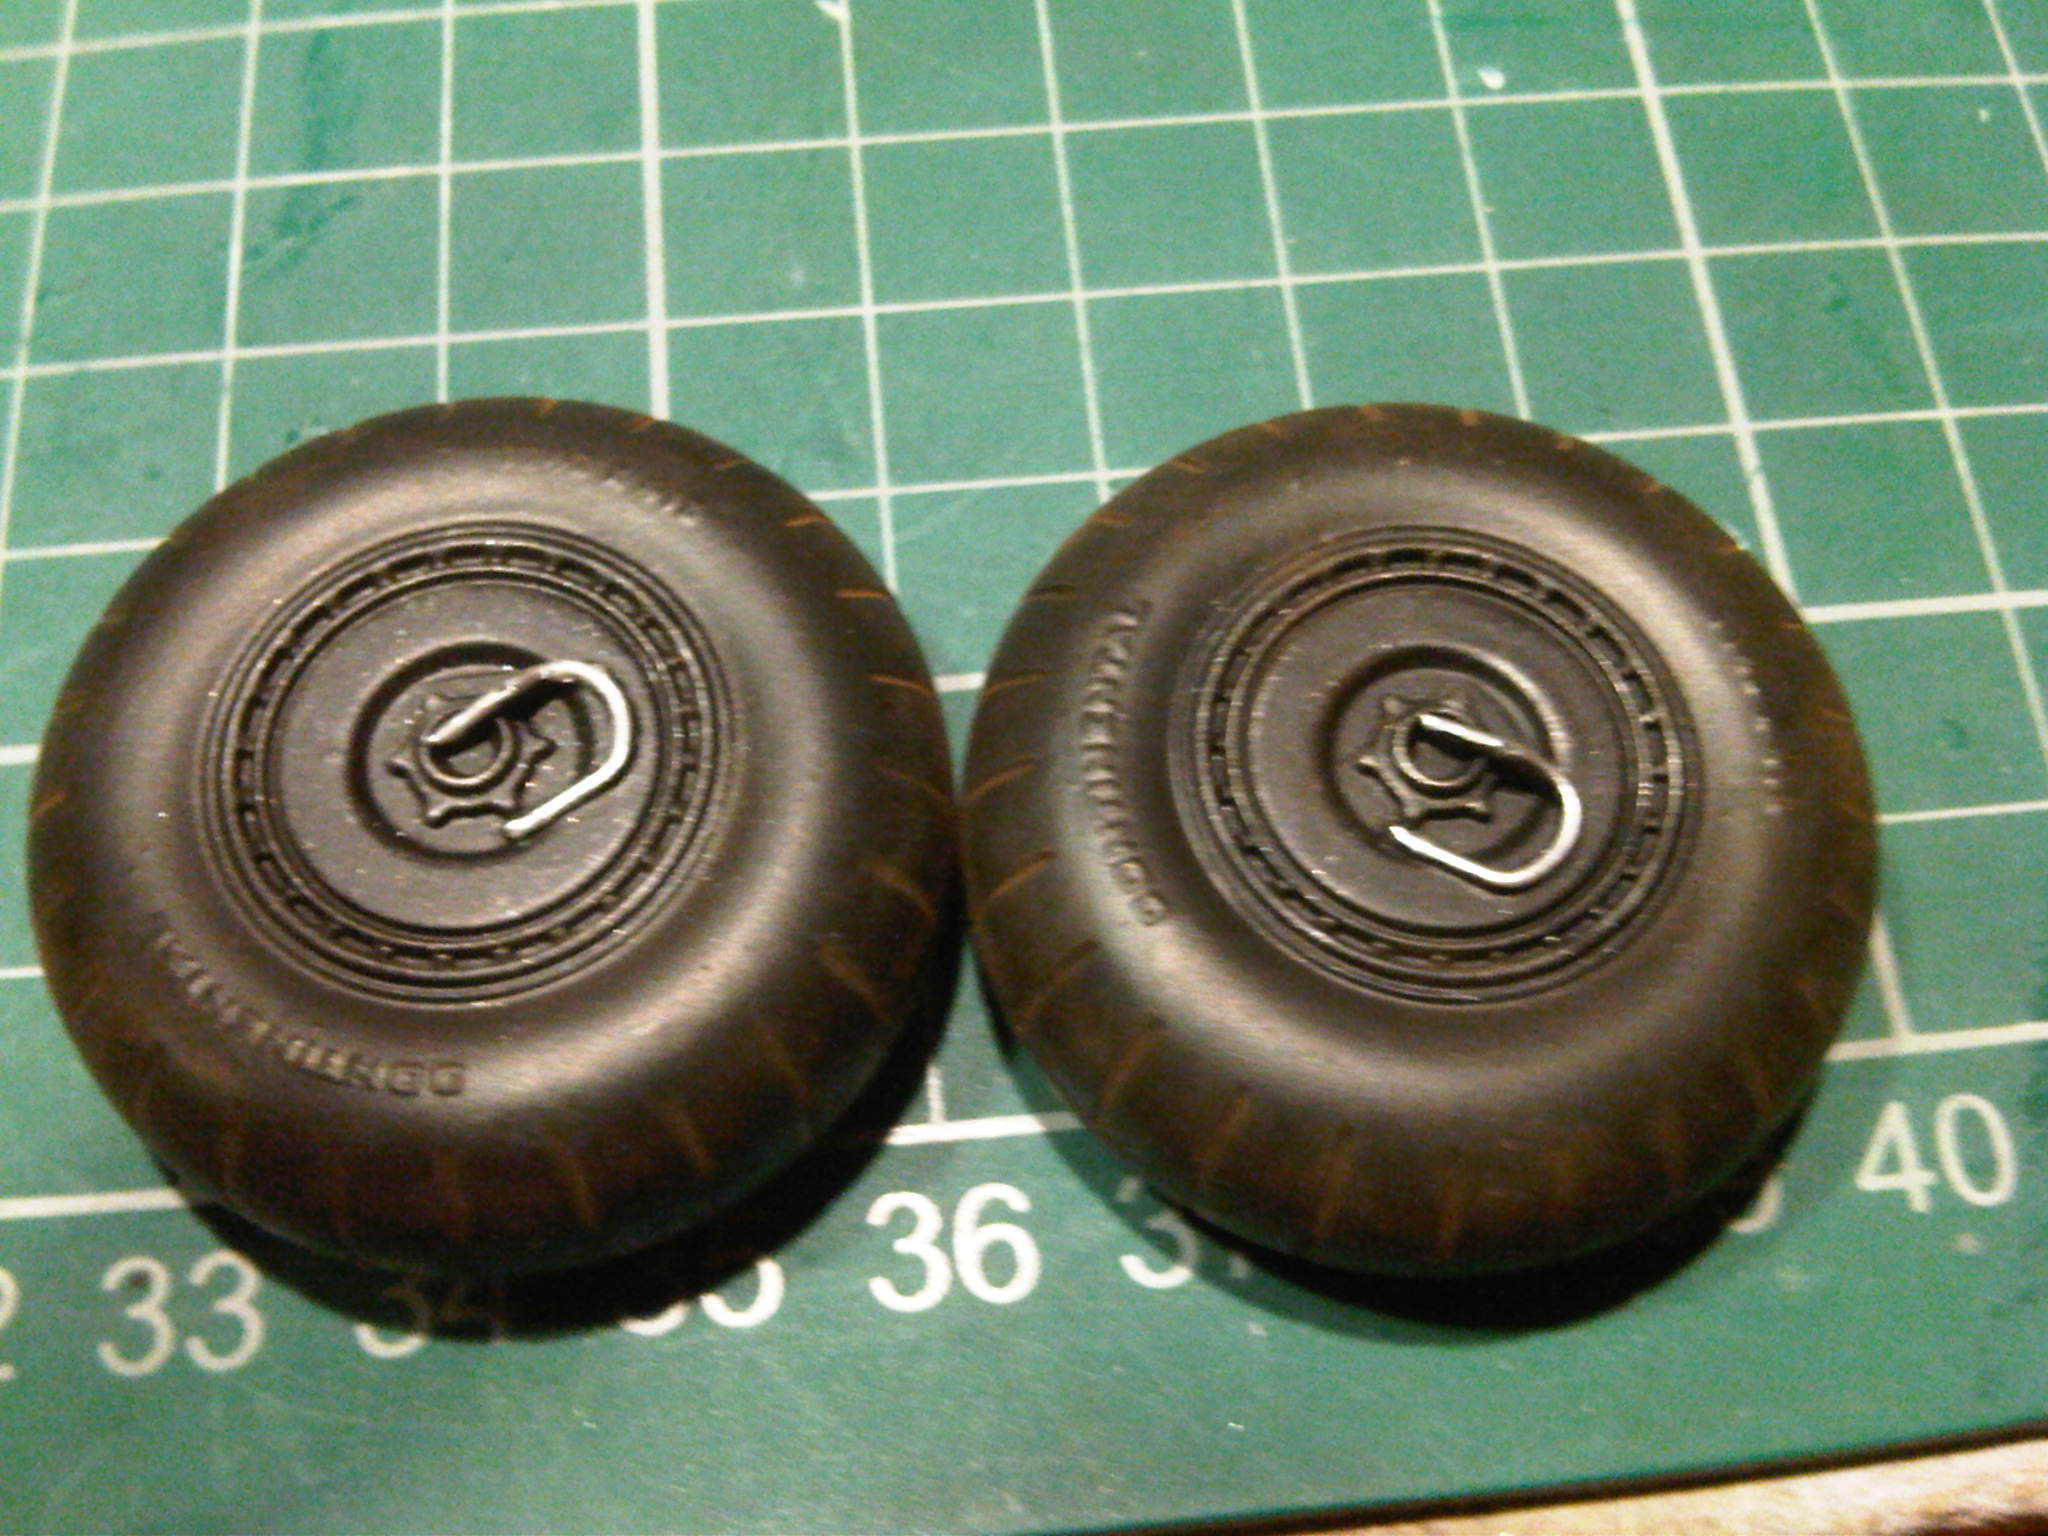
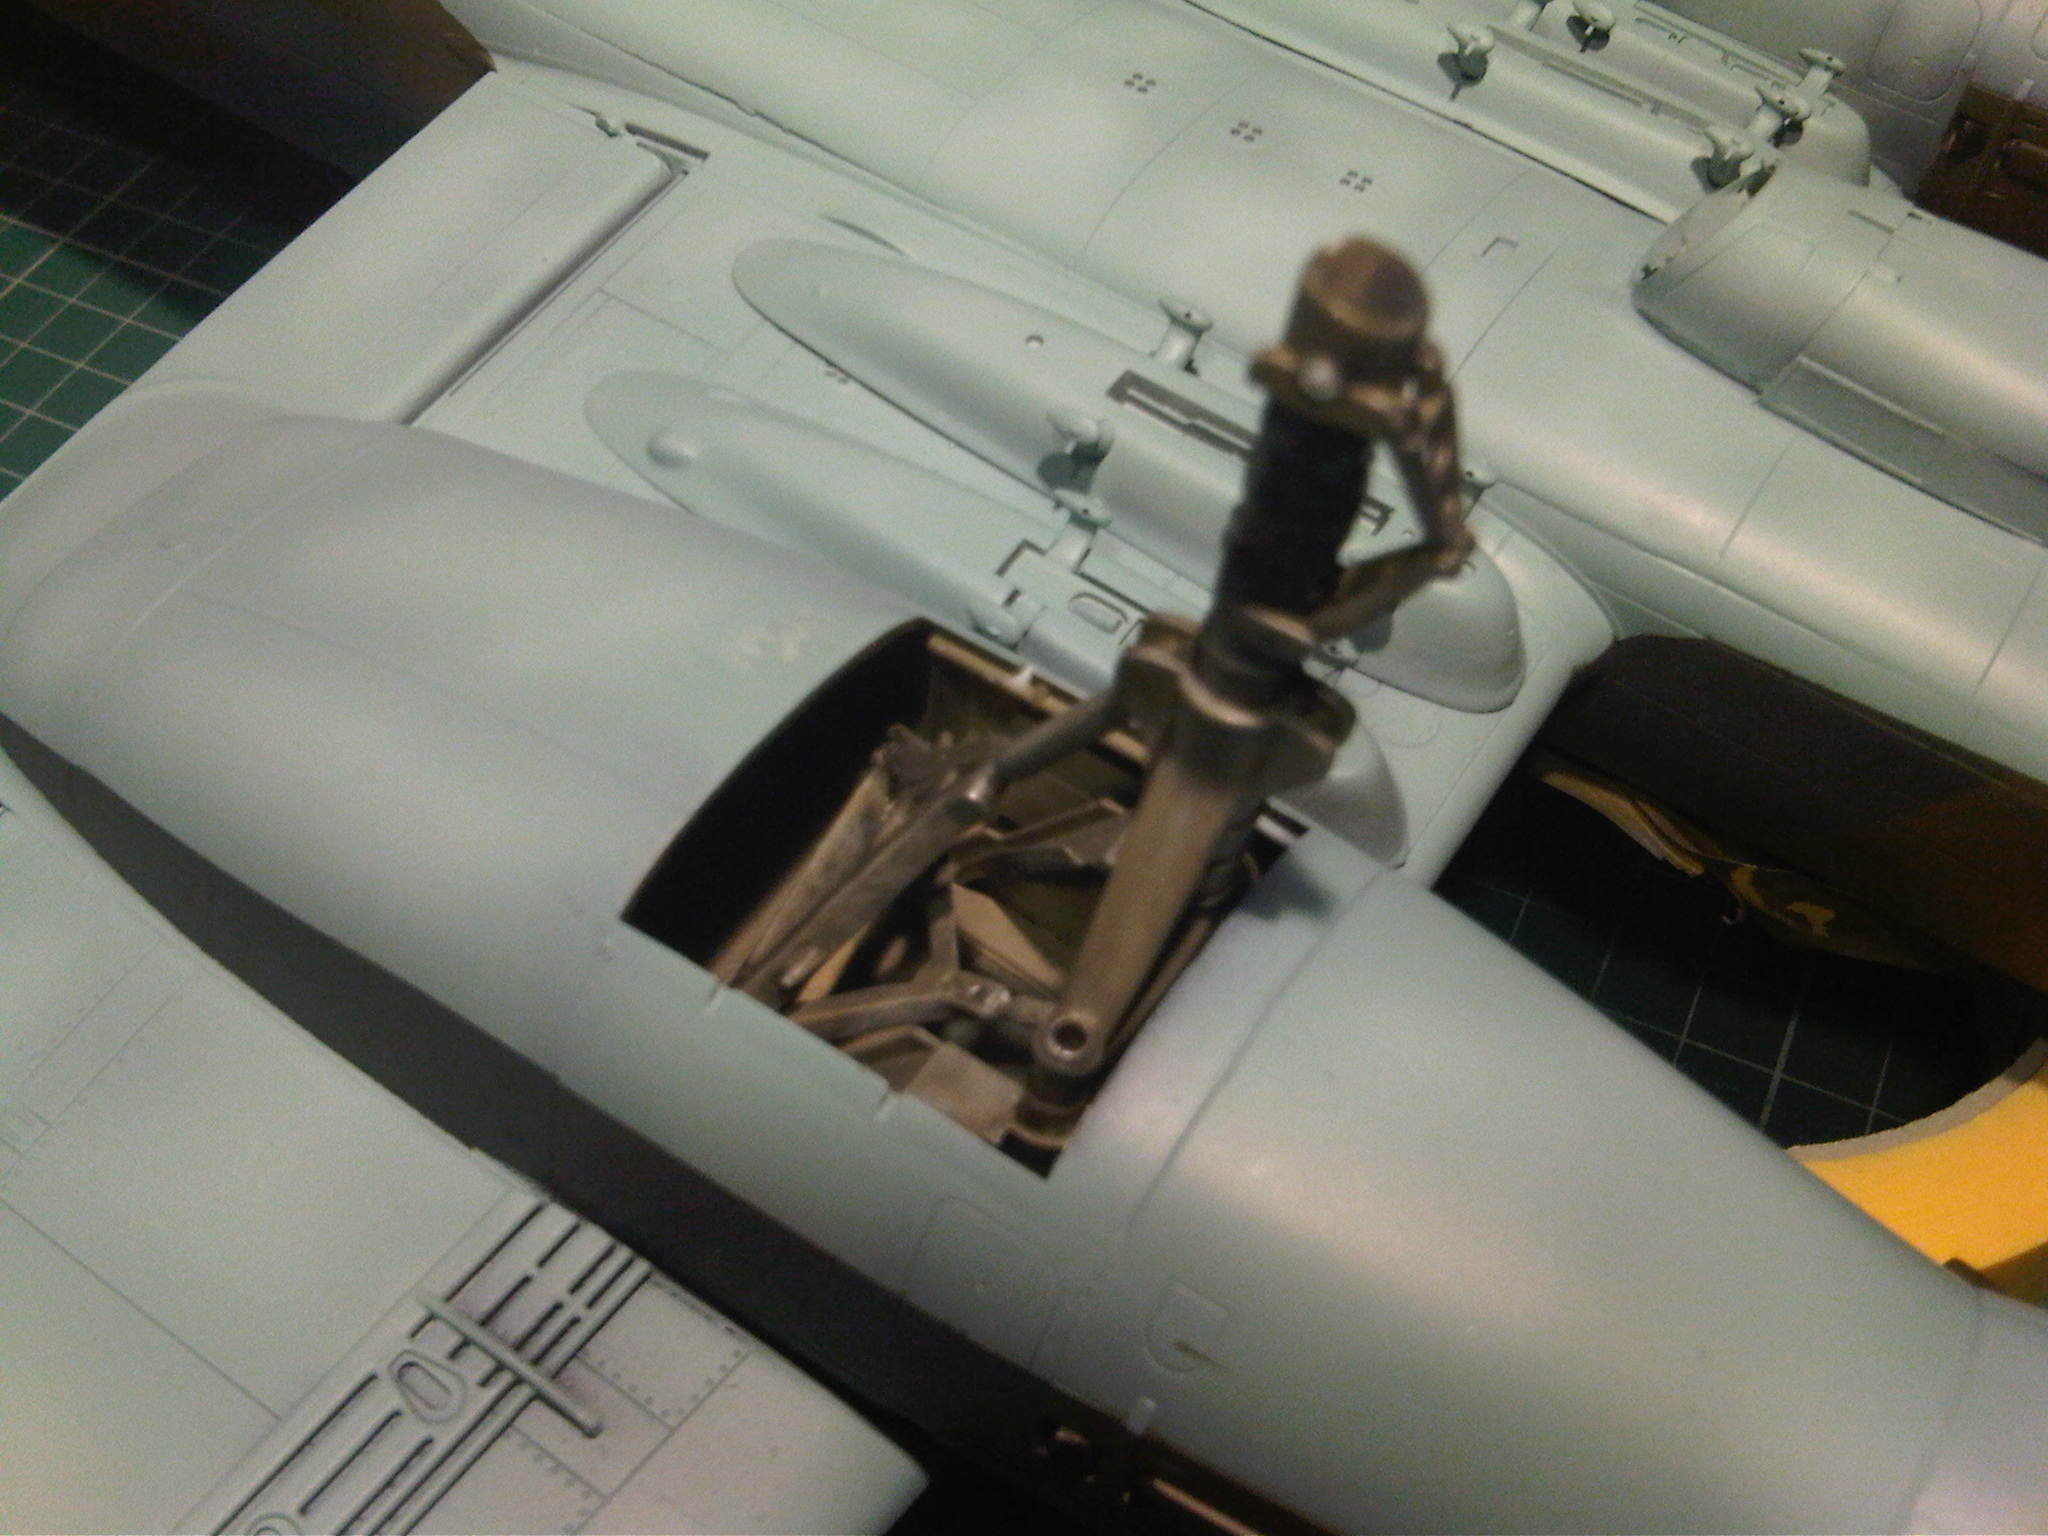
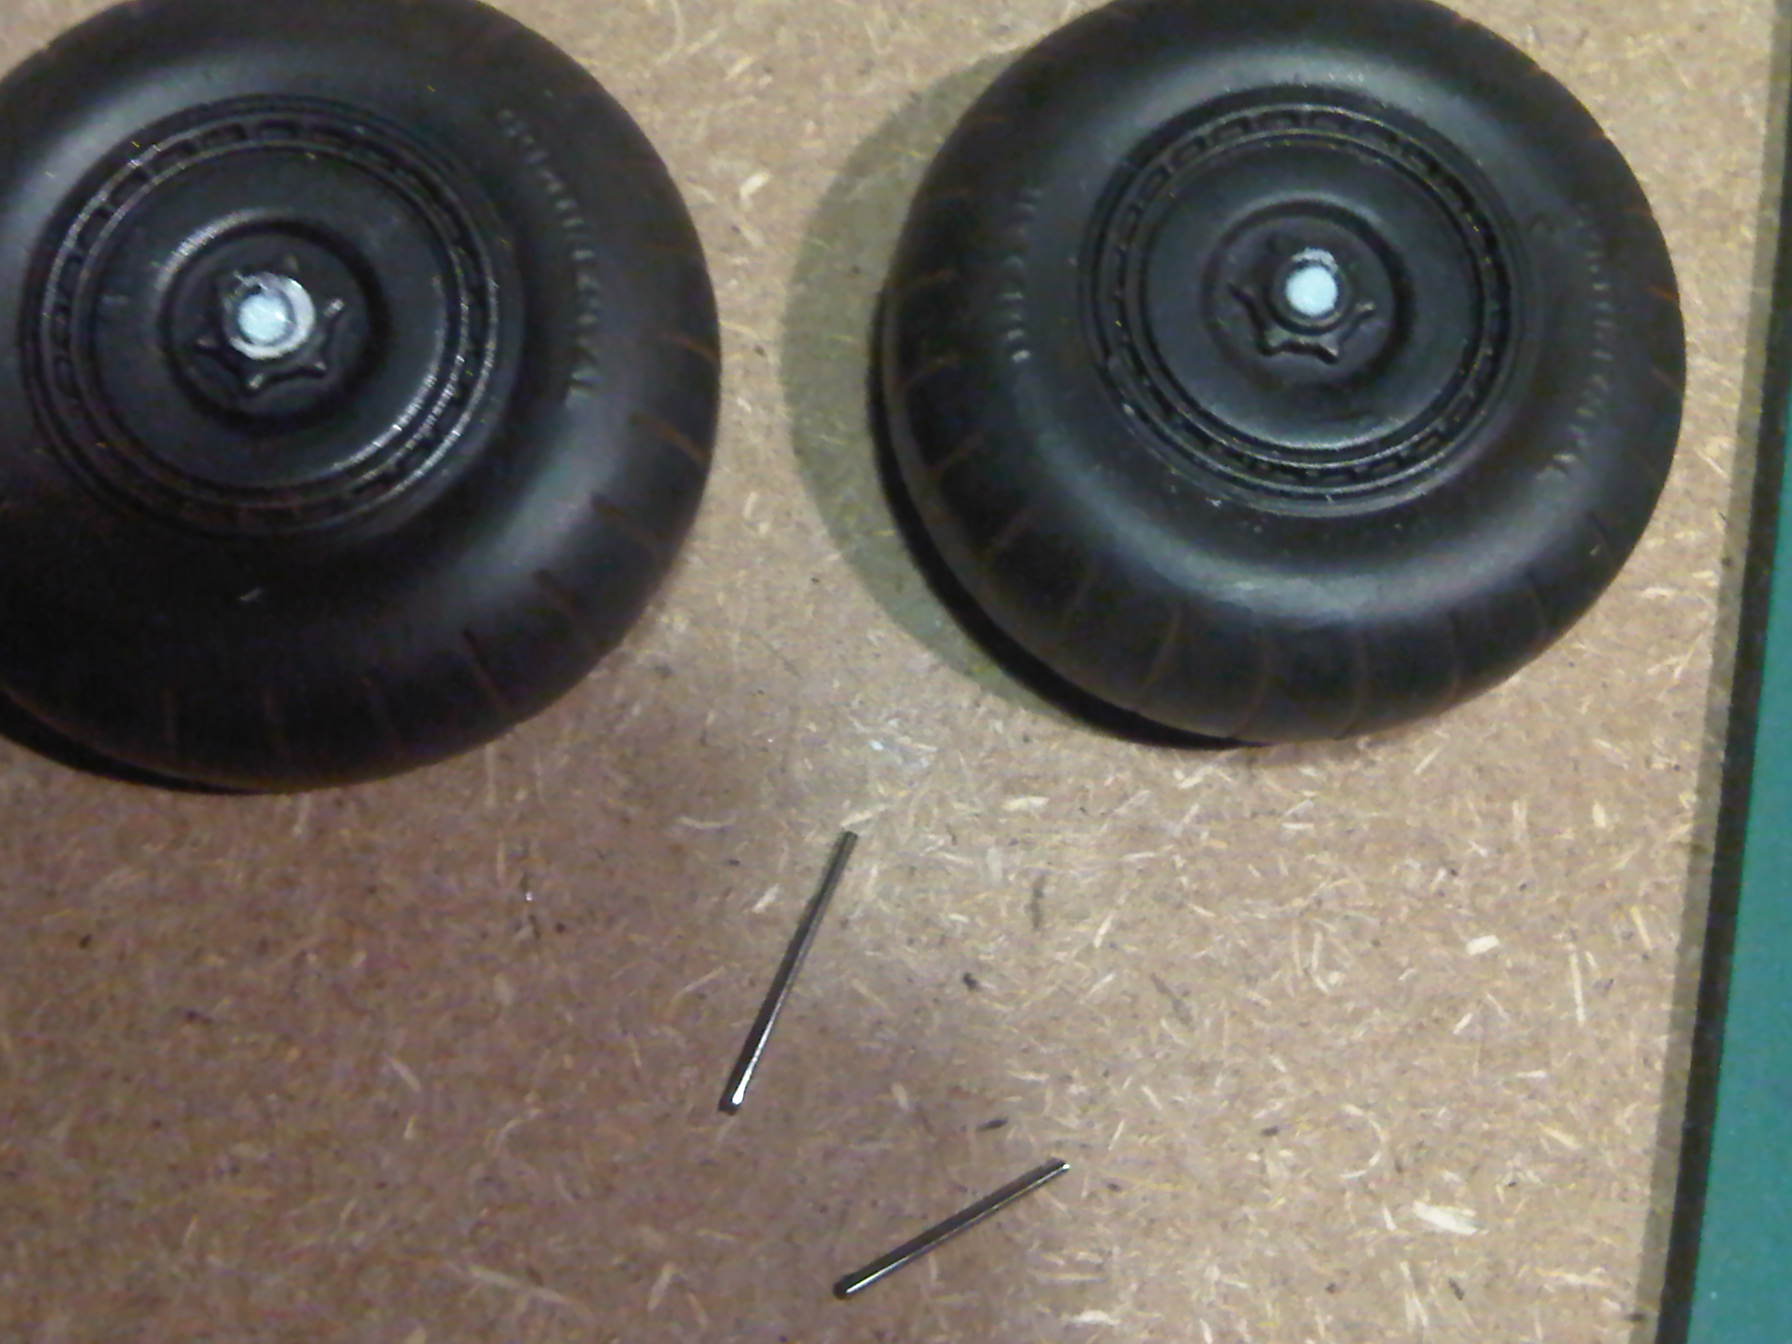
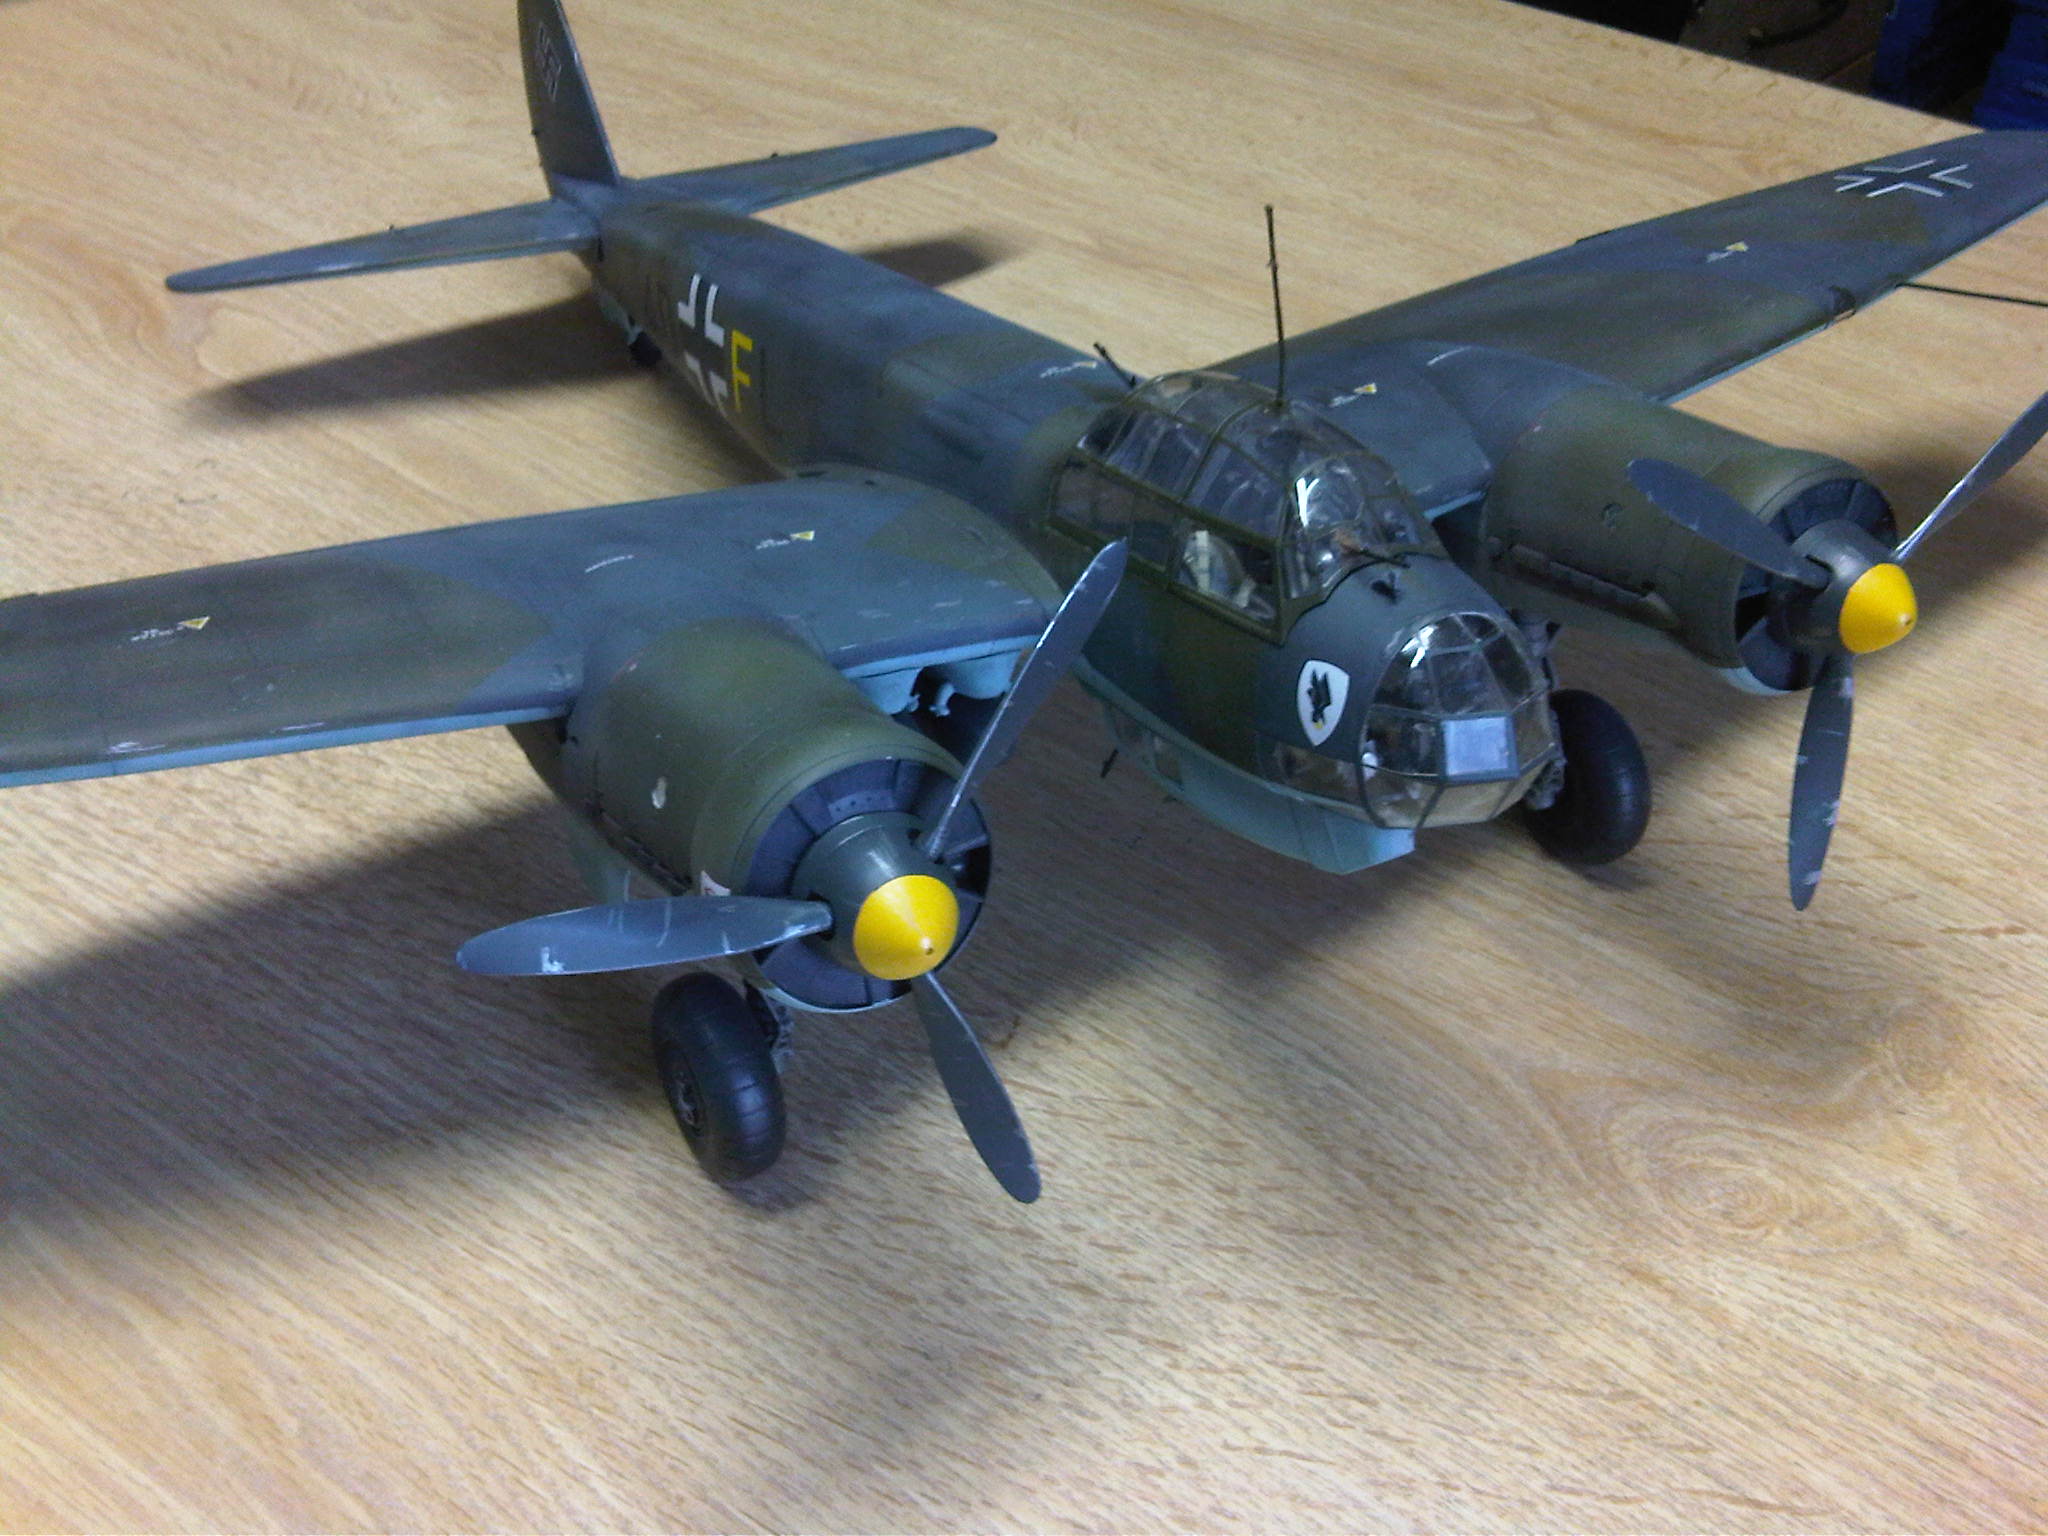
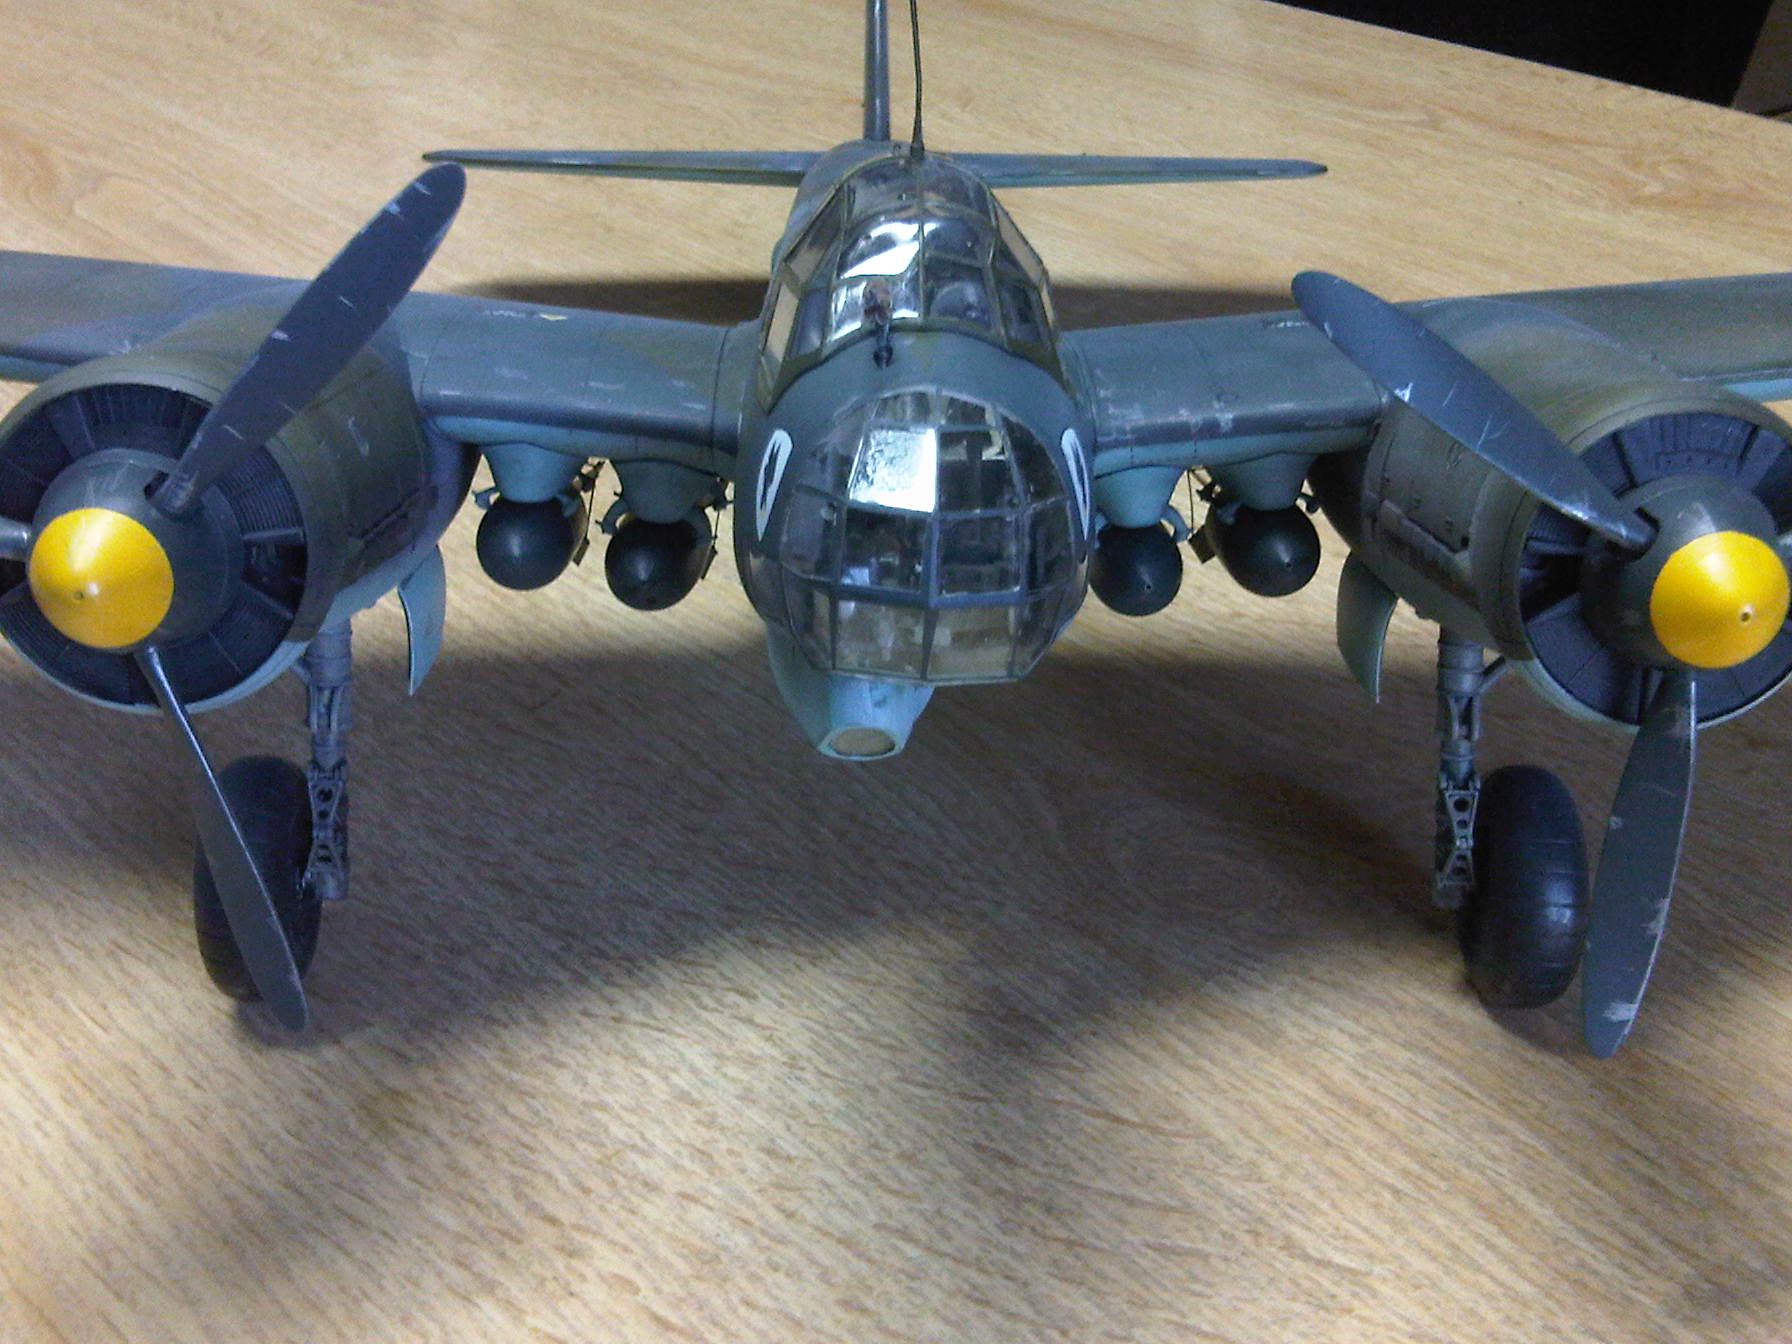
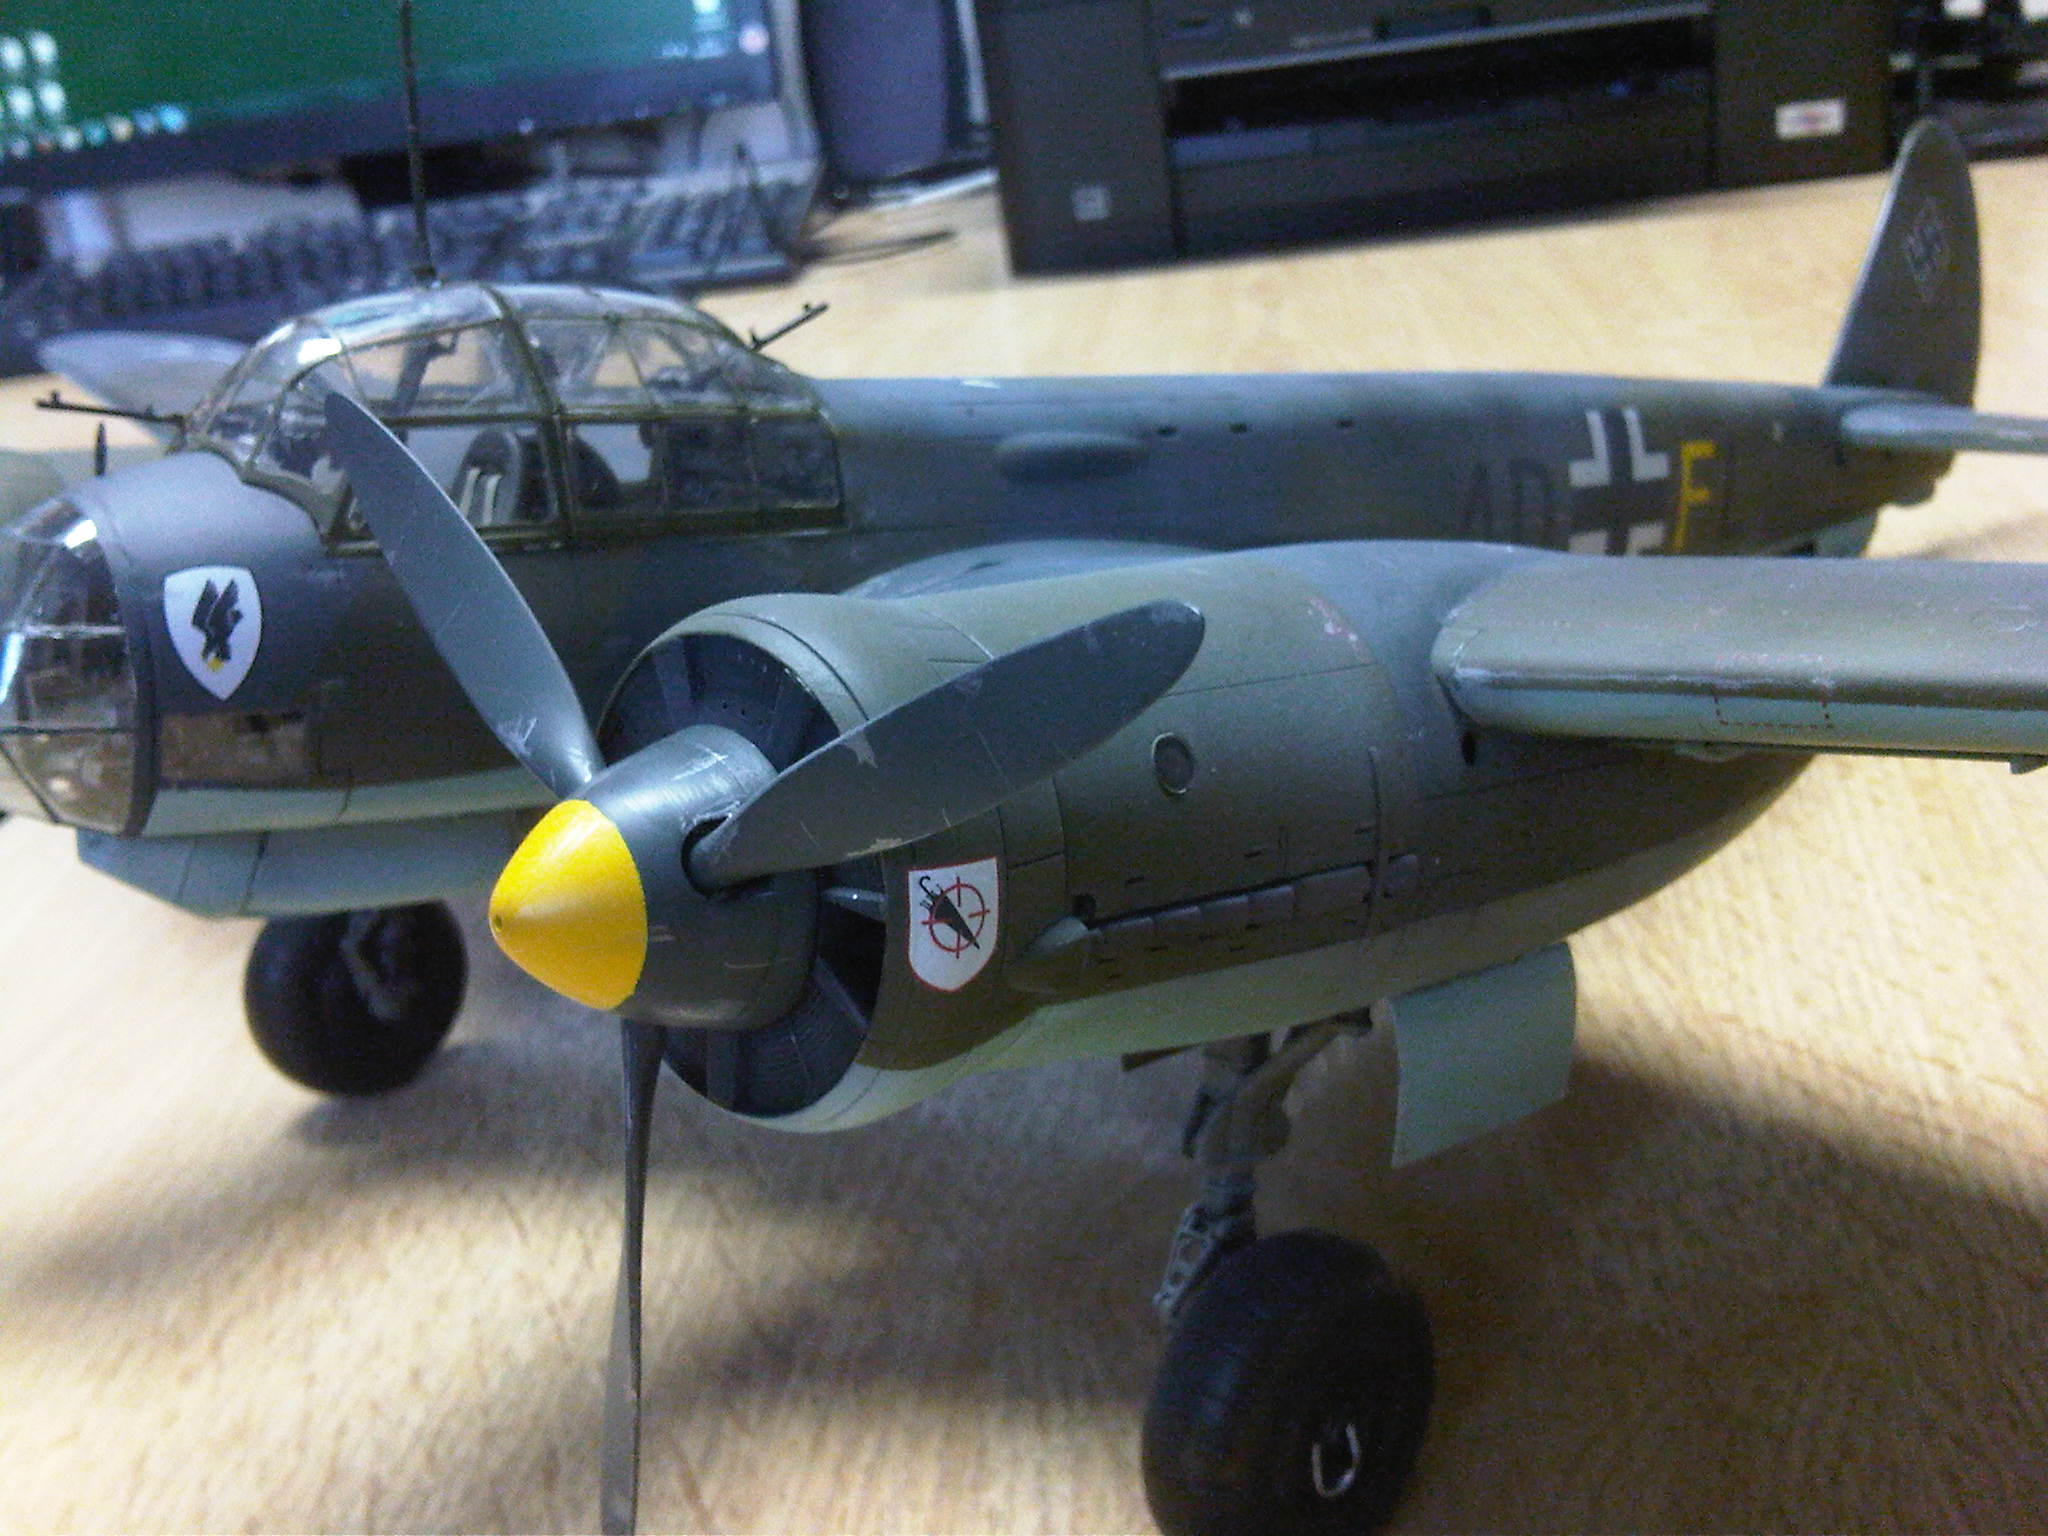
While waiting for the green to cure I finished the painting and weathering of the propellers, wheels and bombs. Complete with paint chips and scratches and mud on the tyres... The mud is Vallejo Burnt Umber pigment brushed on and into the tyre treads.
So next week I will be masking up and applying the splinter camo scheme with RLM70 Black Green before painting some details then applying gloss varnish to prepare the surface to take decals. Then more varnish to seal the, weathering washes, chipping and pigments before matt varnishing and adding the final details.....